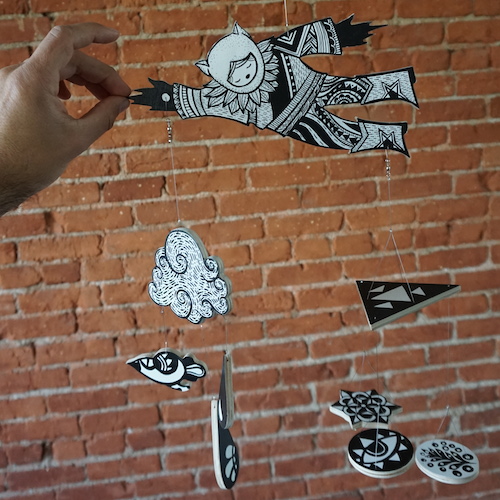
Hanging Illustrations
These were commissioned by a friend who wanted special gifts for a couple of new borns. High contrast baby mobiles are meant to stimulate baby brains and are usually black, red and white -which is a palette I really enjoy. I really like black, bold shapes so this was a treat to work on since it combines illustration with the making of a useful object that would (hopefully) please the babies and the parents.
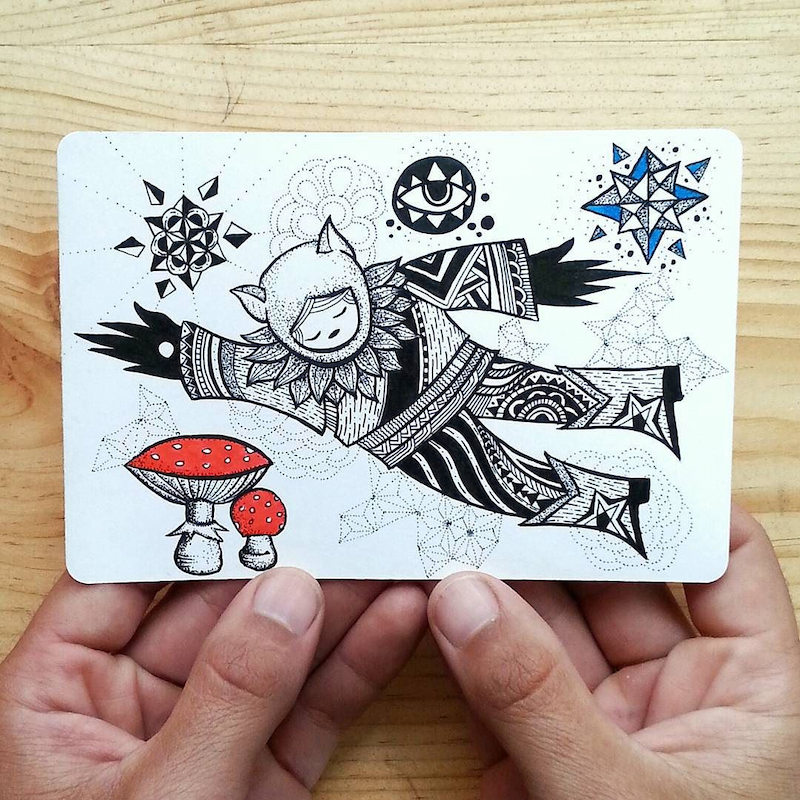
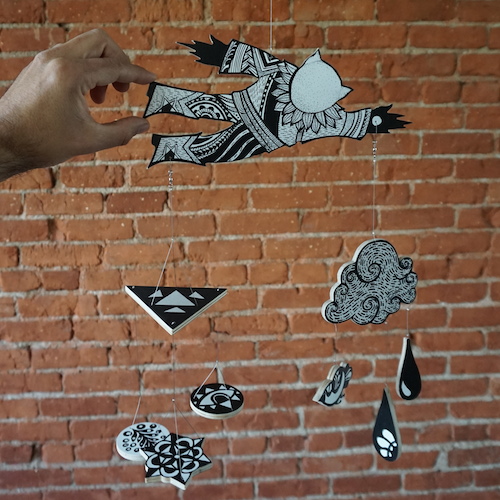
This is not strictly a “how-to” post but there are a few ideas you can use for your own projects. We started by choosing a few images that I had made already and worked from there. The inspiration for the first one was this postcard I posted originally on instagram:
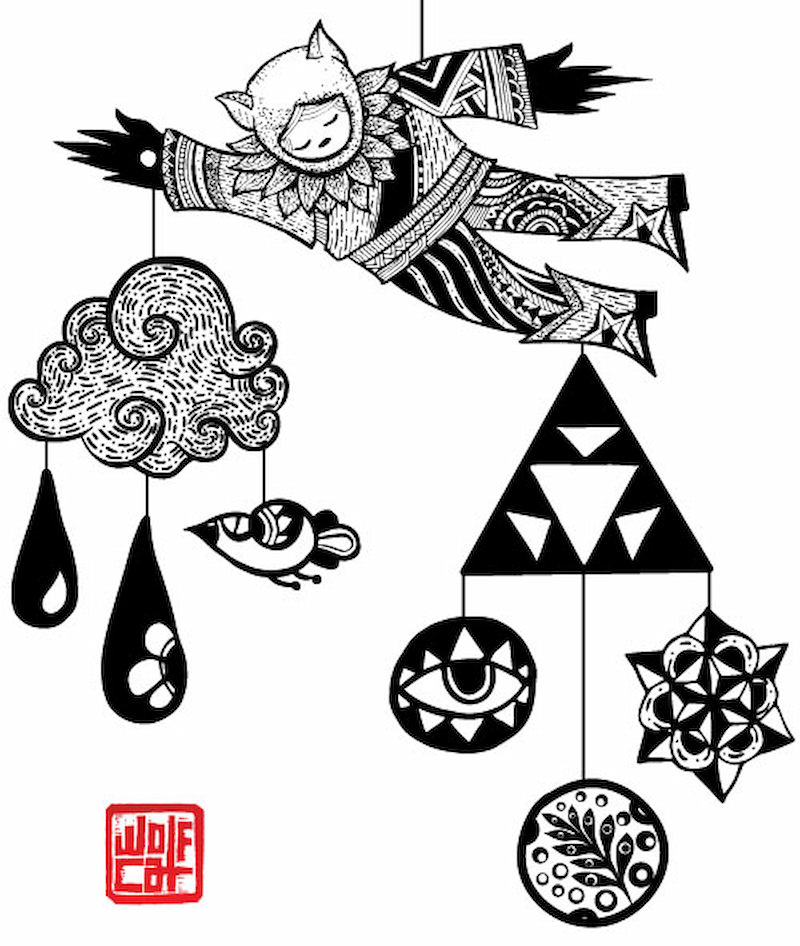
I scanned the postcard and made a mockup in Illustrator with other elements:
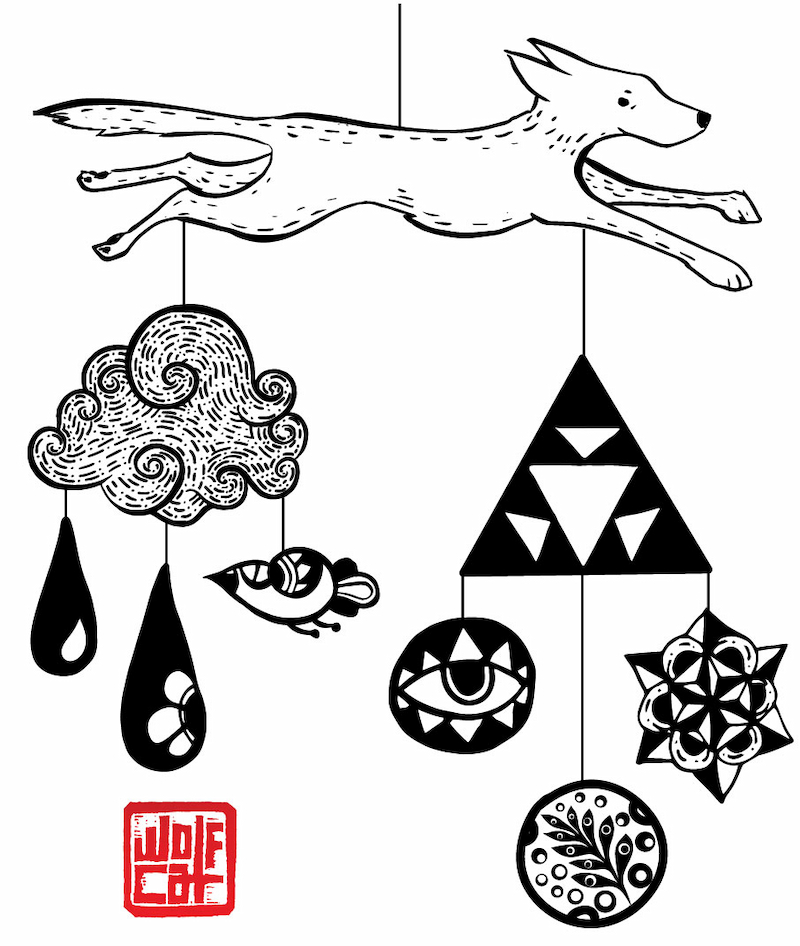
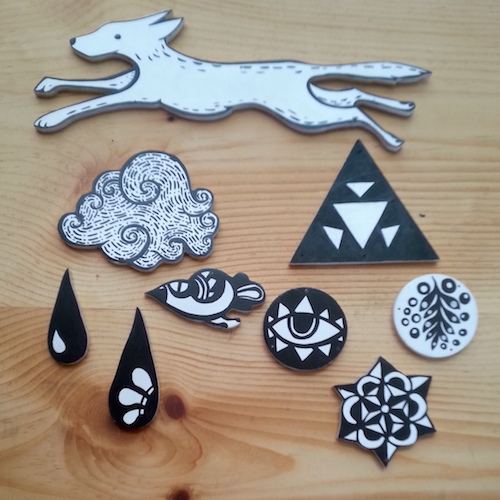
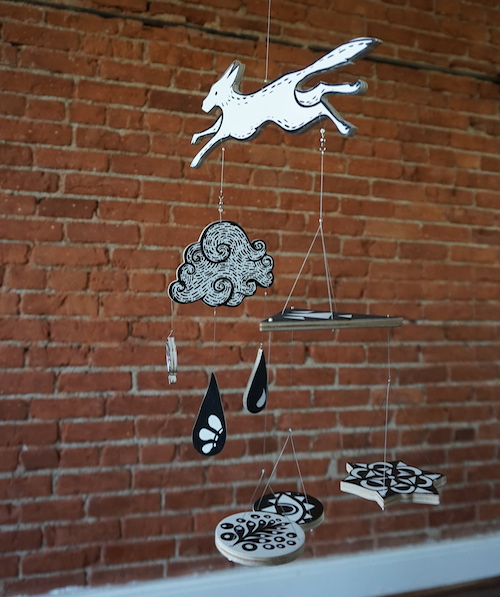
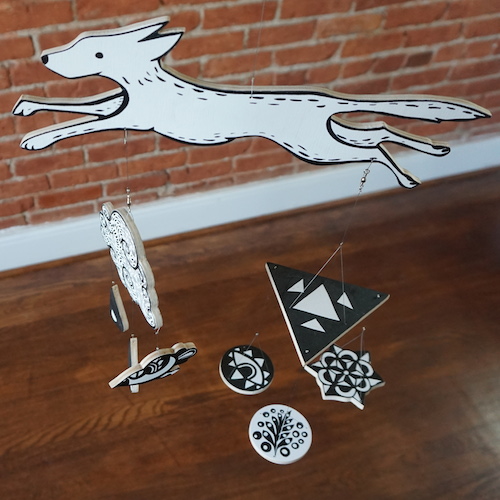
The second mobile was going to a household with a beautiful white dog and I was asked to incorporate her into the design, and this is what I came up with:
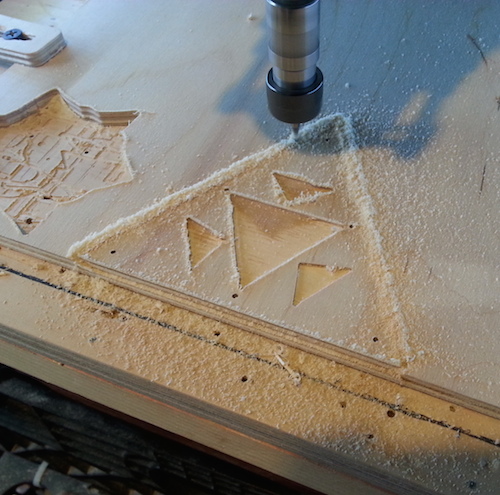
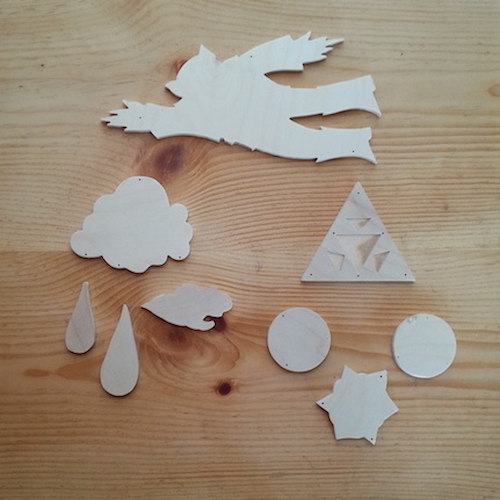
After this I traced the shapes in Illustrator and turned them into vector files. I cut them out of 1/4″ thick birch plywood using a desktop CNC. Although this process could easily be done using more low tech tools like a scroll saw or a band saw.
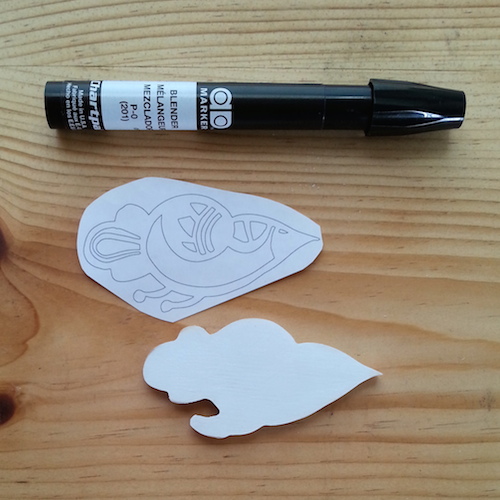
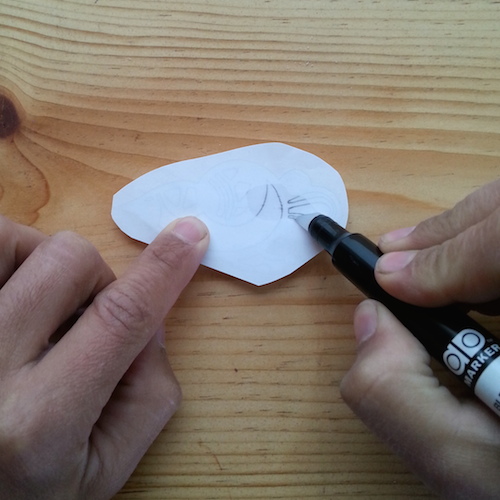
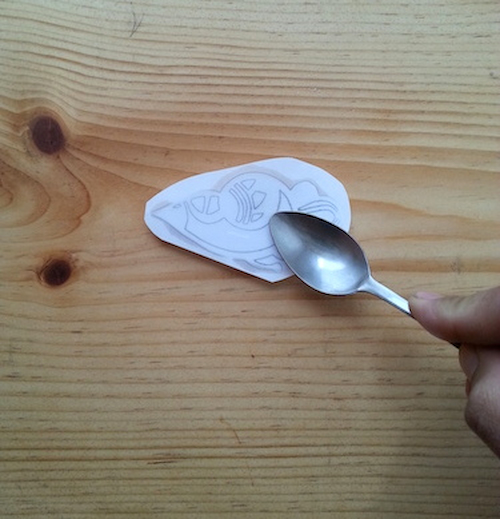
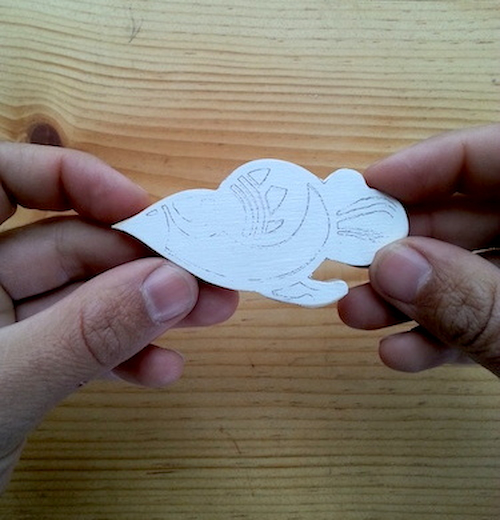
The next step after cutting and sanding was to paint a coat of white gesso on the surface to prepare for painting. I put a lot of effort into this in order to left the edges visible because I love the look of the plywood layers but I’m not sure I’d do it again. To accurately transfer some of the images onto the wood I printed the outlines on paper with a laser printer and transferred it using a blender pen, it’s smelly but works pretty well:
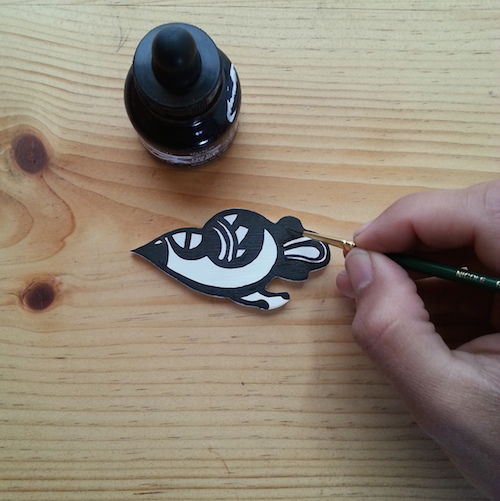
After transferring the outlines I hand painted the black using FW acrylic ink applied mostly with a brush. I used a quill pen for details and dots and coated the pieces with fixative at the end.
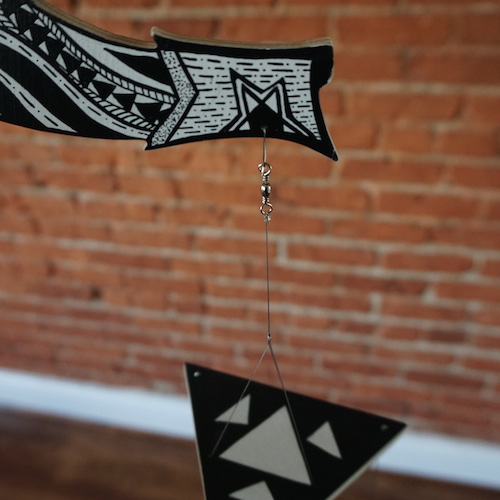
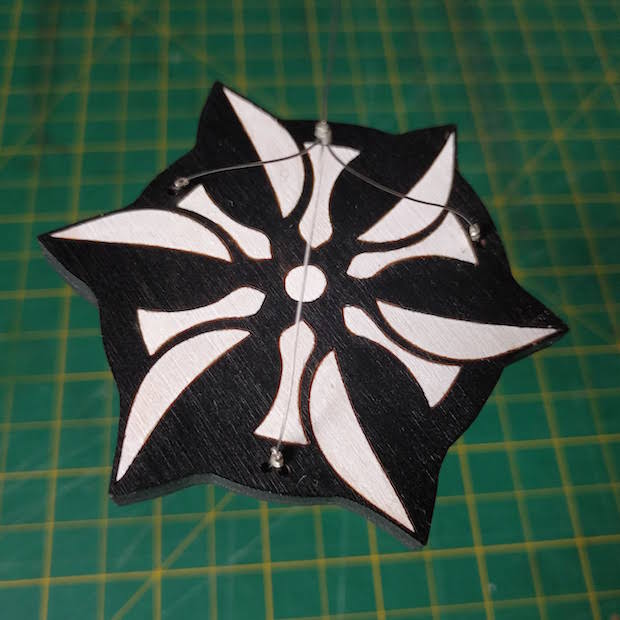
I wanted a really clean looking string and after a bit of research I found out beading wire is really nice and strong. You have to purchase little crimps but I think the final look is worth it. There are many types of wire but I ended up using the 19 strand 0.012 in thick wire with these crimp tubes. I also got some small spinners at a local fishing supply store. I didn’t want a lot of hardware to keep the look clean so I only put spinners in a few key places.
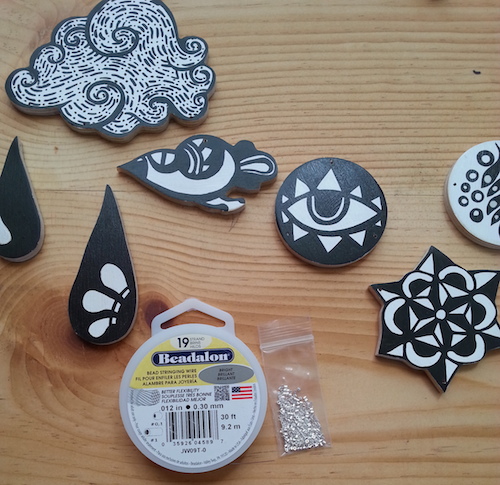
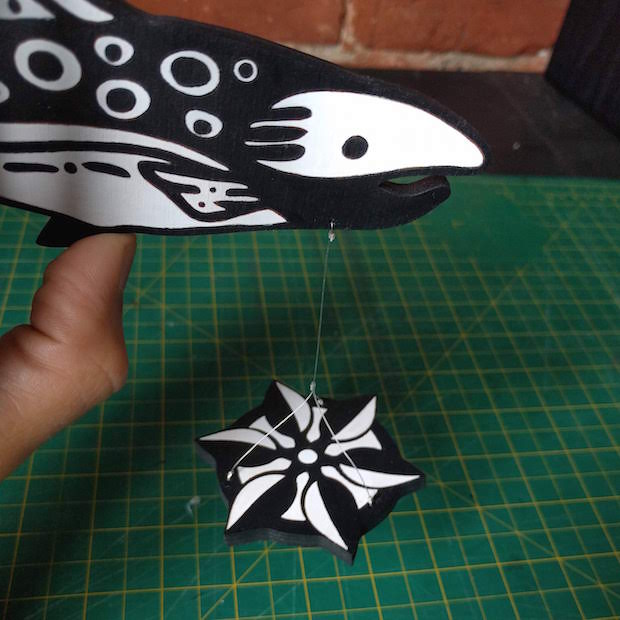
The spinners are attached with little sections of beading wire. Also note that I used 3 strands in a pyramid configuration to balance the horizontal pieces.
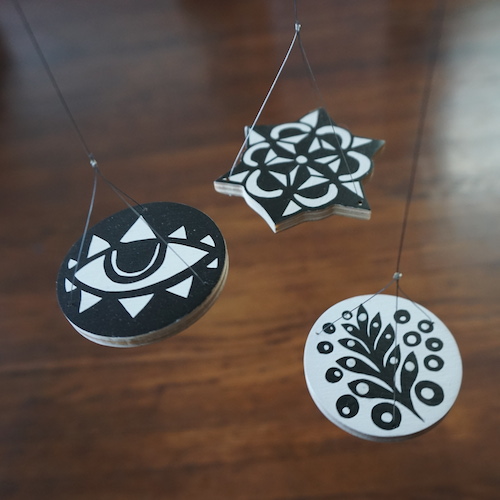
I was really pleased with the final result. Taking pictures of mobiles is kind of difficult (they move a lot turns out) but here are a few more shots – hands for scale.
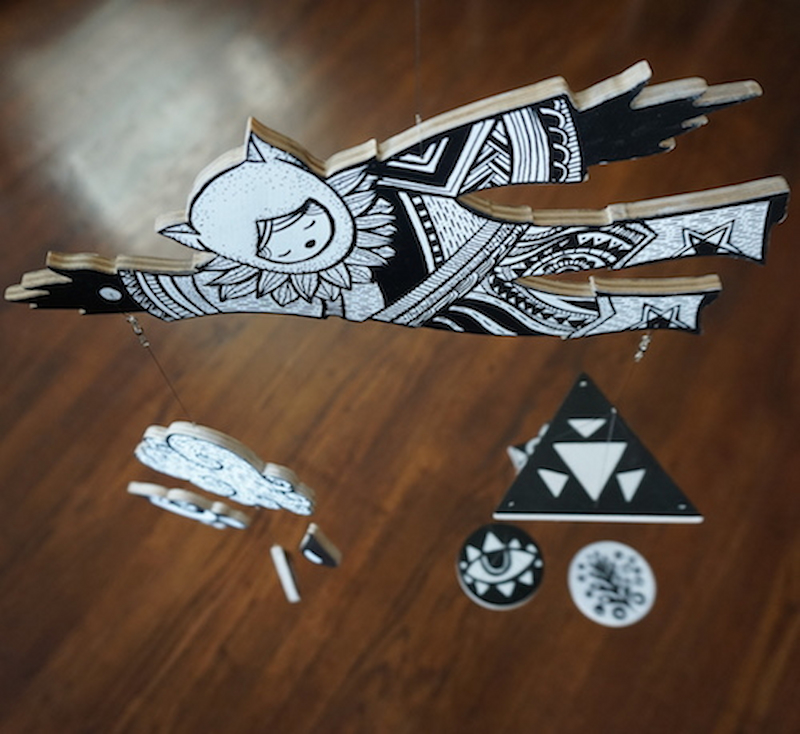
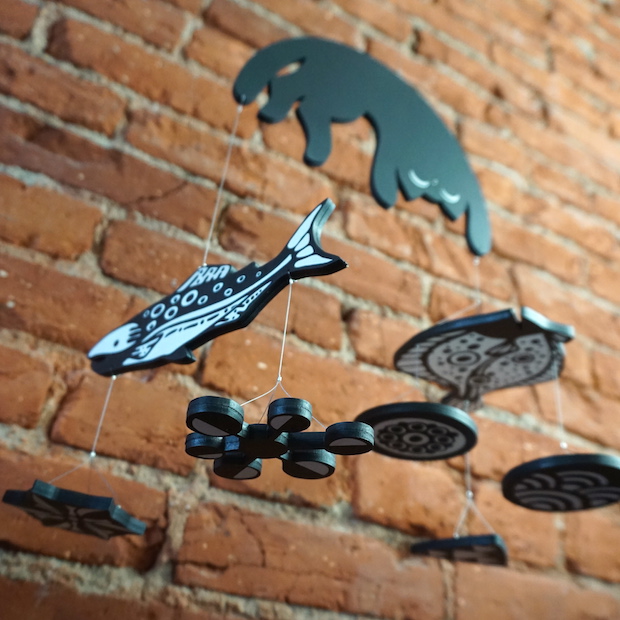
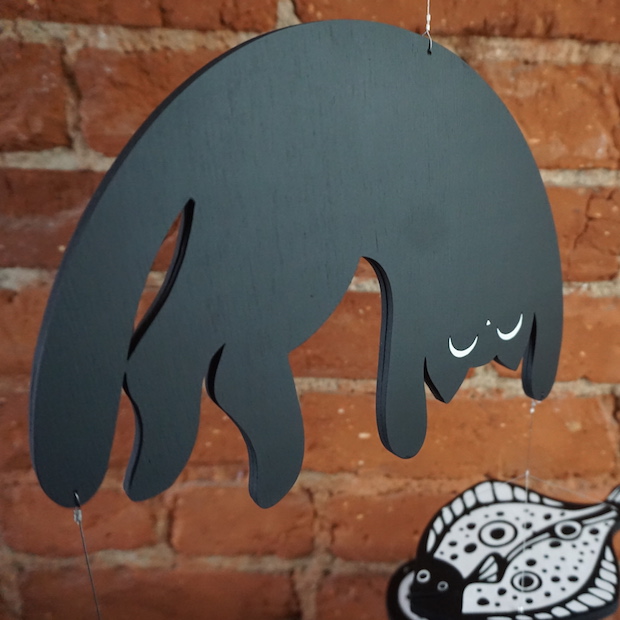
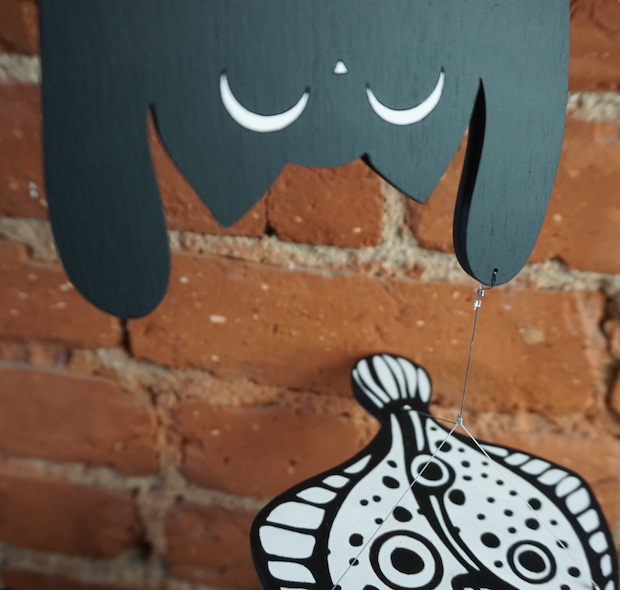
I made this one some time after the previous ones when I had access to a laser cutter so the process changed a little bit. This mobile was commissioned by a close friend (disclaimer, I struggle a lot with commissions so I don’t take them easily). I started by drawing several sketches by hand and then putting them into a digital document as a mockup. I made several but I’ll show you only the one my friend chose:
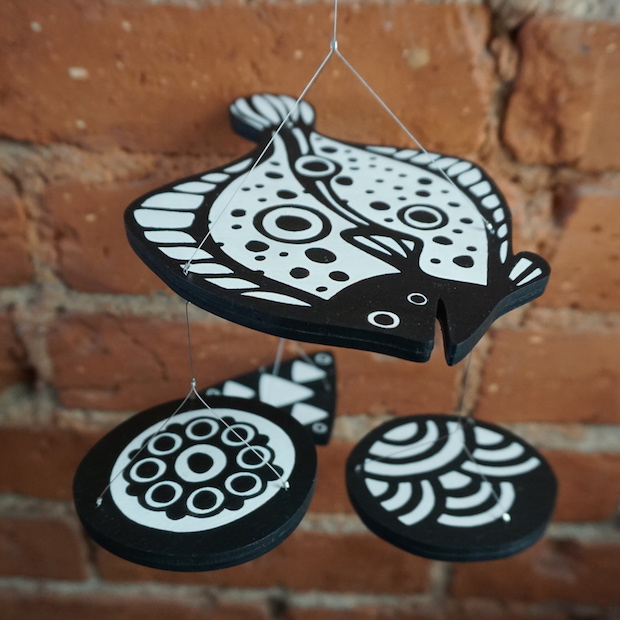
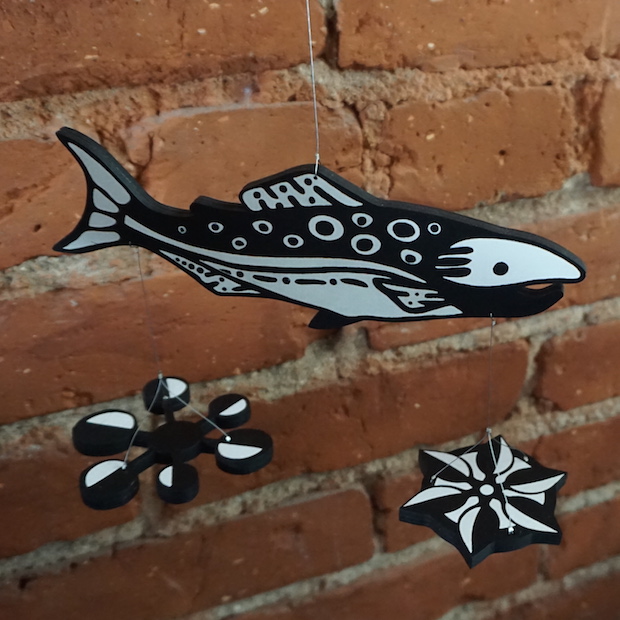
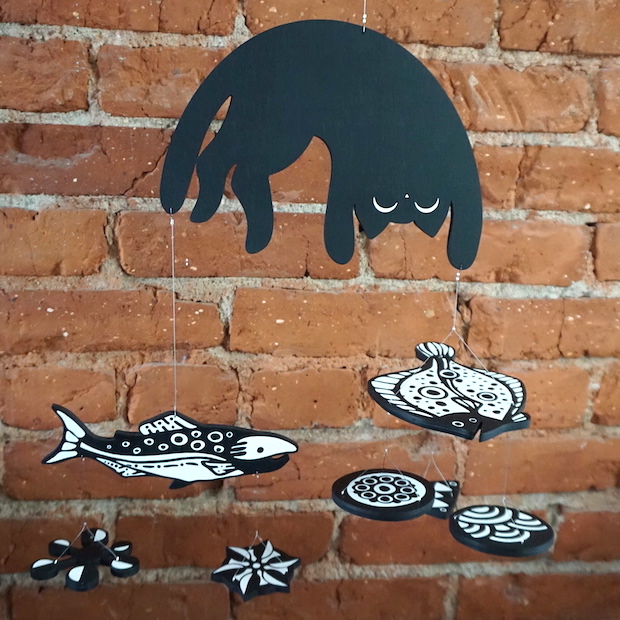
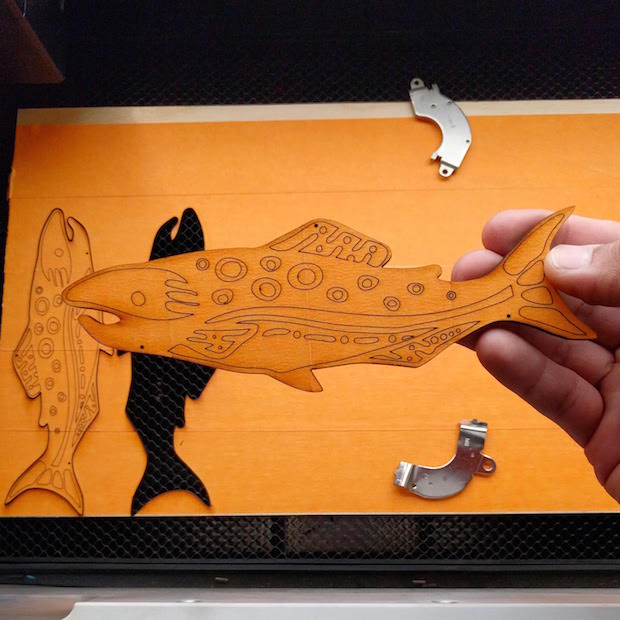
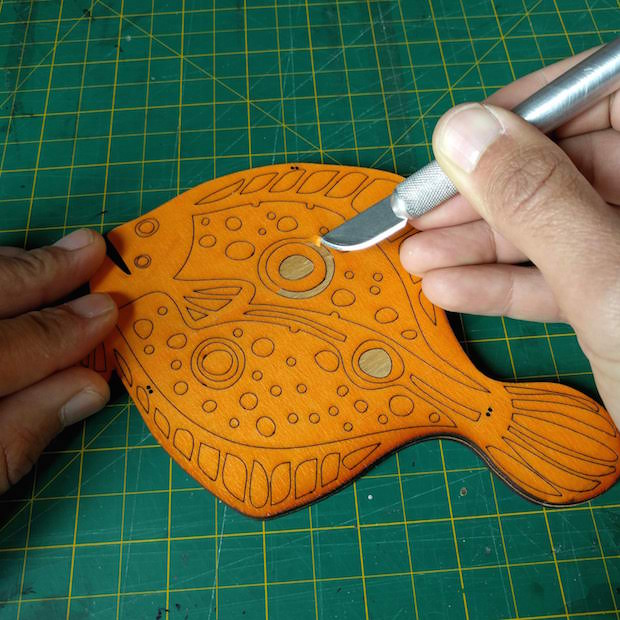
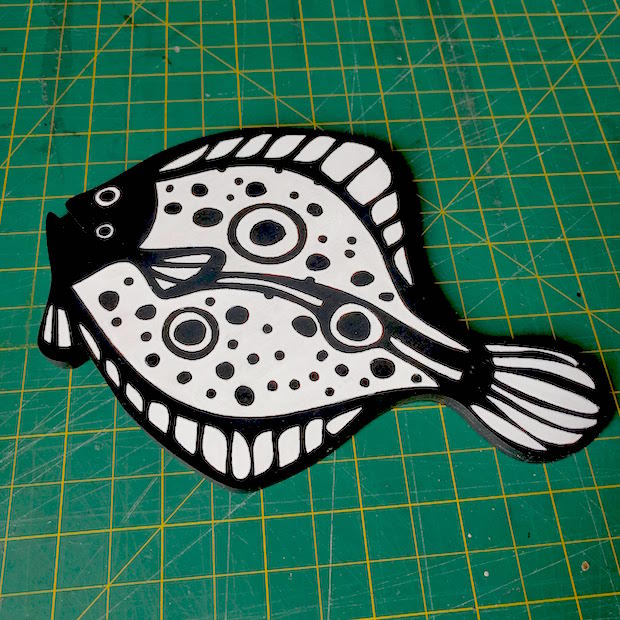
The fish are a salmon and a flounder since I wanted to have some species from California. I’m particularly proud of the salmon drawing. At this point I converted the images to vector drawings and started cutting them on the laser cutter. I used 1/8″ birch plywood. Every piece was cut in two parts that were mirror opposites. The plywood had masking tape which allowed me to precisely cut the mask for the shapes I had drawn.
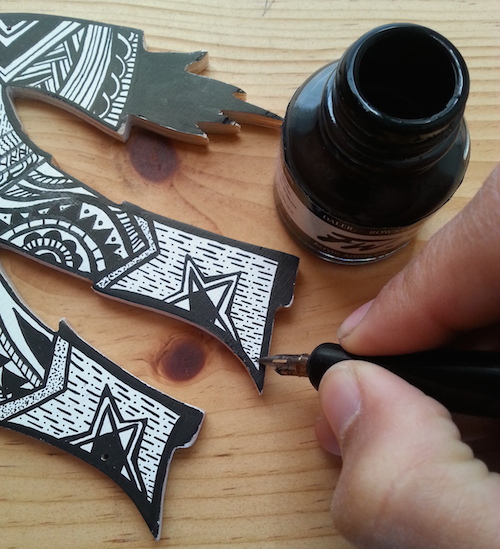
In order to glue the pieces, I made registration holes that fit a paper clip. Conveniently I could later use the registration holes for hanging the pieces. The holes were 0.03″ in diameter and 0.03″ apart.
I pre-treated one side of the plywood with spray-on shellac and a light sanding before applying the masking tape. I found that a light coat of shellac allows me to remove the masking tape without raising the grain and it’s a good surface for painting.
Two salmon pieces coming out of the laser cutter:
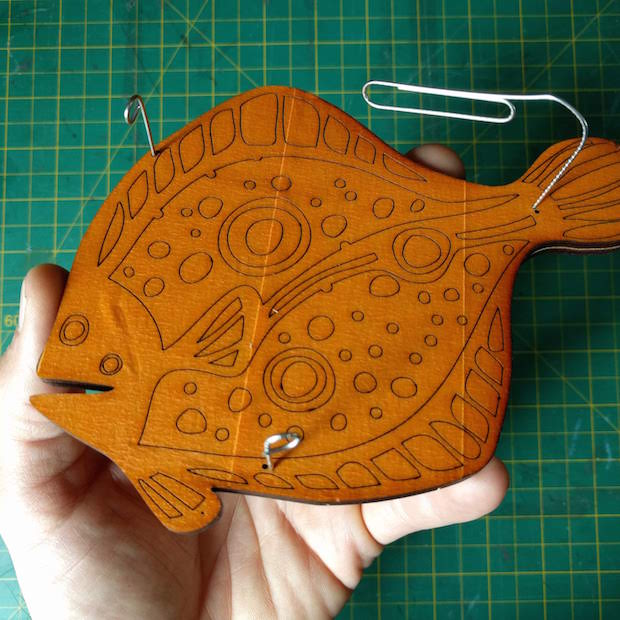
Flounder ready to be glued with the paper clips aligning the two pieces:
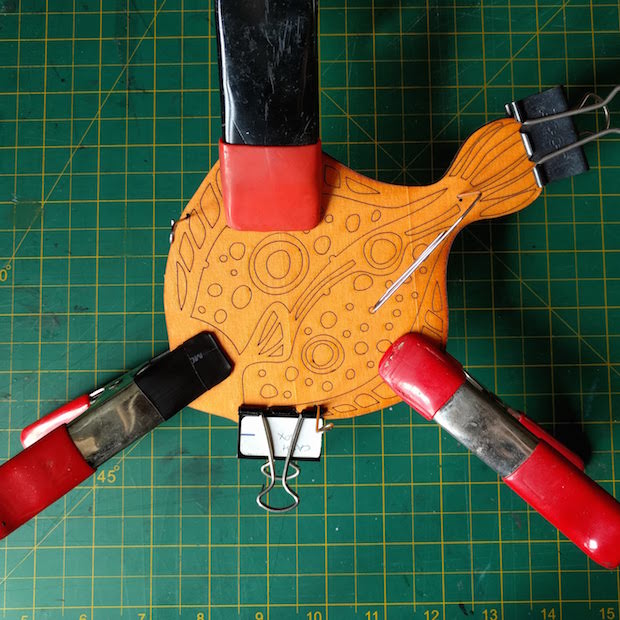
Never too many clamps when gluing. I used plain wood glue for this part:
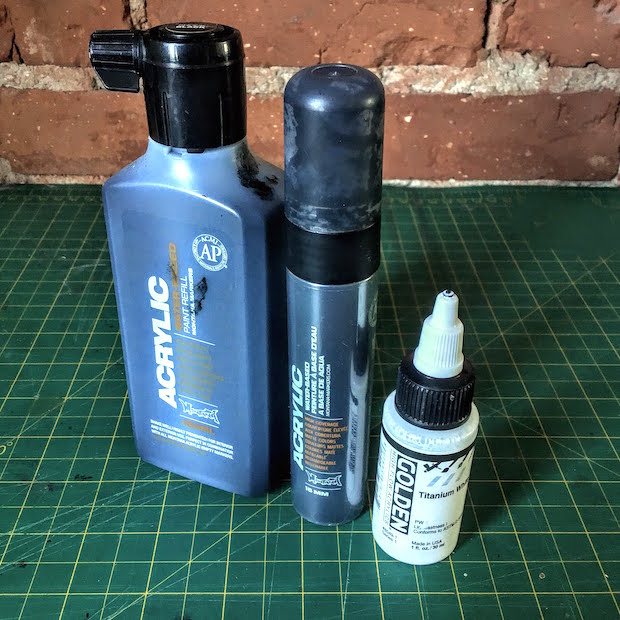
The fun thing about scoring the masking tape is that I don’t have to re-trace the drawings and I get to paint one of the colors with a blunt tool. For the black, I did two coats of Montana water-based acrylic paint, and for white two or three coats of Golden high flow acrylic. I like high flow acrylic because it can be applied with a brush or a quill for finer detail.
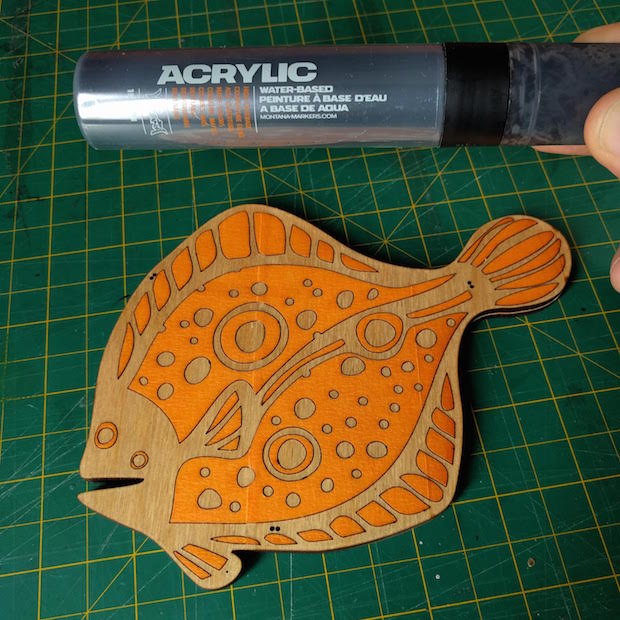
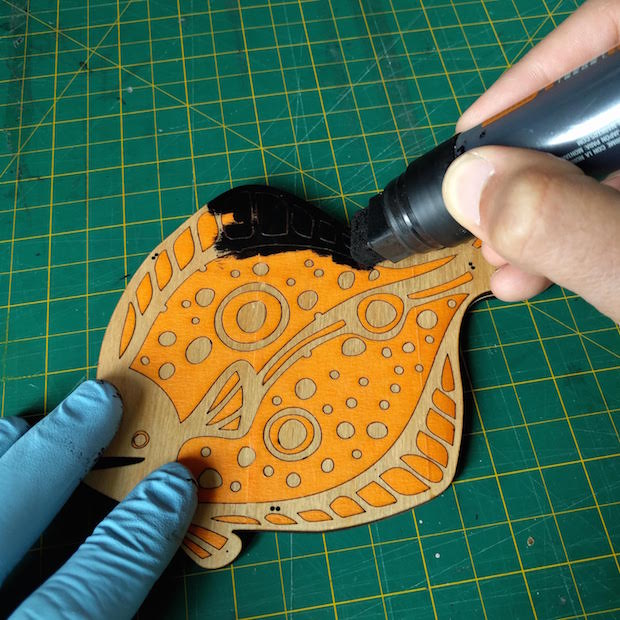
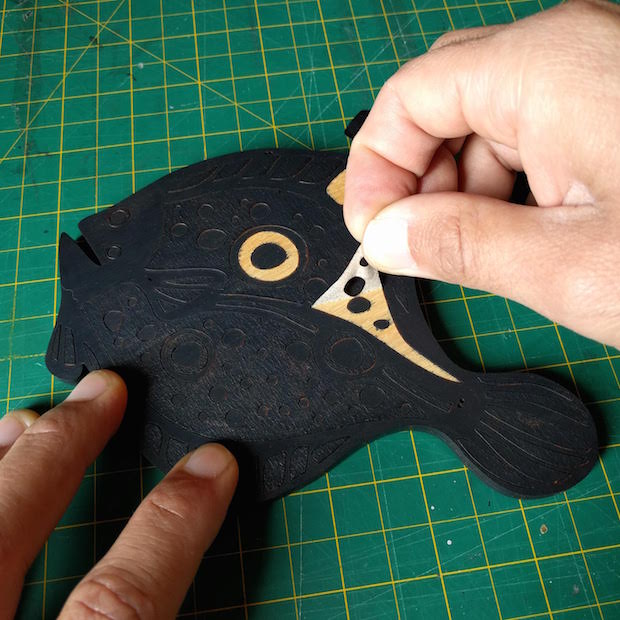
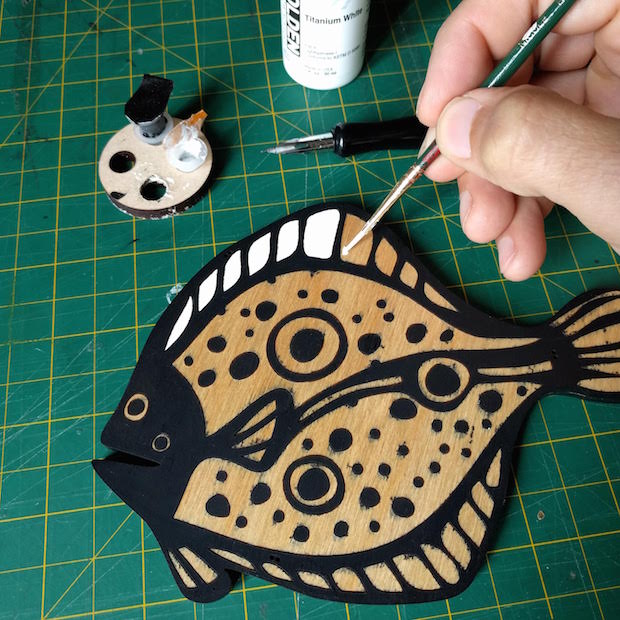
The bleed wasn’t too much of a problem on this project because I had a two-color palette but, incidentally I just saw this video where they suggest applying a clear coat before painting to clog the edges of the mask. I have to try that next time. On the last picture, I’m applying paint with a small brush and a quill for small areas.
I didn’t do all the pieces at once because I wasn’t sure the proportions were right on the mockup. I worked from the bottom up and at some point, I even re-cut the pieces that go on the flounder. The process could be more efficient but at the end, I was happy with the results.
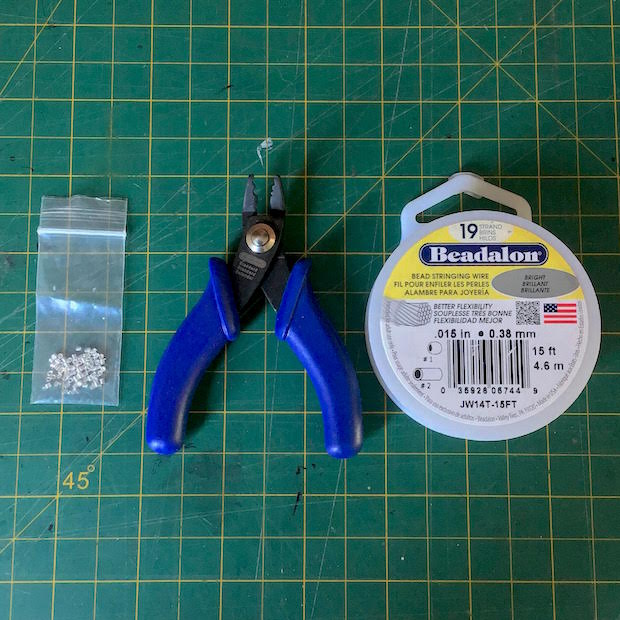
For the lines, I like using bead stringing wire. It’s flexible, strong, and it looks really clean. The one downside is that you need to purchase crimp tubes and a crimping tool. I think you could skip the crimping tool and use regular pliers if you are in a pinch. The crimping tool just gives you a slightly cleaner and more consistent look.
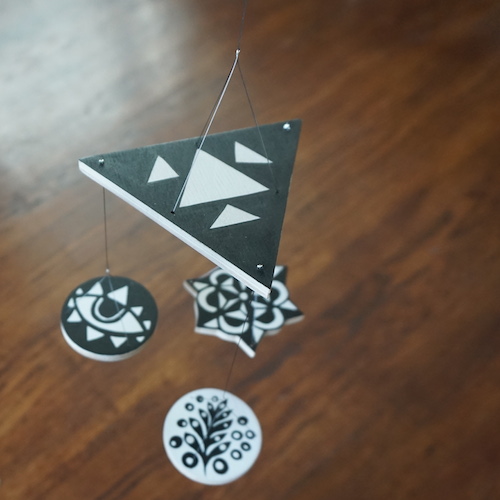
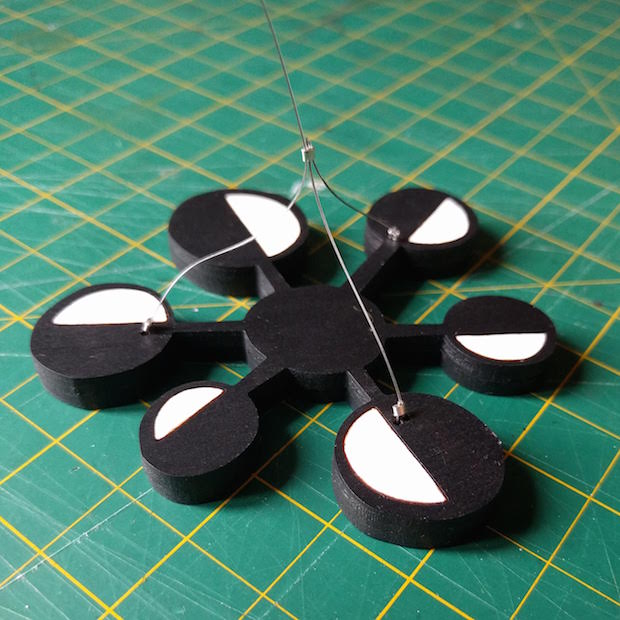
In order to make the pieces face down for the baby to see, I used this triangular arrangement:
Perhaps the most challenging part of this project was taking pictures of the finished product. It’s really hard to convey the experience in still images. Here are my attempts, thanks for reading!