Experiments with Air-Dry Clay

When I saw Shaun Tan’s “The Singing bones” I fell in love with his simple and evocative sculptures. I was delighted to find out he used inexpensive materials and techniques so I set out to experiment on my own. In the afterword of The Singing Bones Shawn explains:
“The main materials I’ve used are papier-mache and air-drying clay, carved back and painted with acrylics, oxidized metal powder, wax and shoe polish. The resistance of clay in particular at a small scale encourages simplicity, especially where the key tools are blunt fingers and thumbs: Faces and gestures are abbreviated, just like characters in the tales themselves. “
He also wrote a blog post about his process. I remember playing a lot with modeling clay when I was a child. I created a lot of creatures and strange faces and I think I wanted to experience that aimless sense of creation again. I bought some relatively inexpensive Crayola brand air-dry clay at a store near me and set out to feel the material.

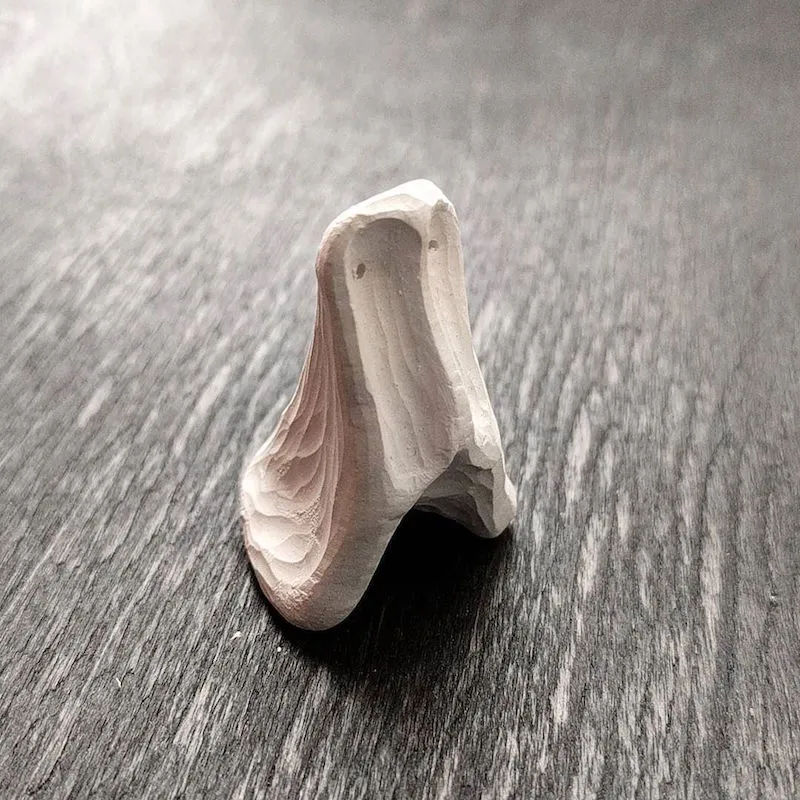
It’s nice to work with when wet and it accepts the common clay techniques and tools. But my favorite part is carving it when it has dried a little bit (usually a few hours depending on your climate).
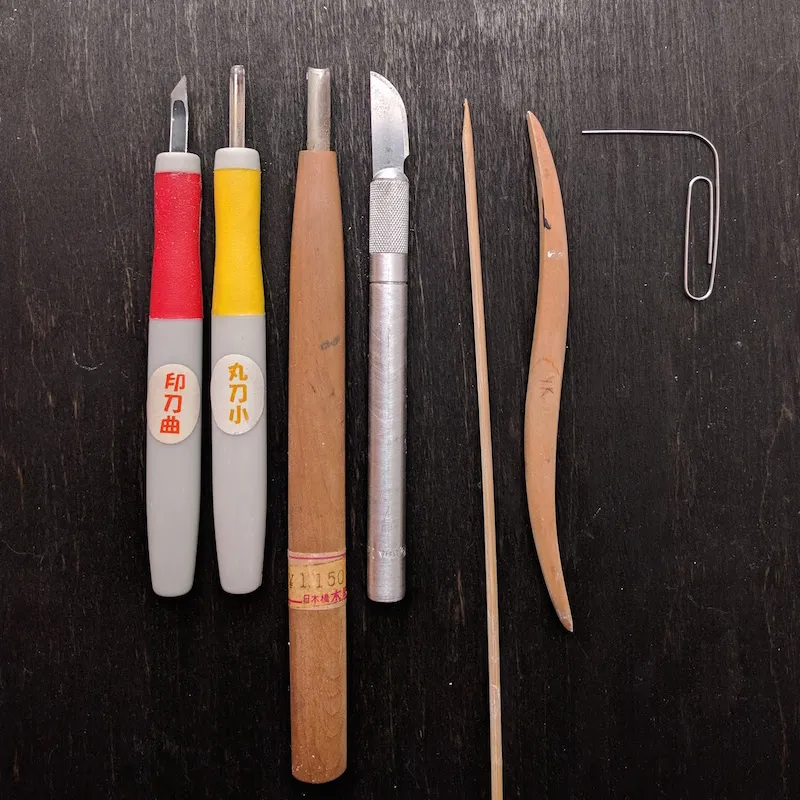
The tools I’ve been using besides my fingers are a couple of carving gouges, an X-Acto knife with a #22 blade (the curved edge is nice for scraping), a paper clip and a bamboo skewer:
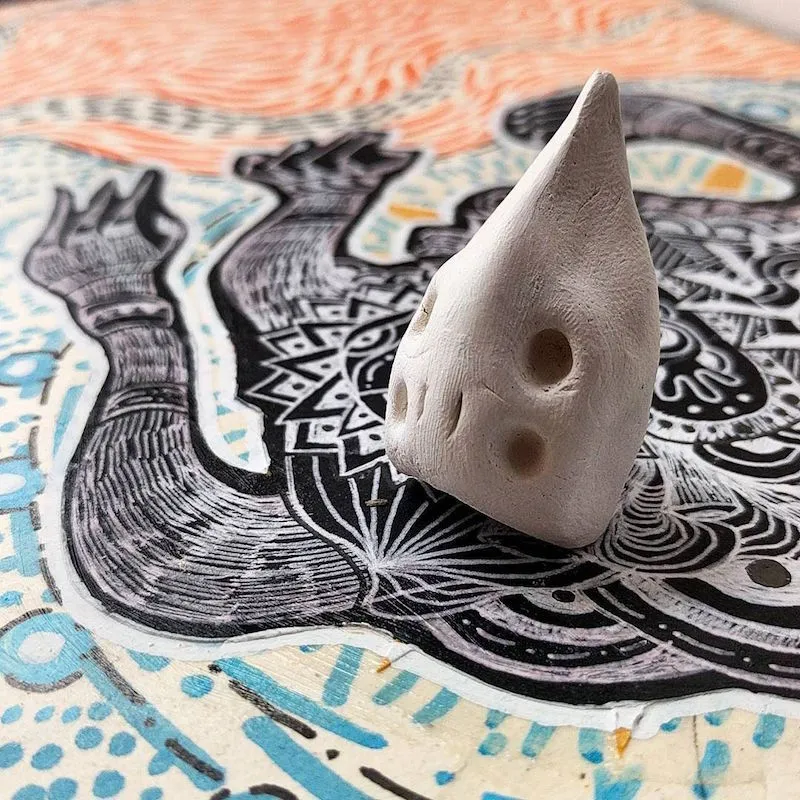
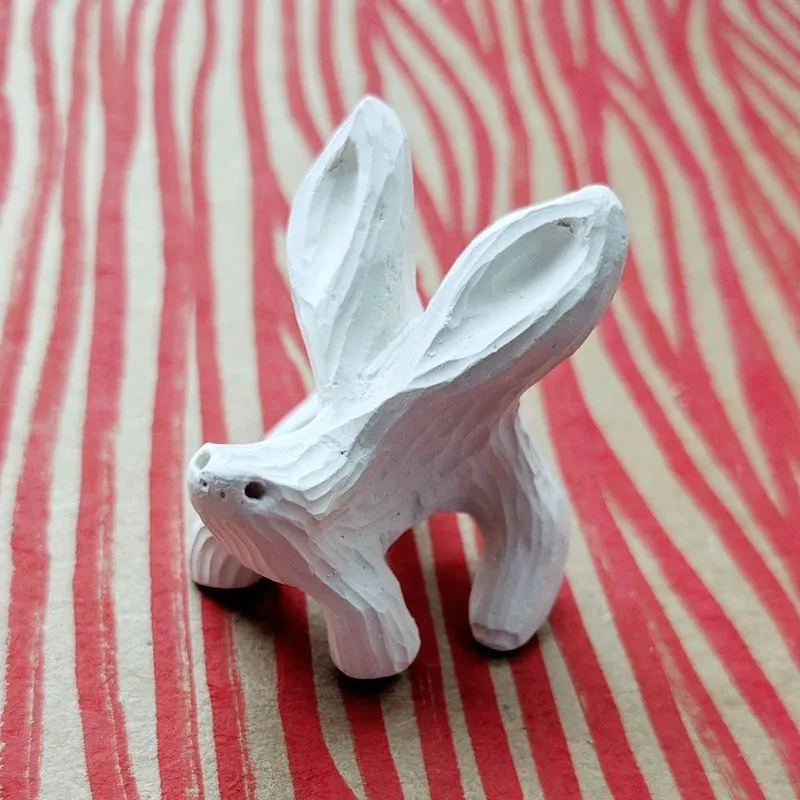
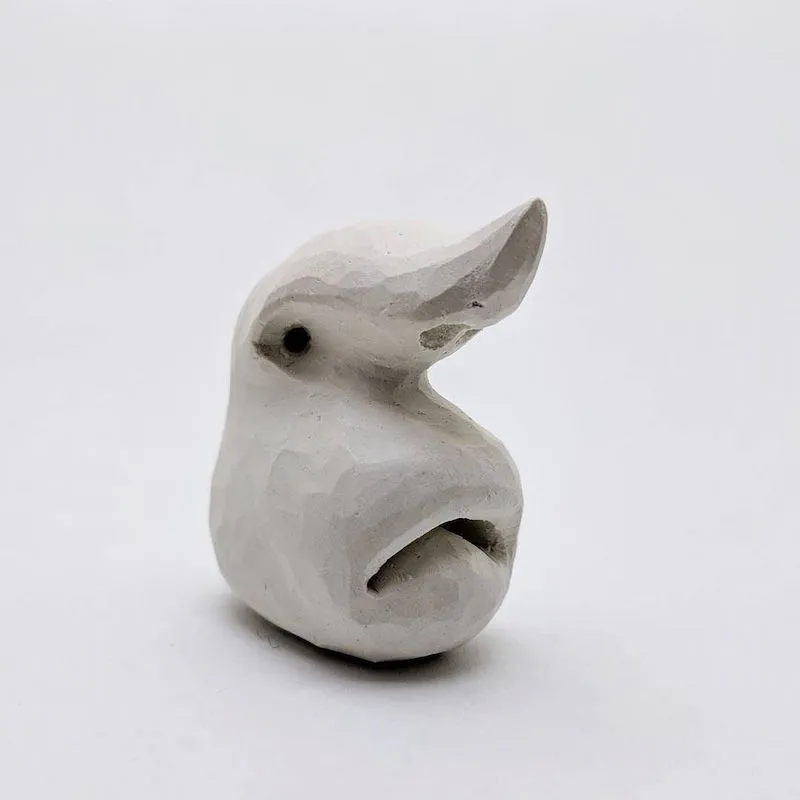
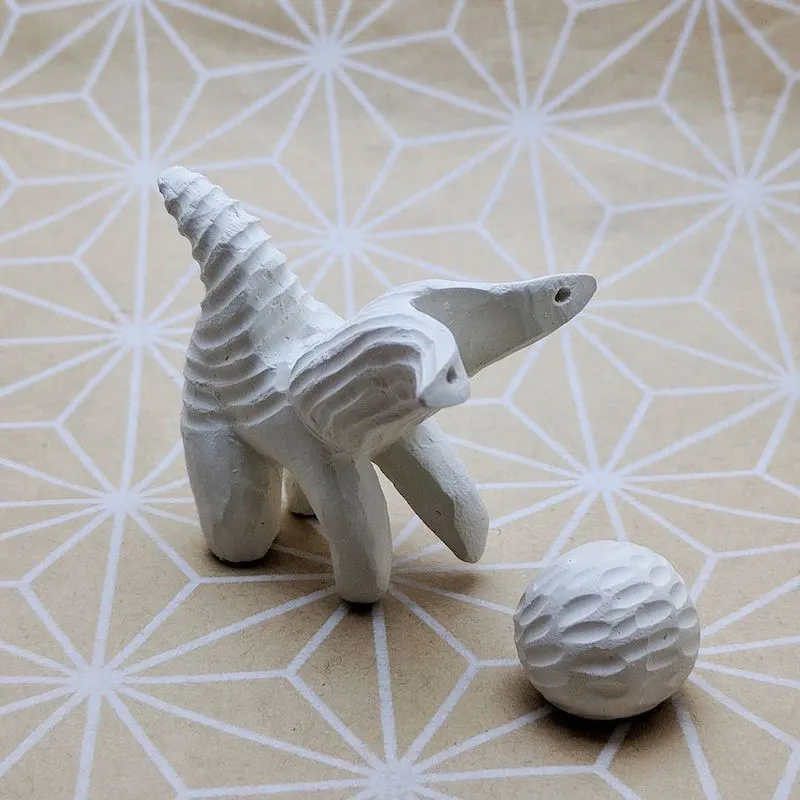
Size wise I’ve stayed below 1.5″ x 1.5″ roughly. I think this type of clay can support bigger sizes especially if you make a wire structure but it’s nice to have limitations. Here are some of the characters I’ve made so far, ruler and coins for scale:
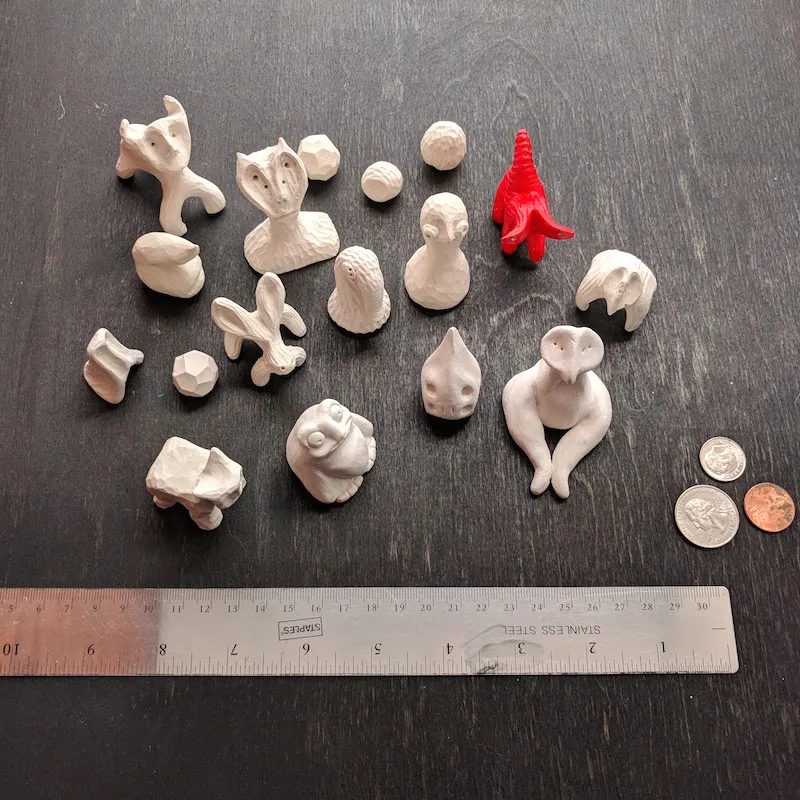
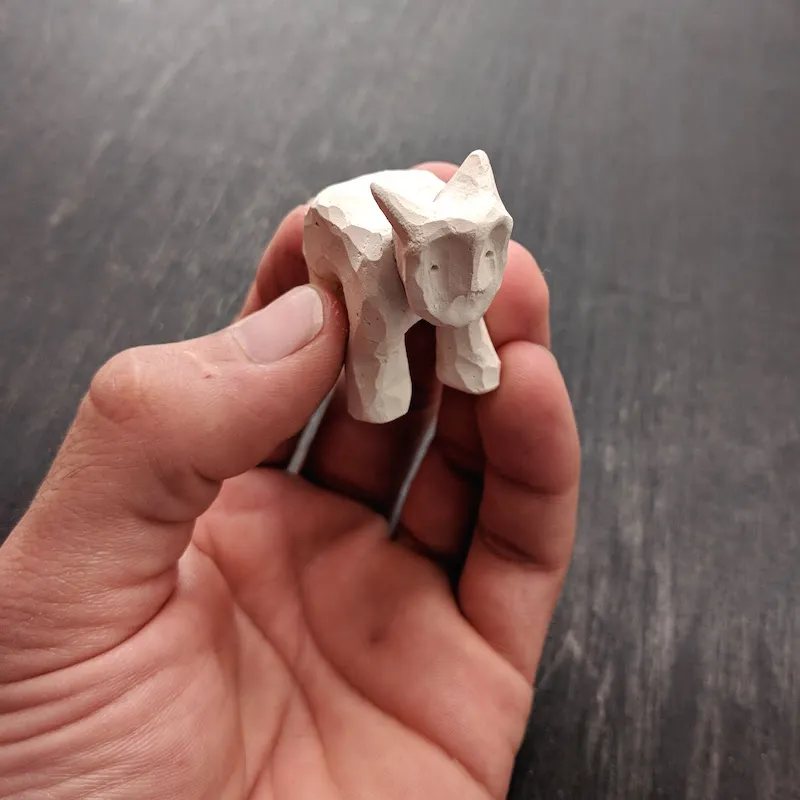
Right now I’m more interested in the shapes than in the stories of each character. Although I hope some of the pictures will suggest a story by themselves. Here is a collection of the ones I’ve posted so far on my Instagram account. I think it’s a fun and approachable material, I suggest you give it a try.