
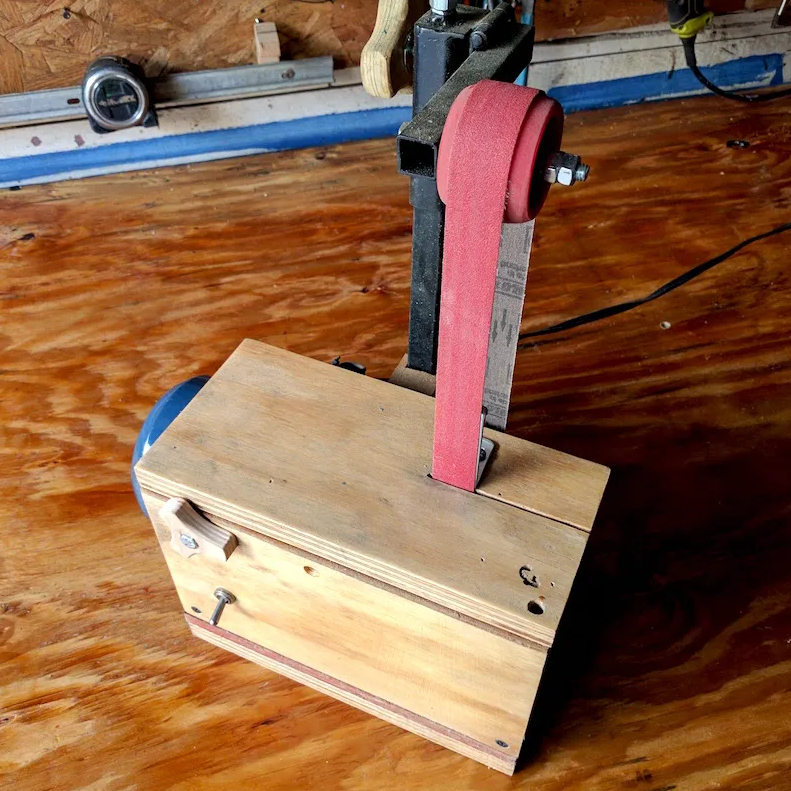
DIY belt sander
In my last post I documented my budget bandsaw repair. This one is about documenting a little belt sander I built with mostly found parts. There are tons of home made belt sander builds on the internet and I don’t feel like I’m adding anything new, but I still wanted to put it out there, maybe I will inspire your own build.
I tried to keep it as simple as possible and the most obvious consequence of doing that is that it’s not particularly pretty. But it works and I made it with minimal parts and expense.
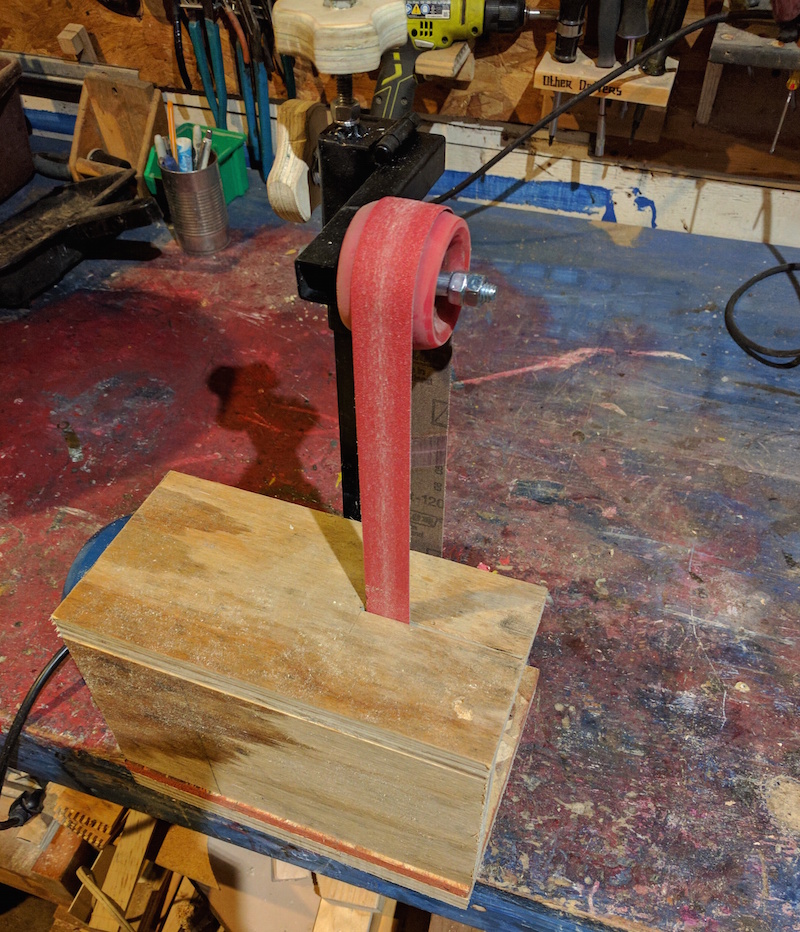
This sander uses a 1″ by 30″ belt. That means the belt is 1″ (inch) wide and has a 30″ circumference. It’s useful for sanding small parts and inside corners. It’s also very easy to change the belts in case you want to use different grits. It’s also particularly nice for sharpening knives and other tools.
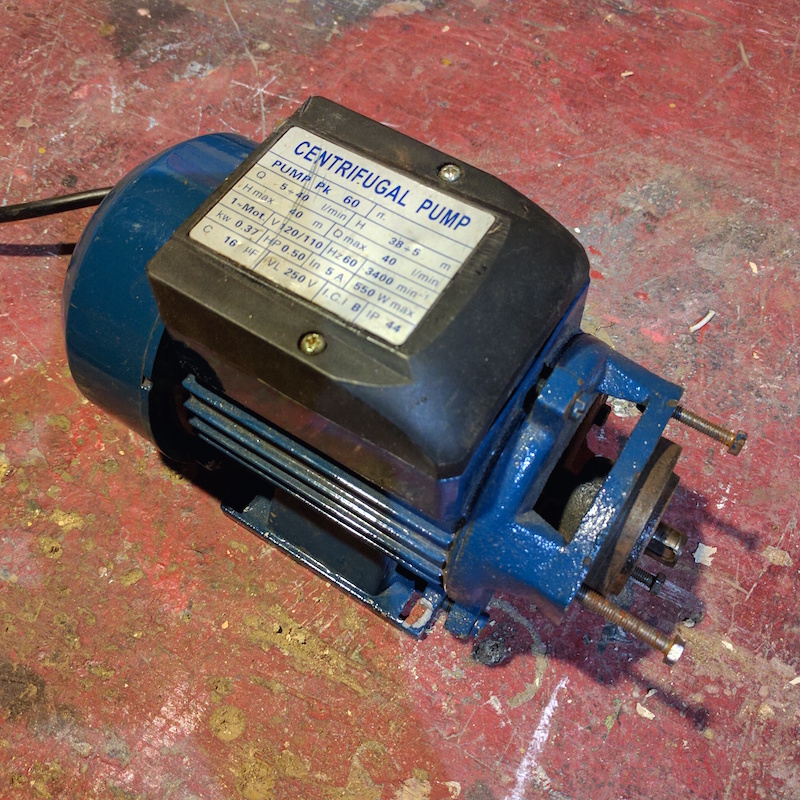
The starting point was this 1/2 hp motor from a pump that a friend was getting rid of:
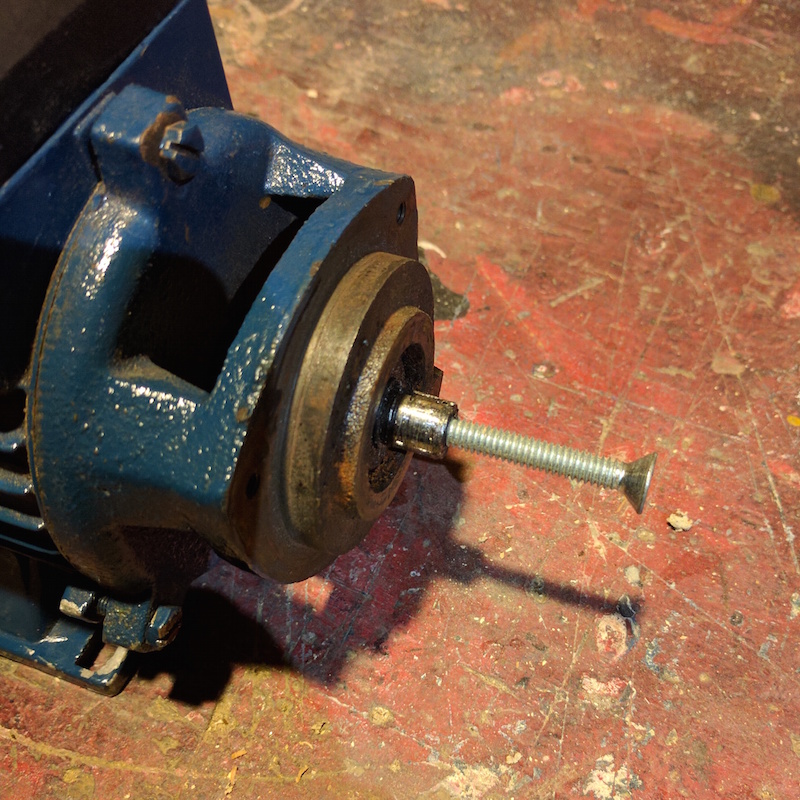
My first step was to drill and tap the axle:
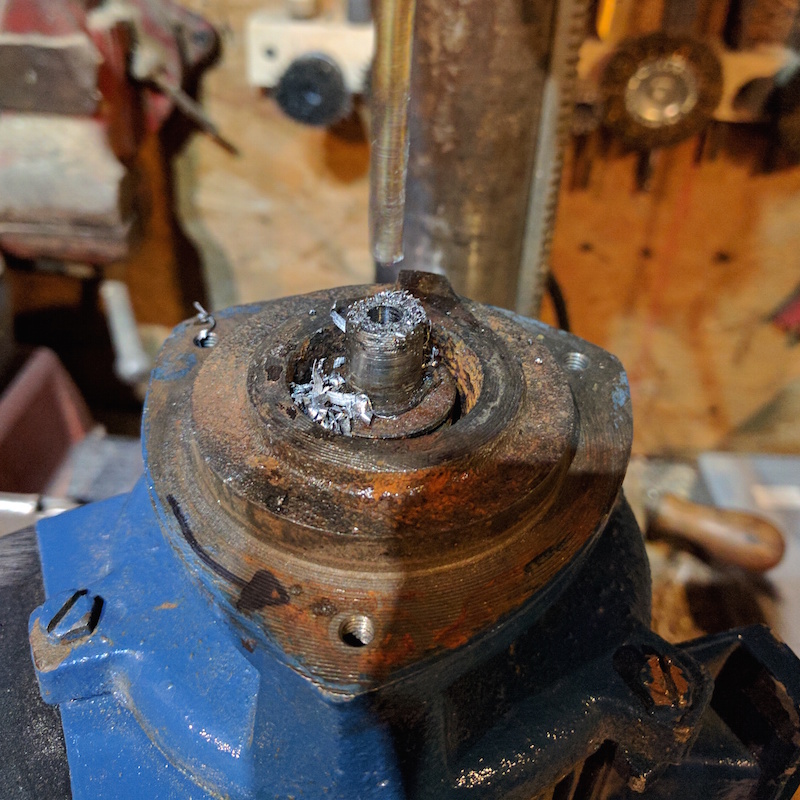
Here I’m starting the tap with the drill press to keep it straight:
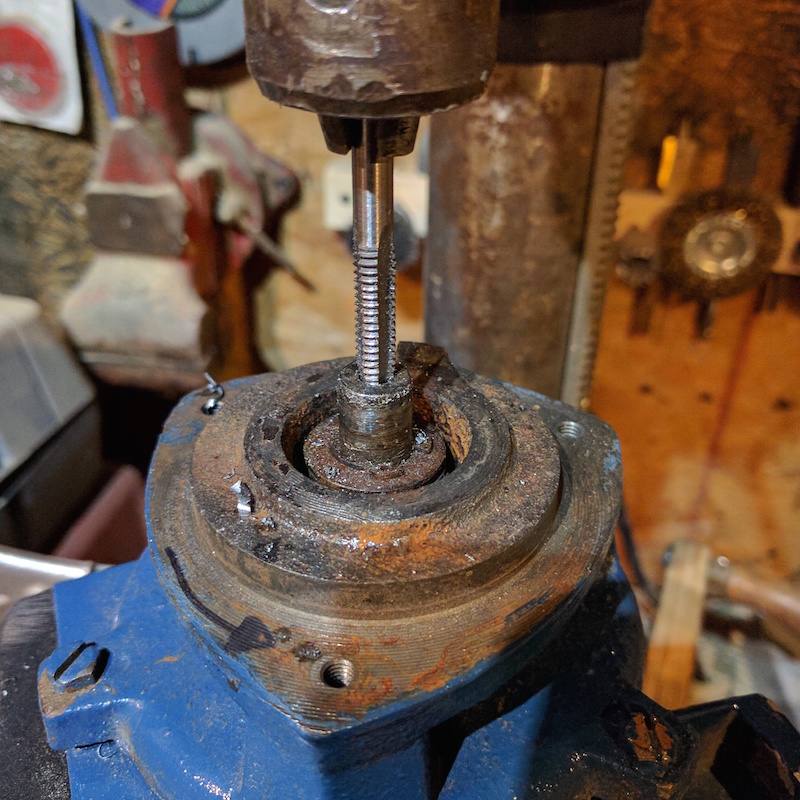
And then finish it with the hand held tap holder:
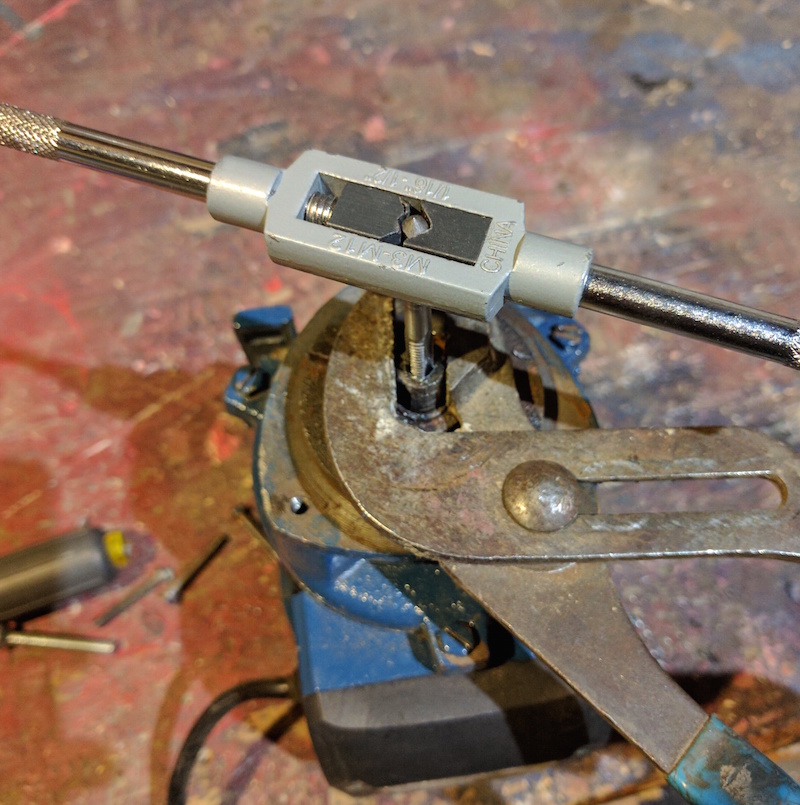
I used a 1/4″ – 20 bolt but in retrospective I think something thicker would be better.
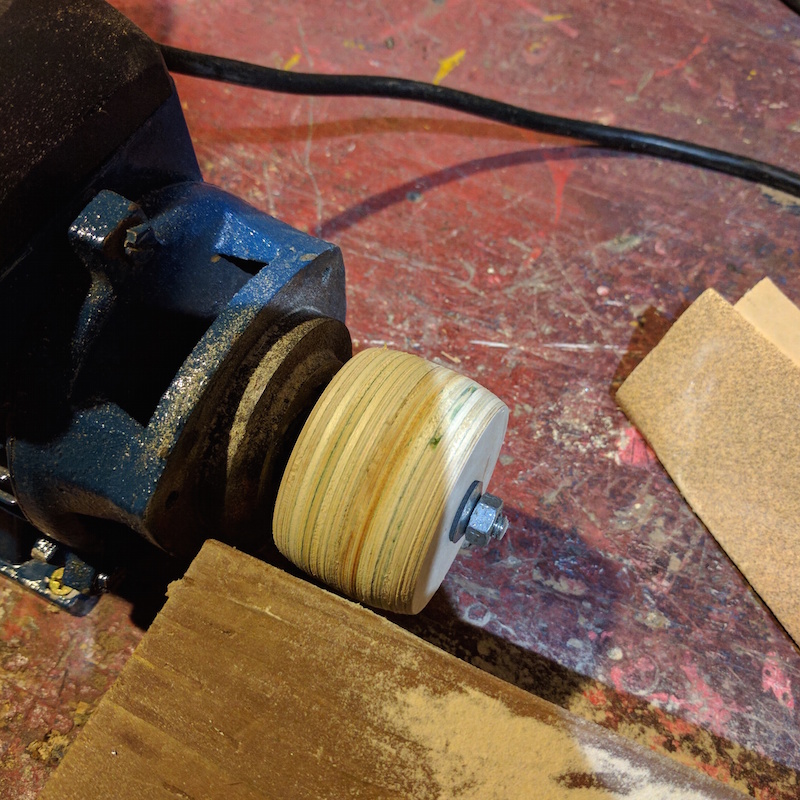
The next step was to cut and glue a couple of plywood circles:
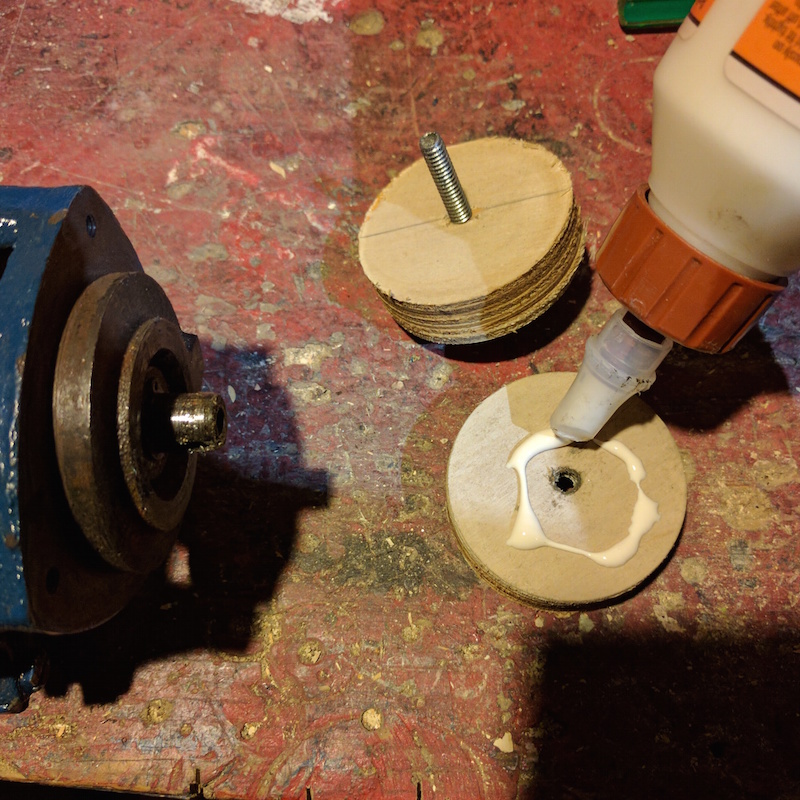
And mount them to the motor:
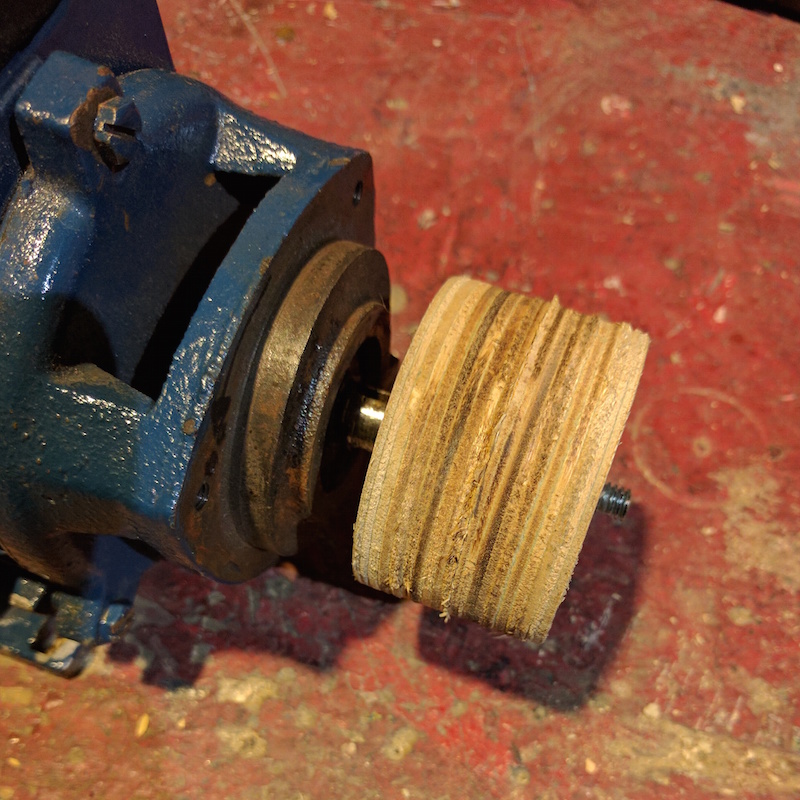
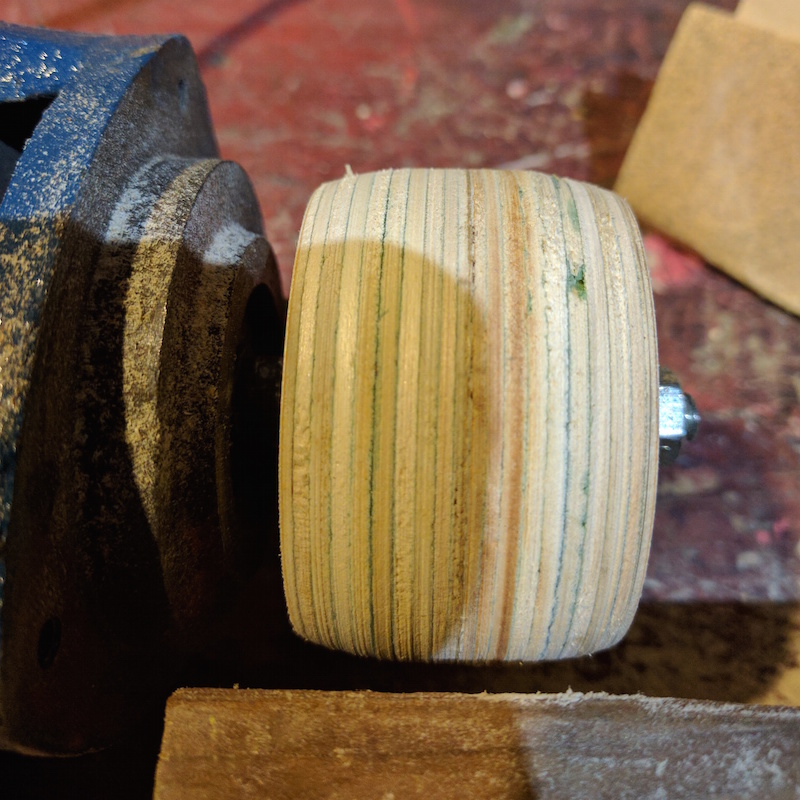
This is after some turning and sanding. I secured the motor to the table and used a chisel against the 2×4 improvised tool rest to turn the piece and give it a crown:
Not bad:
After that I started working on the idler pulley. I had a skateboard wheel, I secured it with a bolt and some washers:
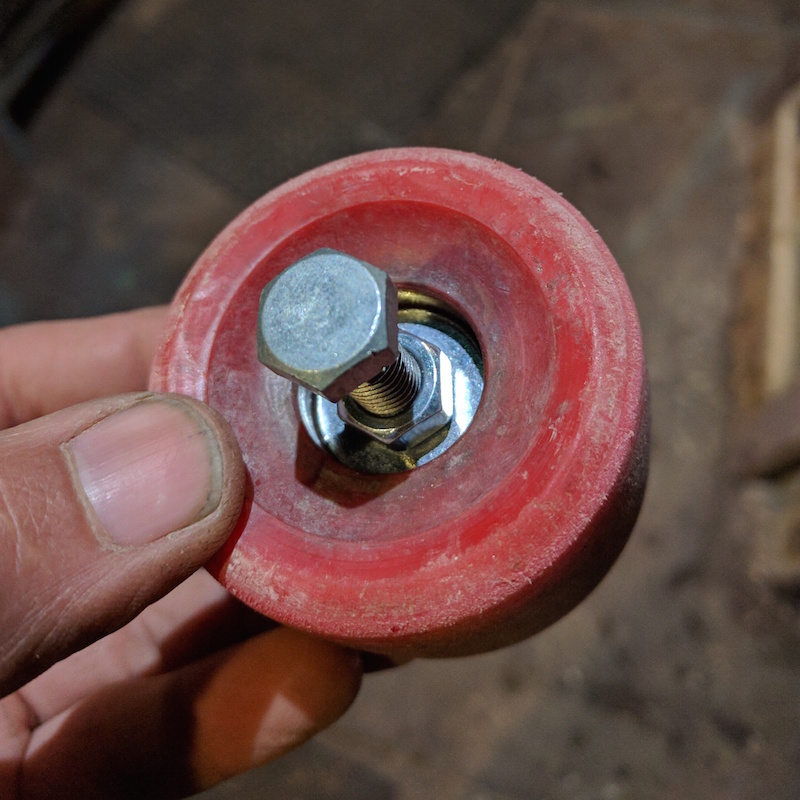
And mounted it on the drill press:
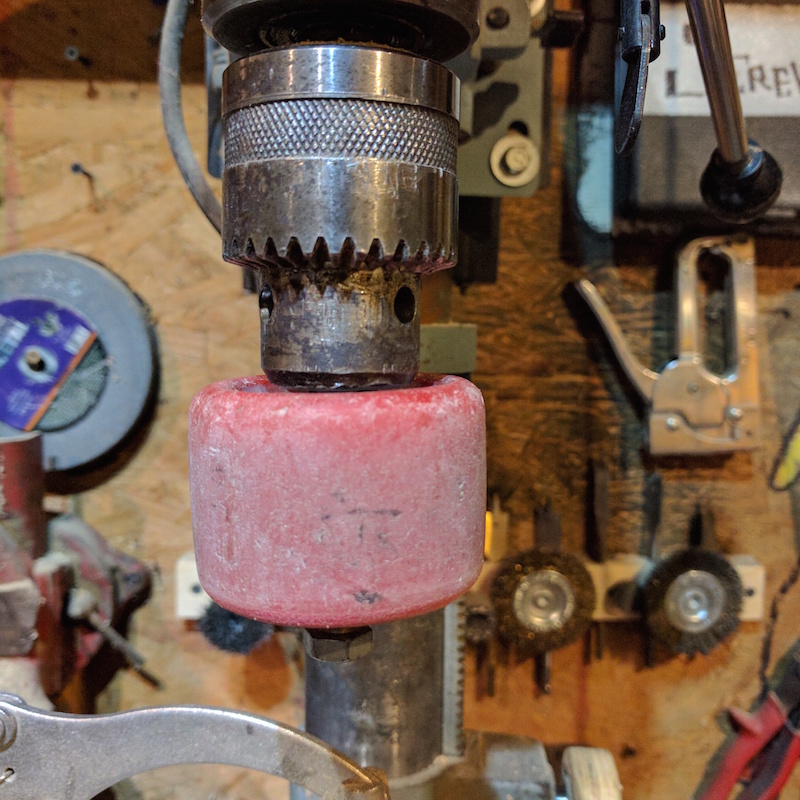
I did the rough shaping with this rasp:
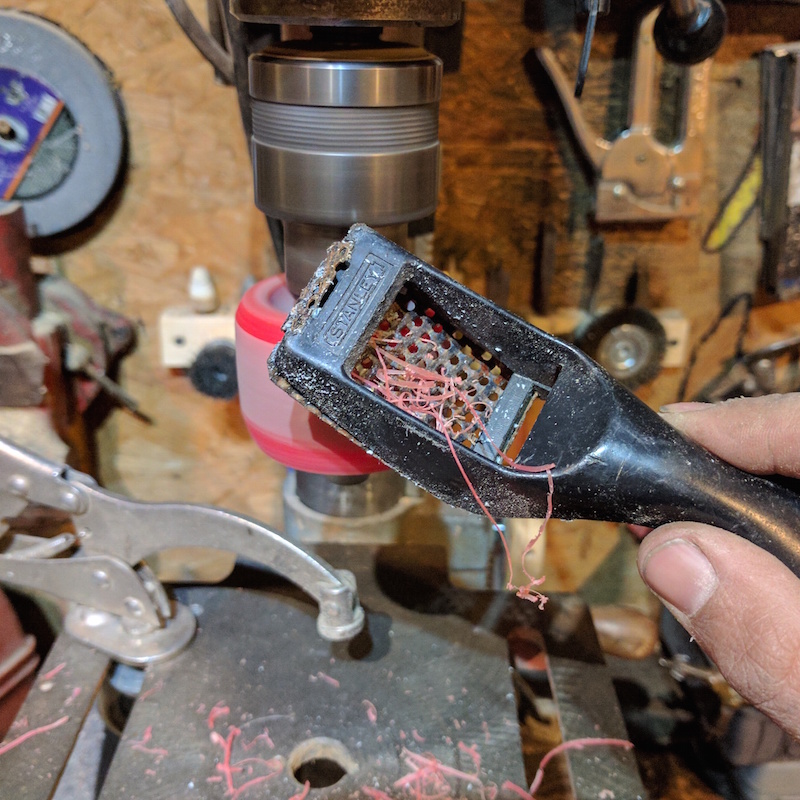
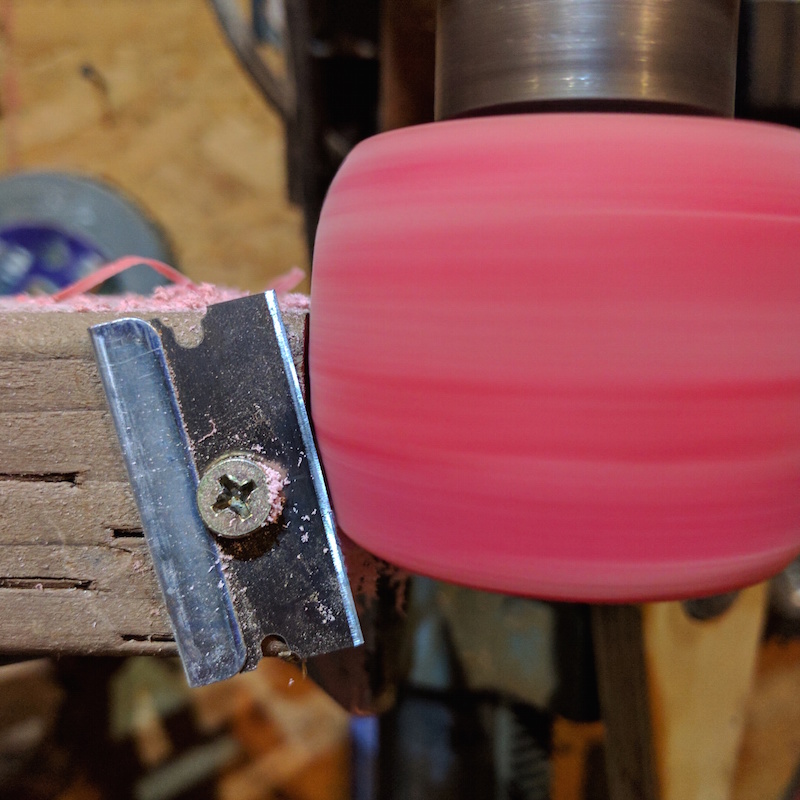
Finished it and crowned it with this set up. The Blade is secured to the 2×4 with a screw. The 2×4 is clamped to the drill press table. This allows for fine control of the turning.
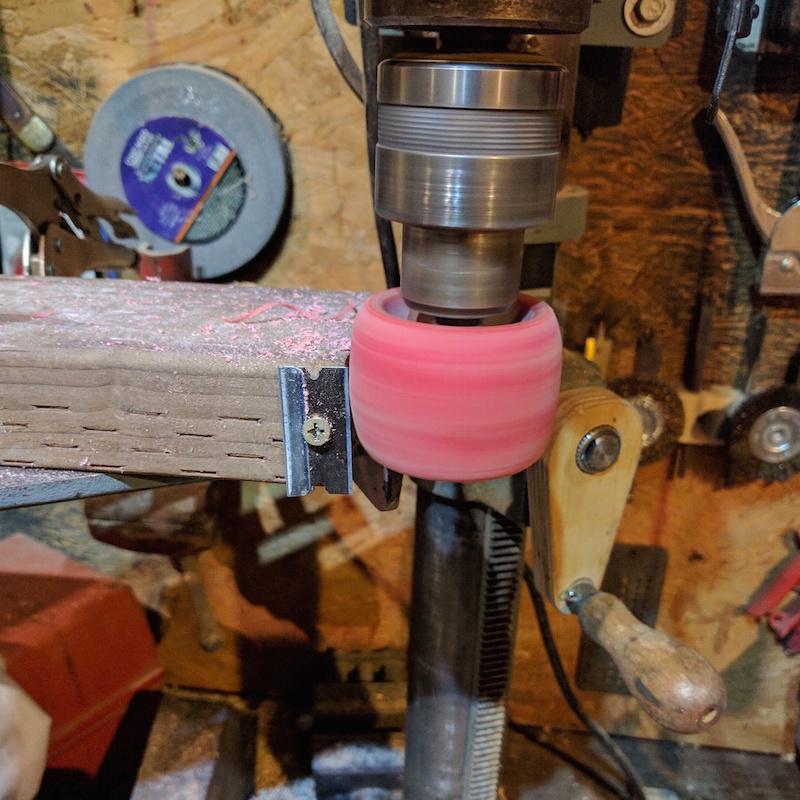
Detail. This blade is really thin but it did the job. I think if i were to do it again I would use a thicker utility blade.
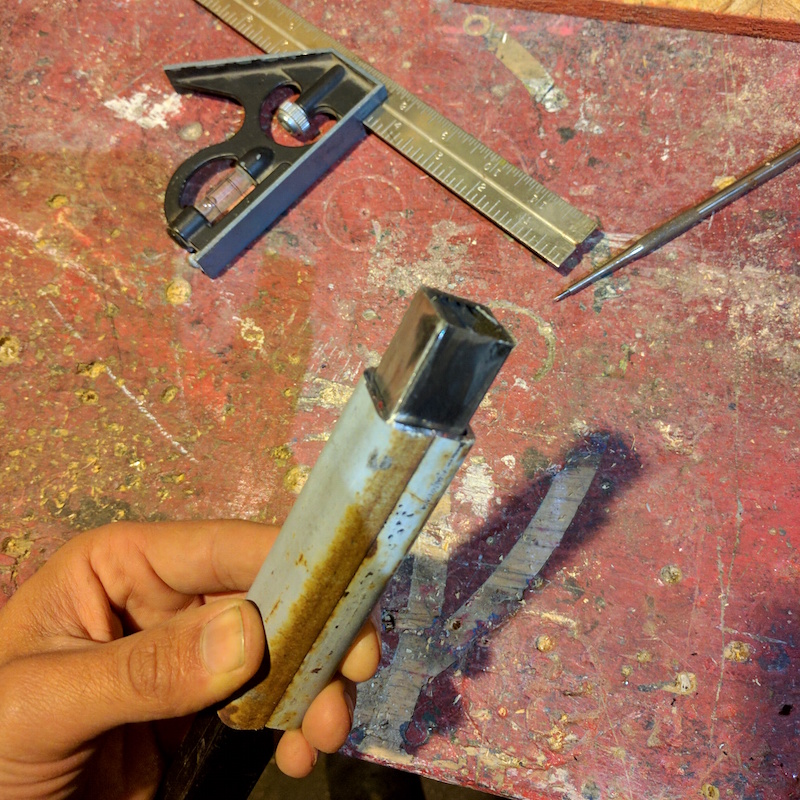
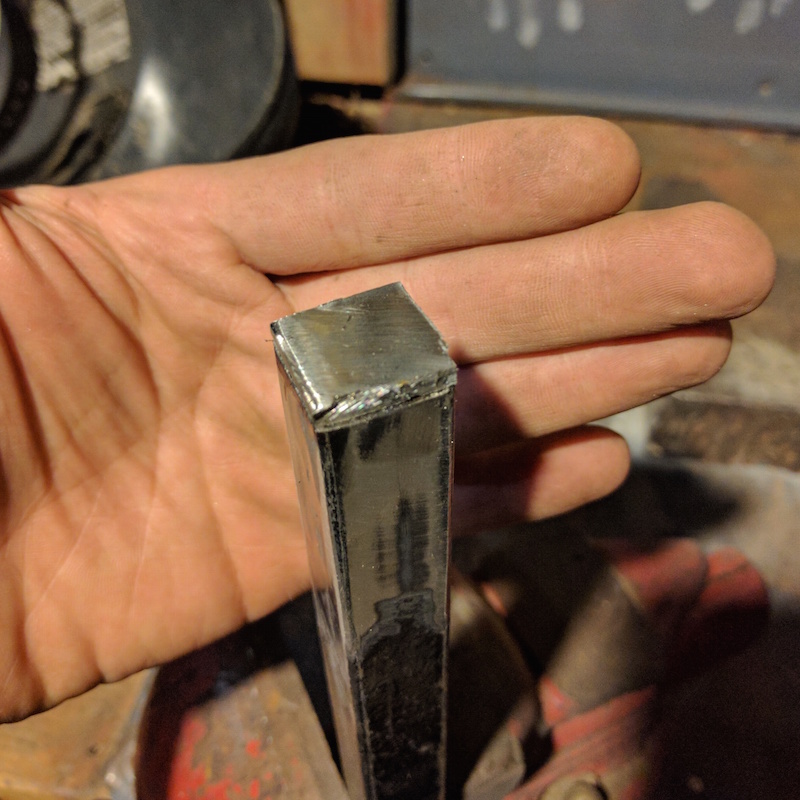
The next step was the structure. I started by making a sleeve for the metal post:
Then I positioned this door hinge on top of the sleeve:
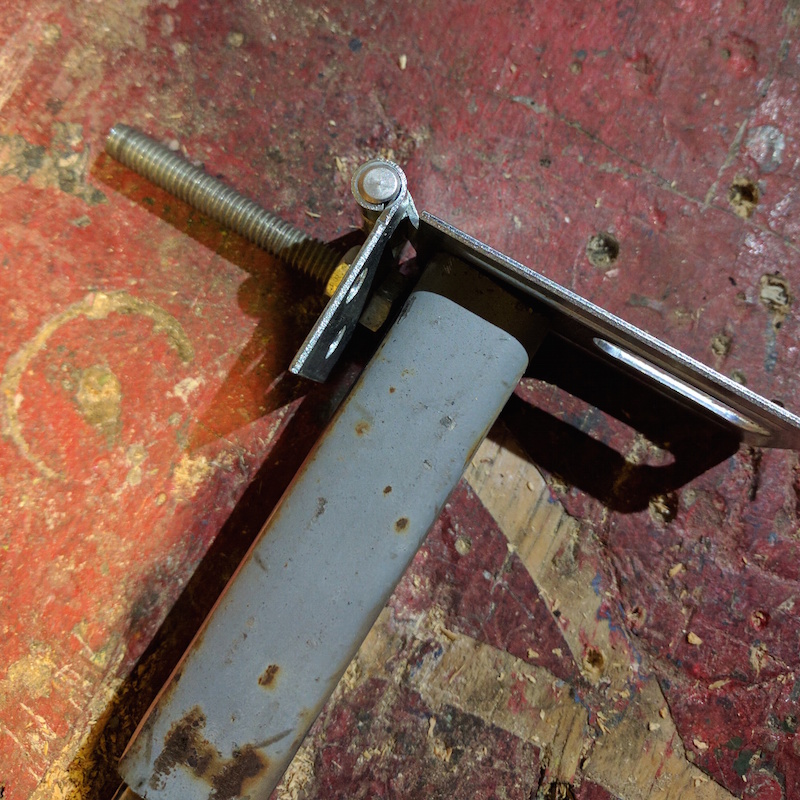
And trimmed the excess metal:
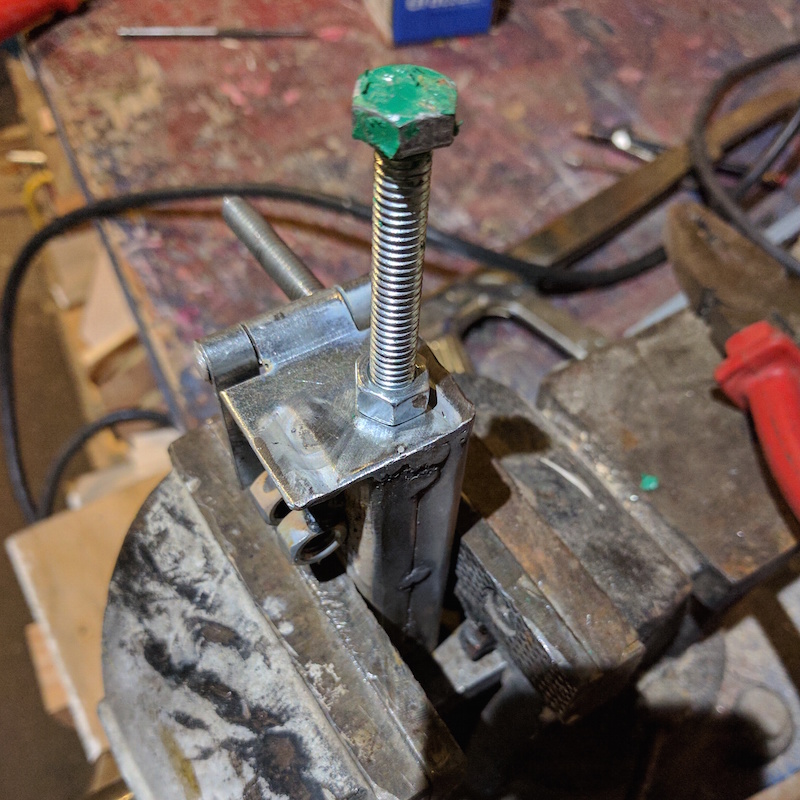
After that I added the tension adjustment bolt. In this picture I’m setting it up to weld the nut in place:
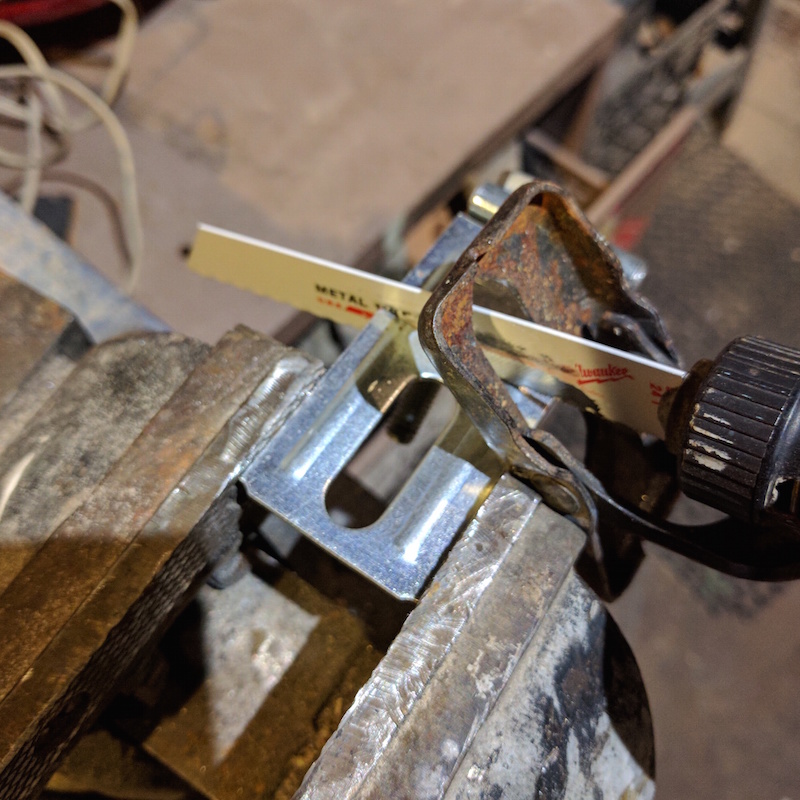
The tension adjustment bolt needs to rest on a flat surface so I added this piece to the main post:
This is the main post after welding the base:
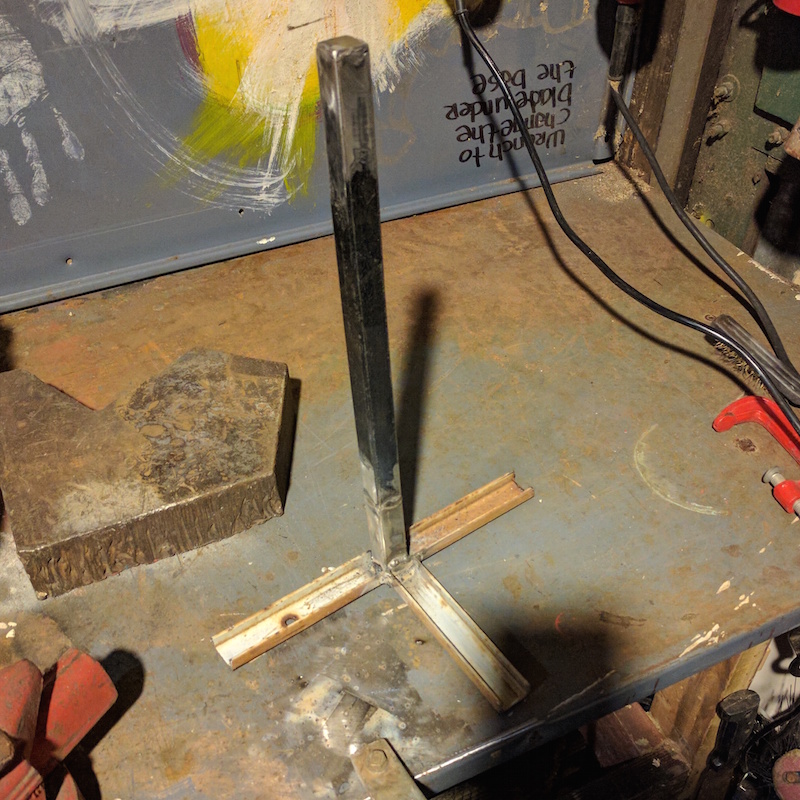
And it comes together when bolted the the plywood base:
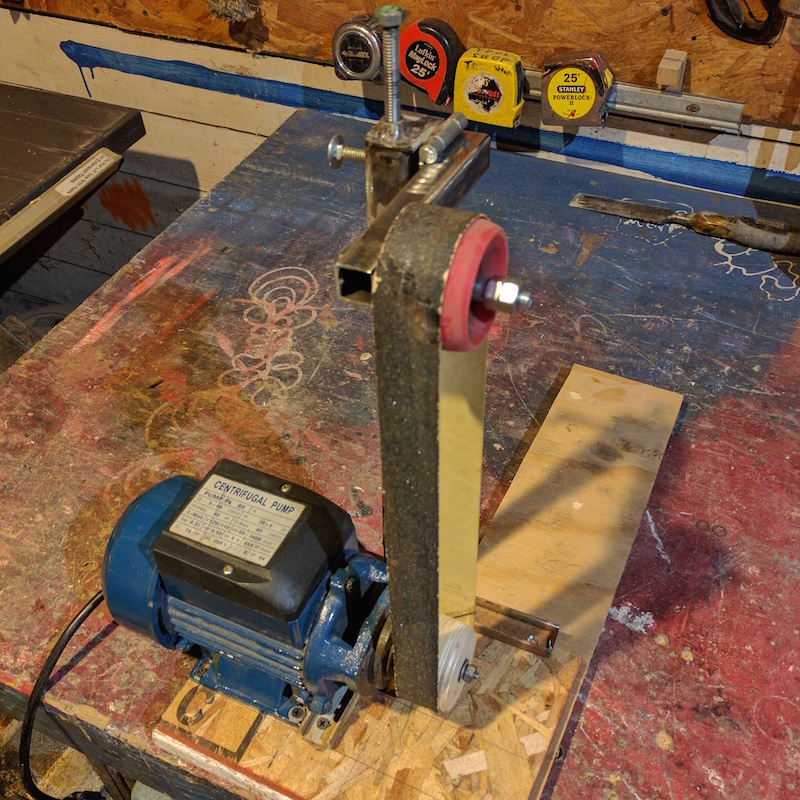
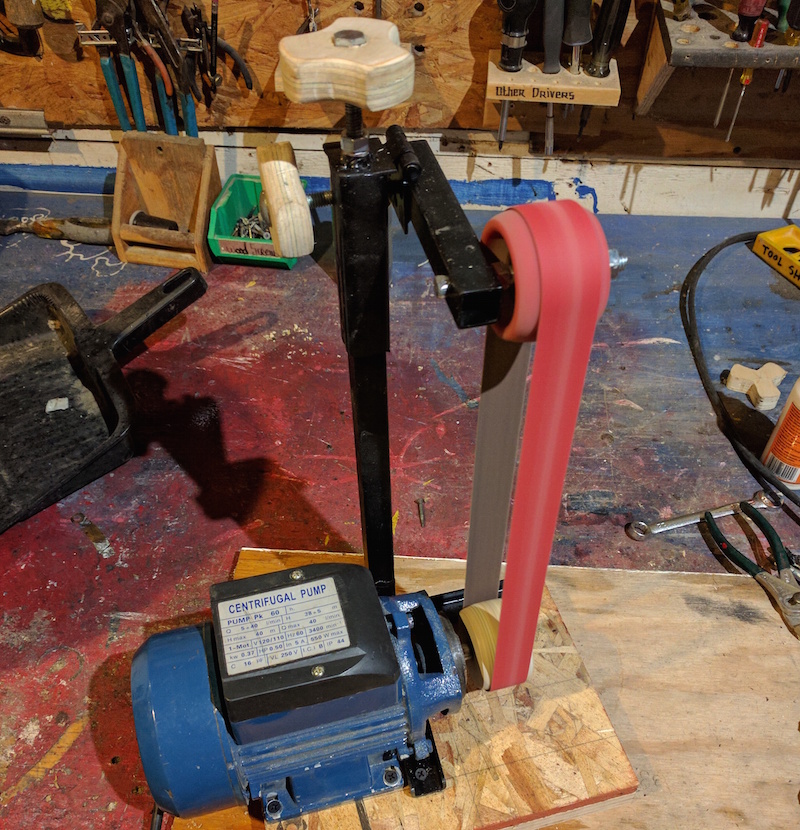
After I made sure everything was working I took it apart and painted the metal parts and made some wood knobs. The top knob adjusts the tension and the side knob tilts the wheel to adjust the tracking.
Added some 3/4″ plywood for the front and the table:
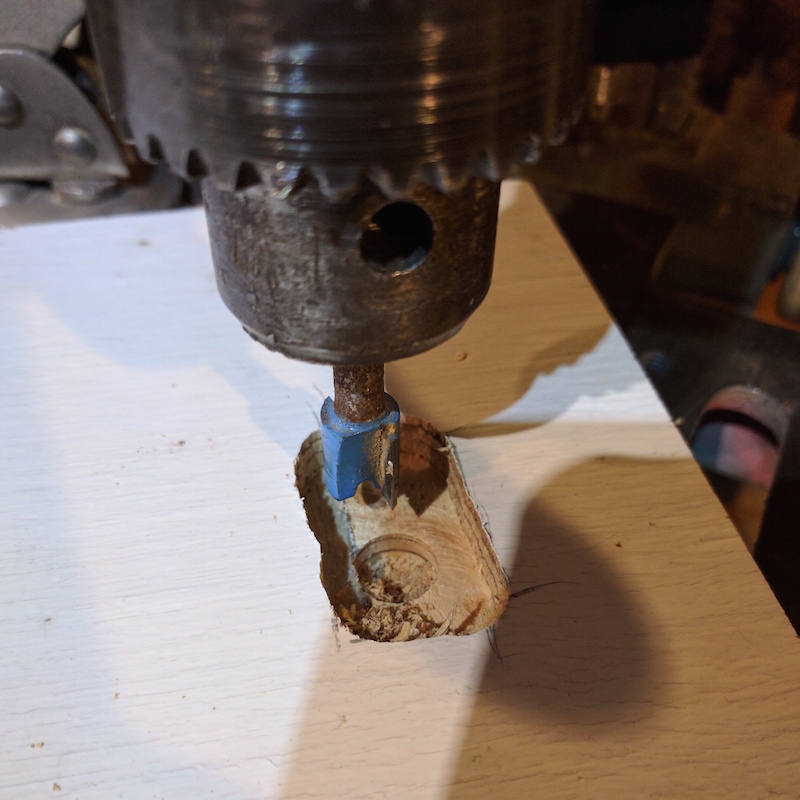
In order to mount the switch I hogged out a pocket with a router bit mounted on the the drill press. Not super clean but it does the job:
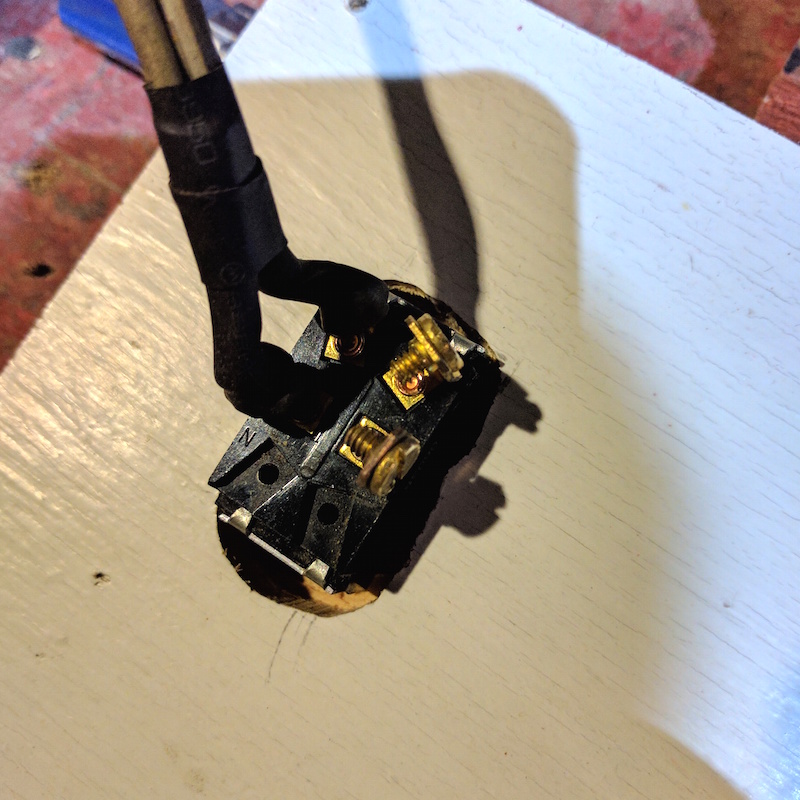
The switch. Wired and protected with shrink-wrap tubing:
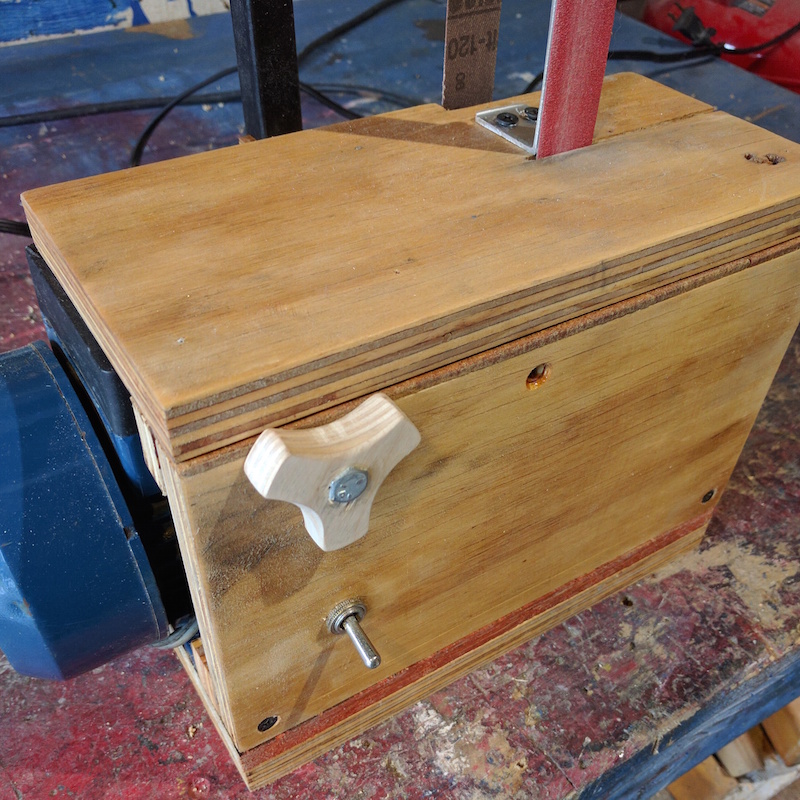
Here you can see the switch from the front and other final details. That knob in the front threads onto the table to secure it in place. I wanted to be able to remove it easily for changing the belt and cleaning.
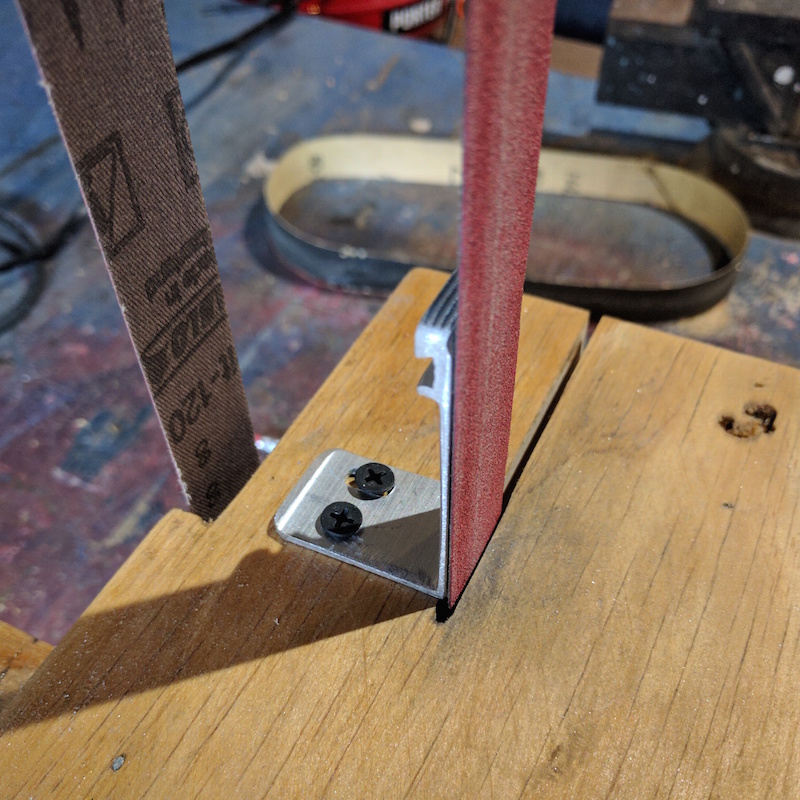
And here is a closeup of the backing plate. I found an aluminum l-bracket and cut it to size:
And it’s done. I finished it with shellac. I love the feeling of making your own tools (almost) from scratch. I mean, if I were to buy a $70 belt sander I wouldn’t put it on my resume.
