
Budget Bandsaw Repair
The workshop part of the wolfCat Workshop name means a few things to me. One, it is a hope: I aspire to build that ideal workshop, my ideal workshop. For years I’ve made do with whatever is at hand: empty balconies, borrowed kitchen tables, benches in forgotten places, corners in someone else’s garage. I’ve also worked in very nice workshops with really clever people. I love workshops and I love making. My current situation is not that bad. I share a one car garage with a group of folks. We have a few nice tools and as shared spaces go this one is pretty organized.
For a while now I wanted a bigger bandsaw and had been looking online for used deals. I had also been considering building one following Matthias Wandel’s plans. As it happened this ended up being something in between. A little disclaimer: I posted a short version of this build on imgur.
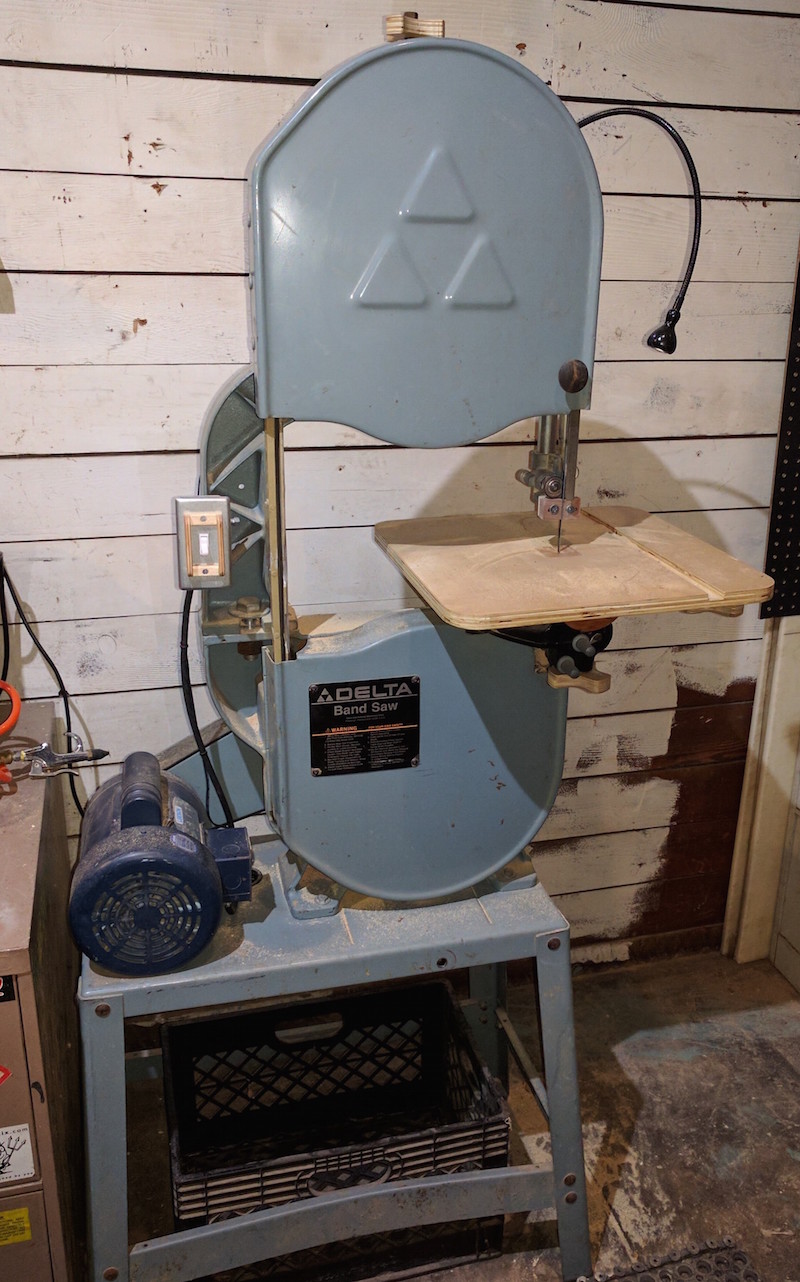
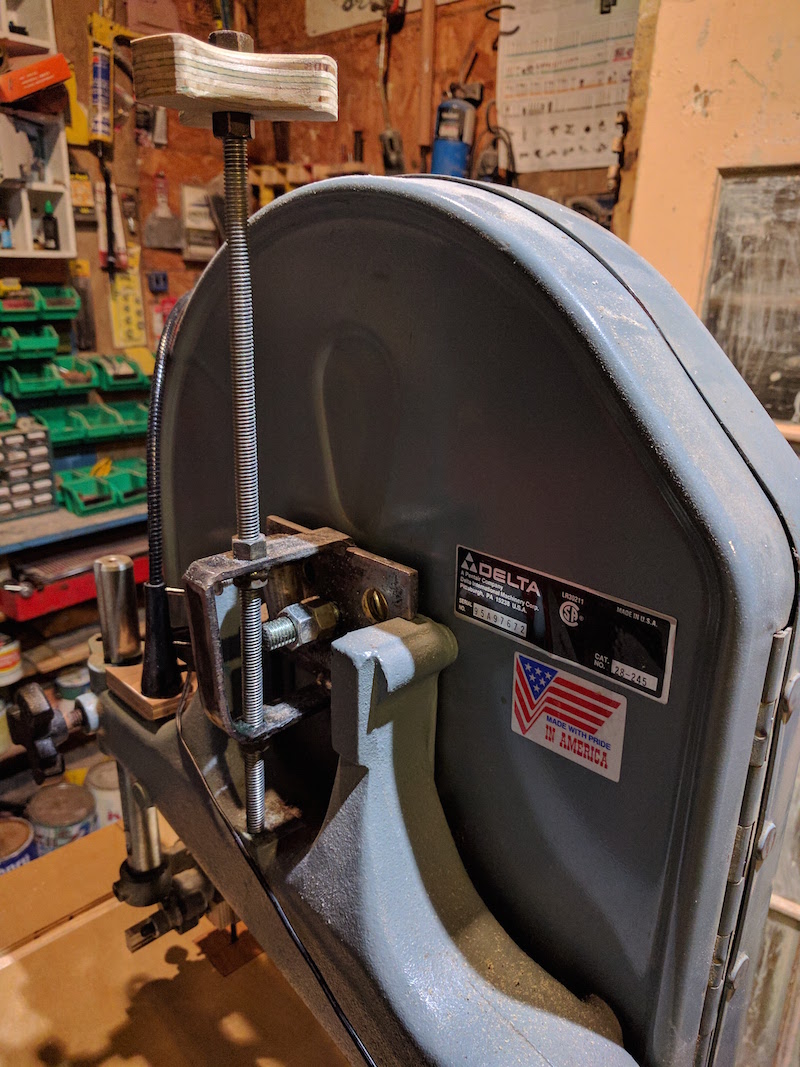
I happened to find this bandsaw listed for $70 USD with some crappy pictures. I texted the seller to ask if it was still available and he told me someone had stolen the table and I could have it for $30. I figured I could make a table and said I’d pick it up. When I got there the top wheel and the tension mechanism where missing too. I took it for $25 since I was there already. Worst case scenario, I thought, I could use the motor for another project.
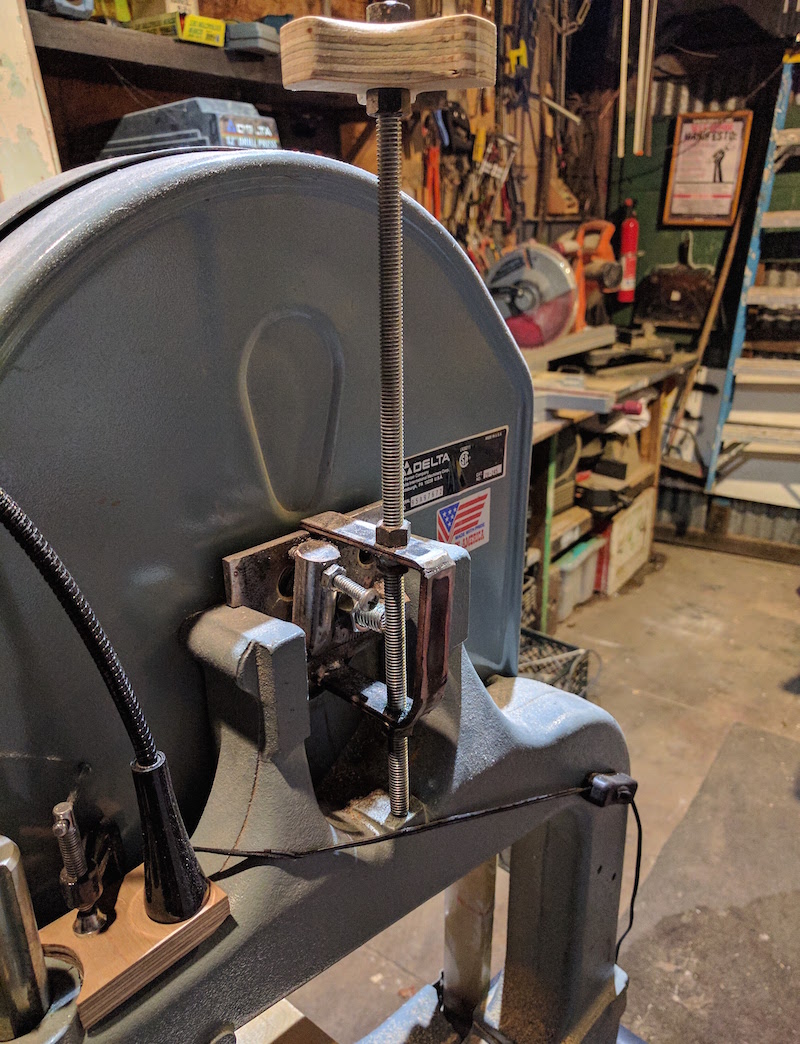
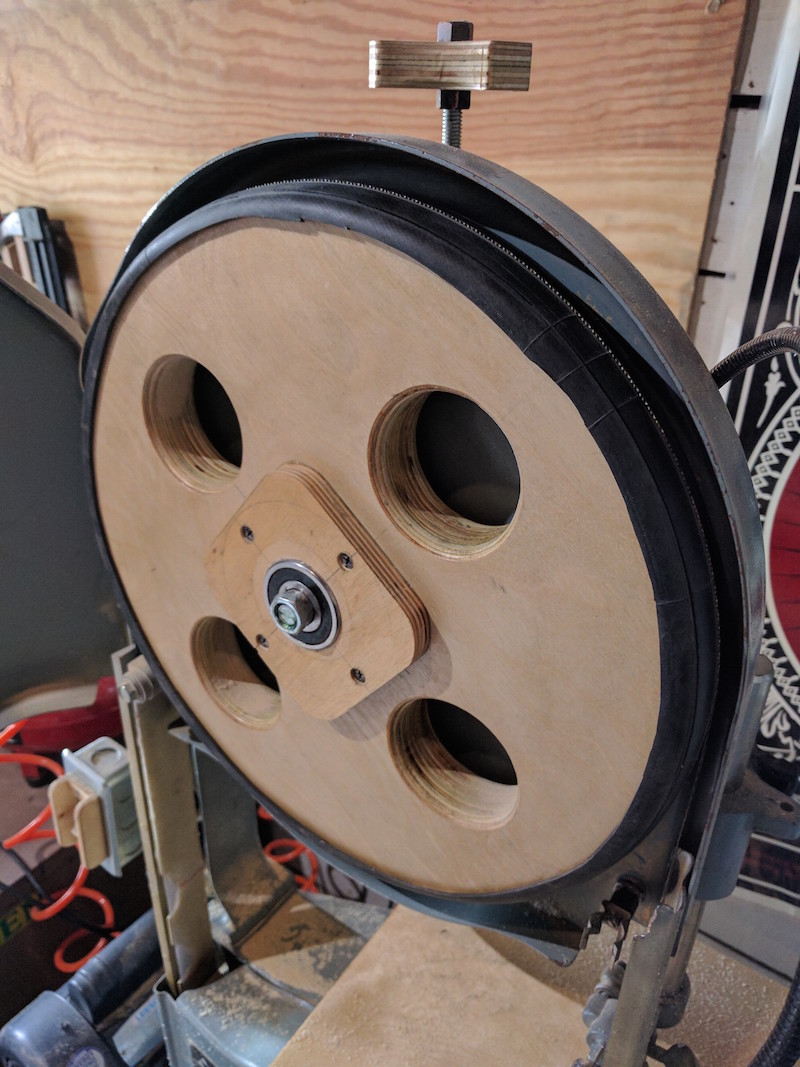
I didn’t document the building of the tension mechanism but this is what I came up with. A 1/4″ plate with some 1/2″ – 13 bolts and nuts. The tilt adjustment is a solid rod I tapped with a 1/4″ – 20 screw.
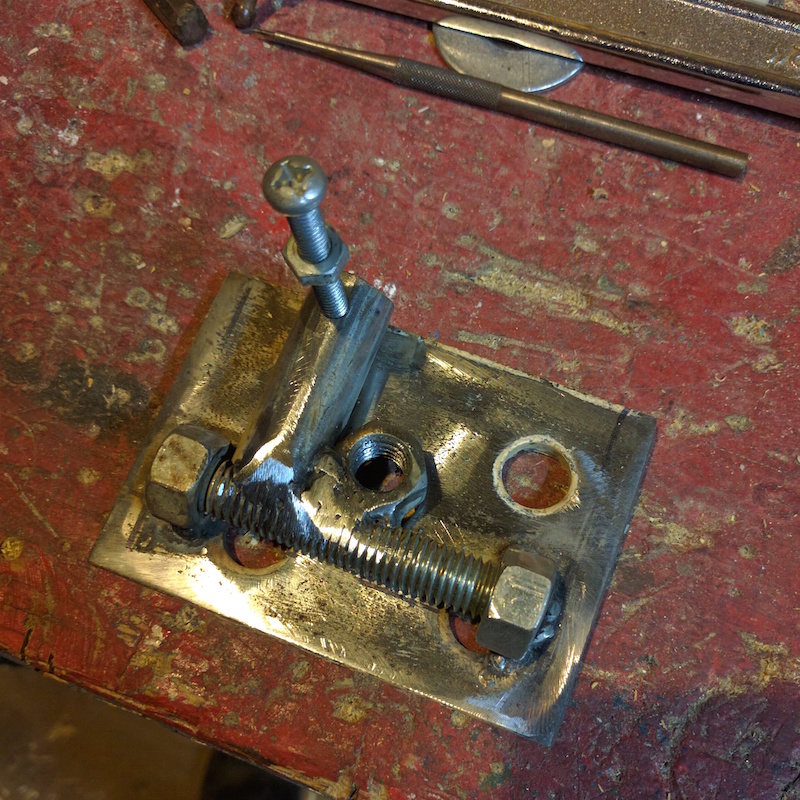
Then I added the clamp for adjusting the tension. Here it is seen from both sides:
Attentive bandsaw users might notice I’m not using a spring. I just didn’t have one strong enough and I wasn’t about to go buy one. I decided to just try it and add one later if necessary.
Next I started building the wheel. I took a lot from watching Matthias Wandel’s bandsaw builds on youtube so if you are looking to do something similar I can’t recommend him enough.
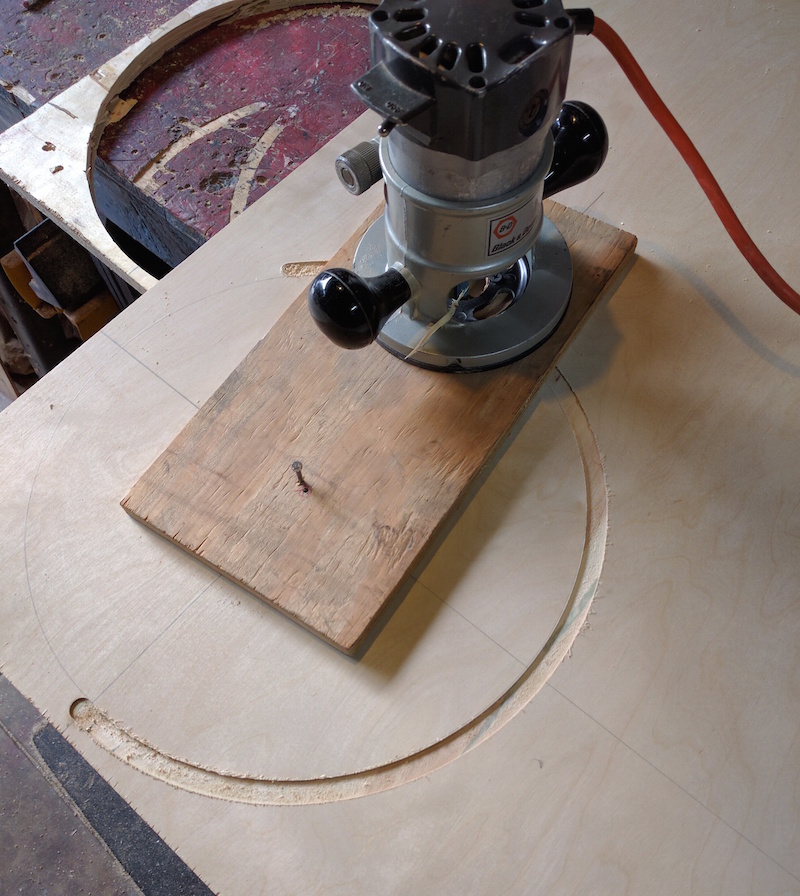
I started by cutting two 14.25″circles (the final wheel needed to be 14″) with this simple circle cutting jig out of some 3/4″ birch plywood:
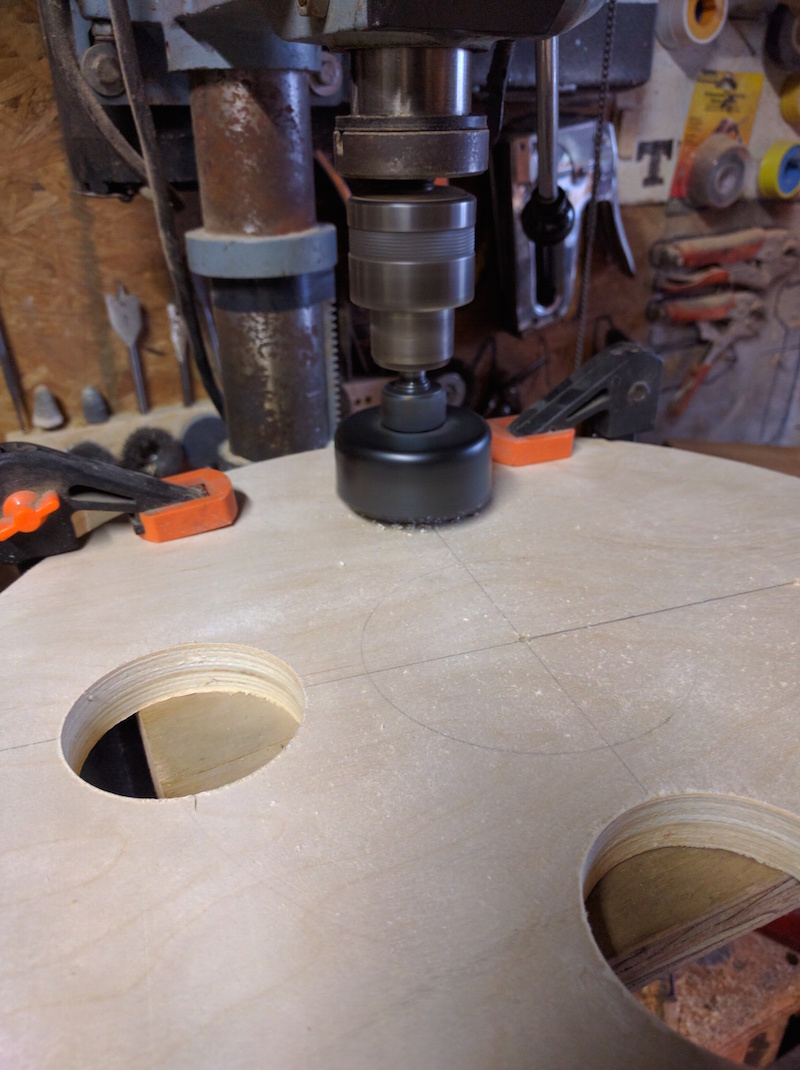
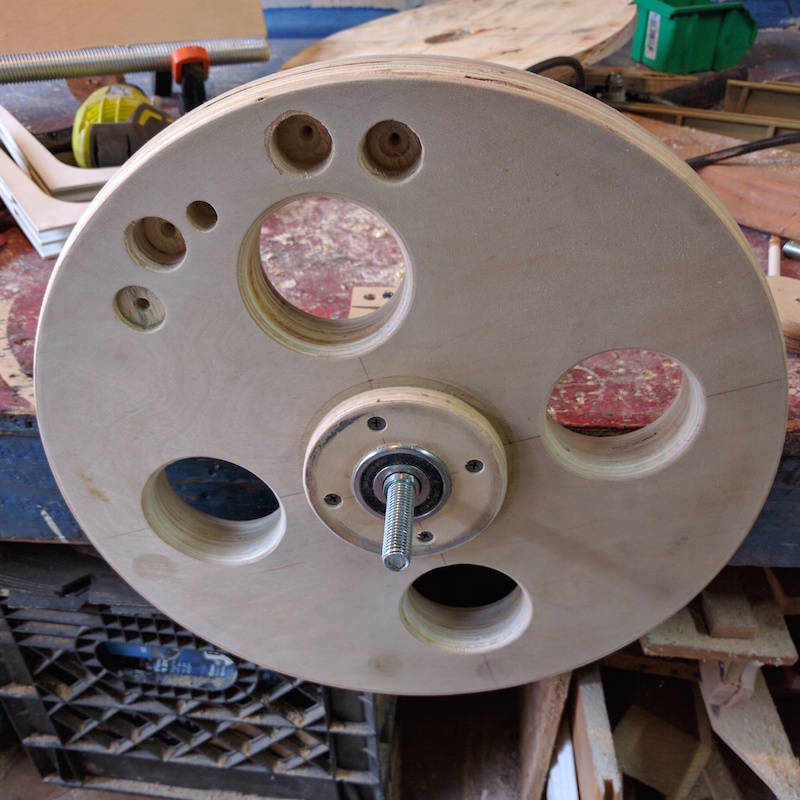
Then some holes. Mostly convenient for clamping (next step) and for rotating the wheel with your hand when adjusting the blade:
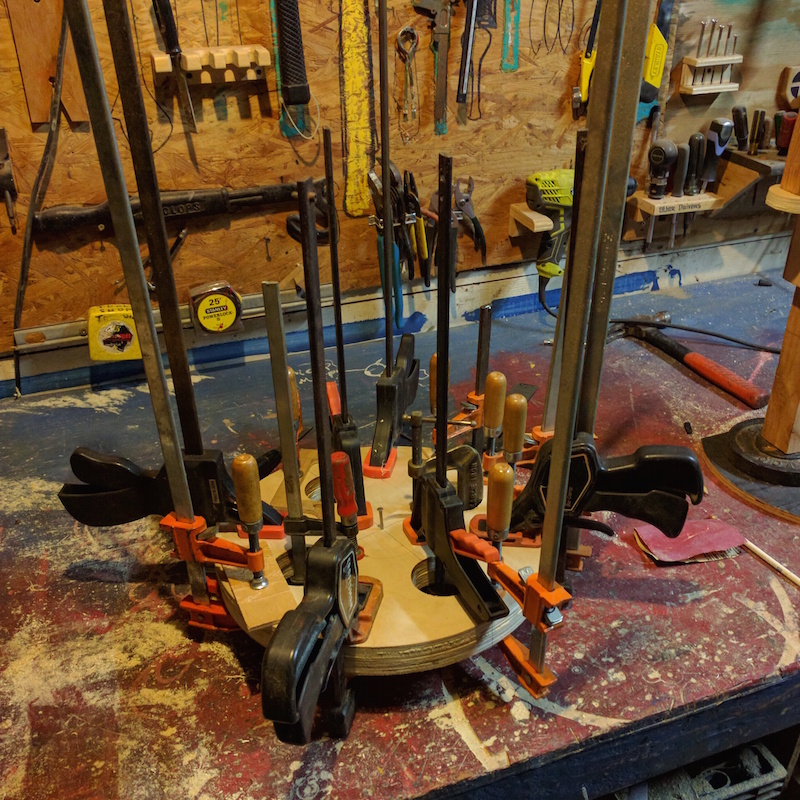
Gluing the two circles. Is it possible to ever have too many clamps?:
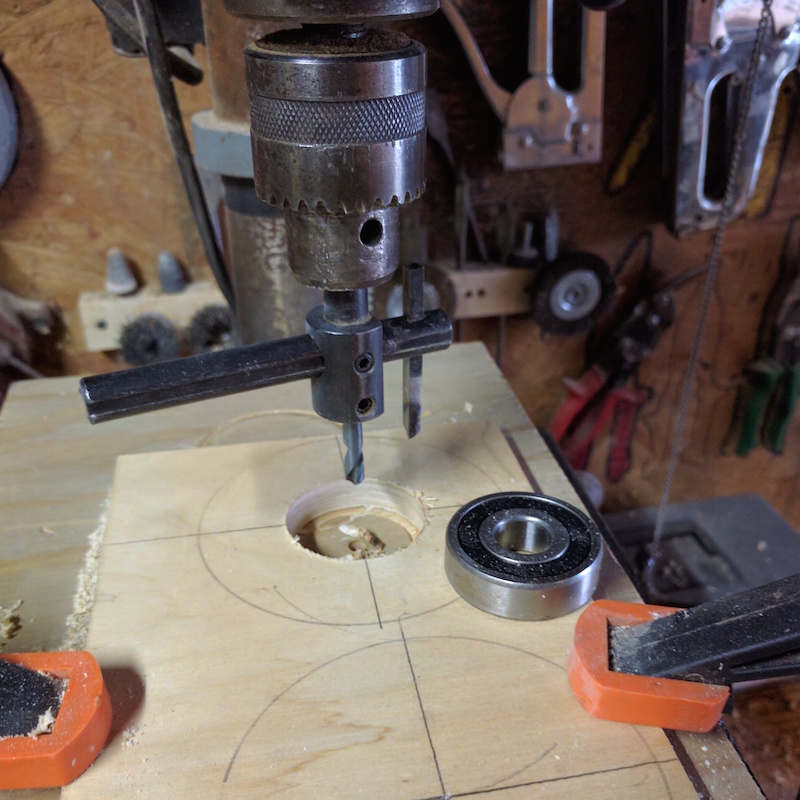
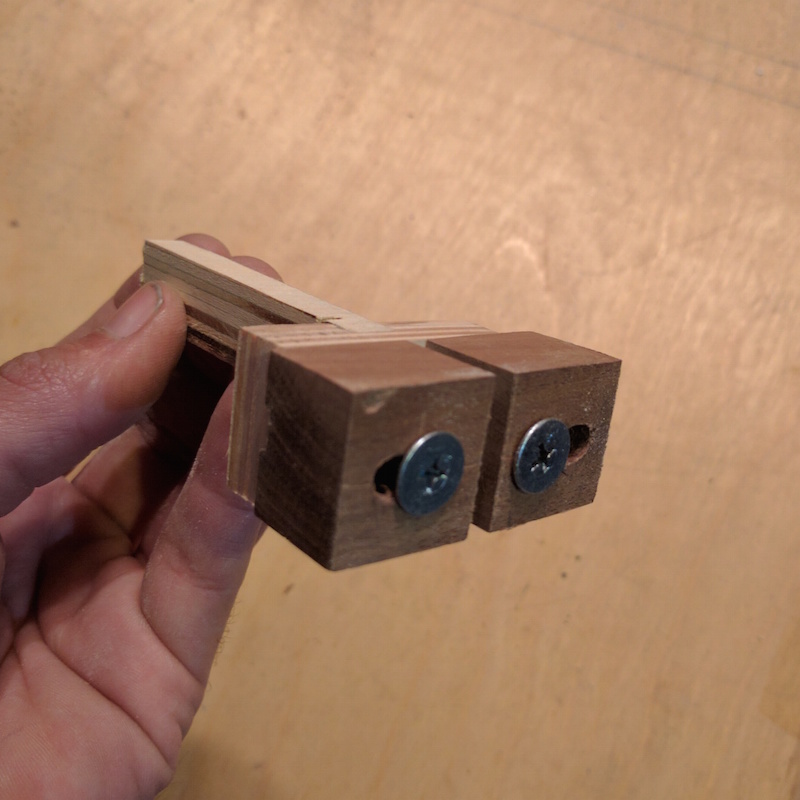
The next step was to make some bearing holders. That sketchy looking circle cutting tool is very convenient if you want to cut really precise circles. I took about 4 attempts until I found the right size. The bearings are press fit on the wood so a very tight fit is important.
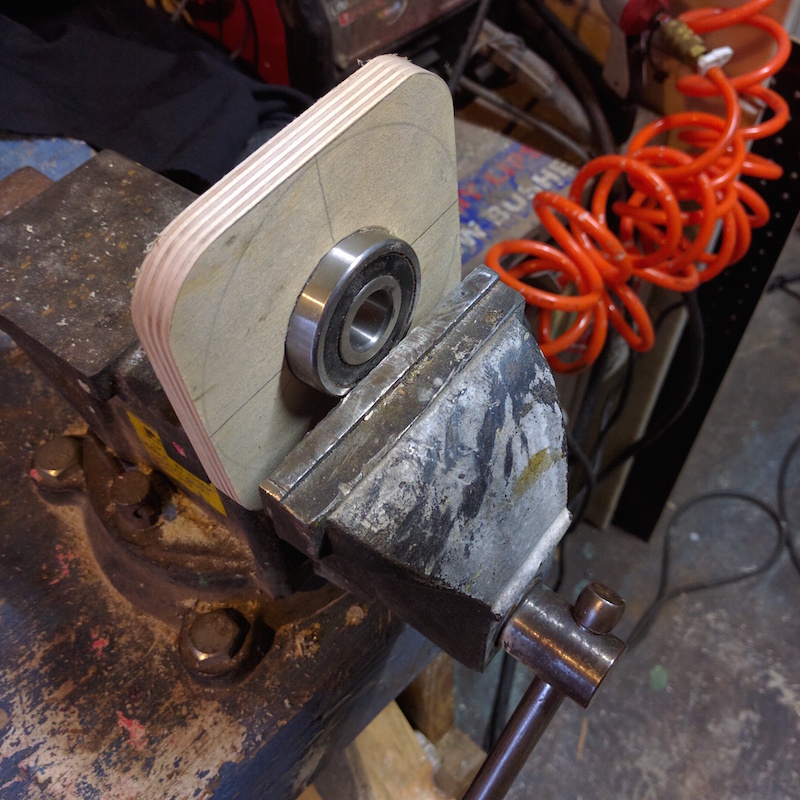
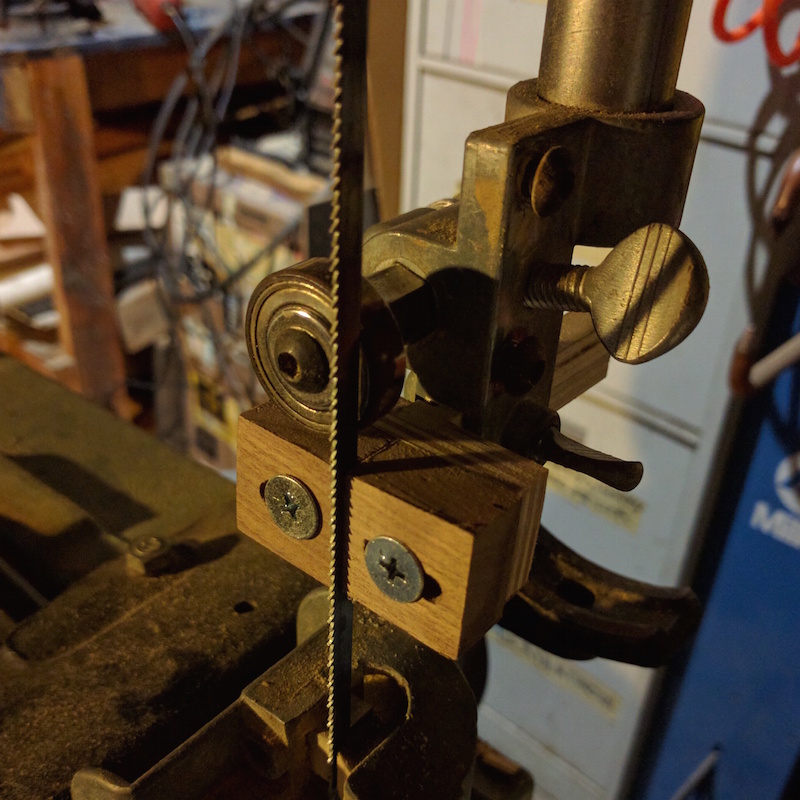
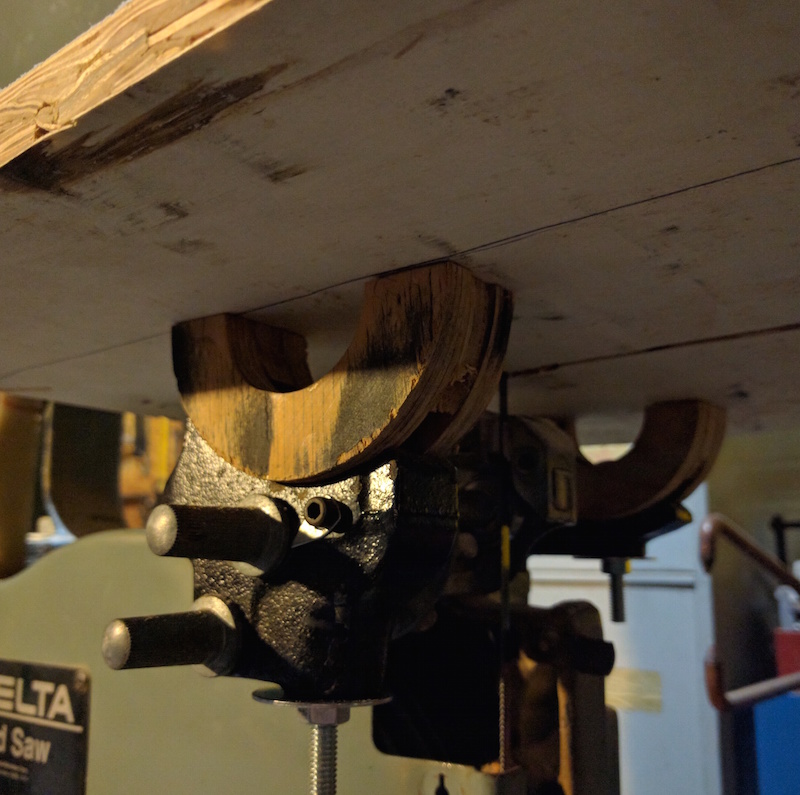
Mounting the bearing by pressing it with the vise:
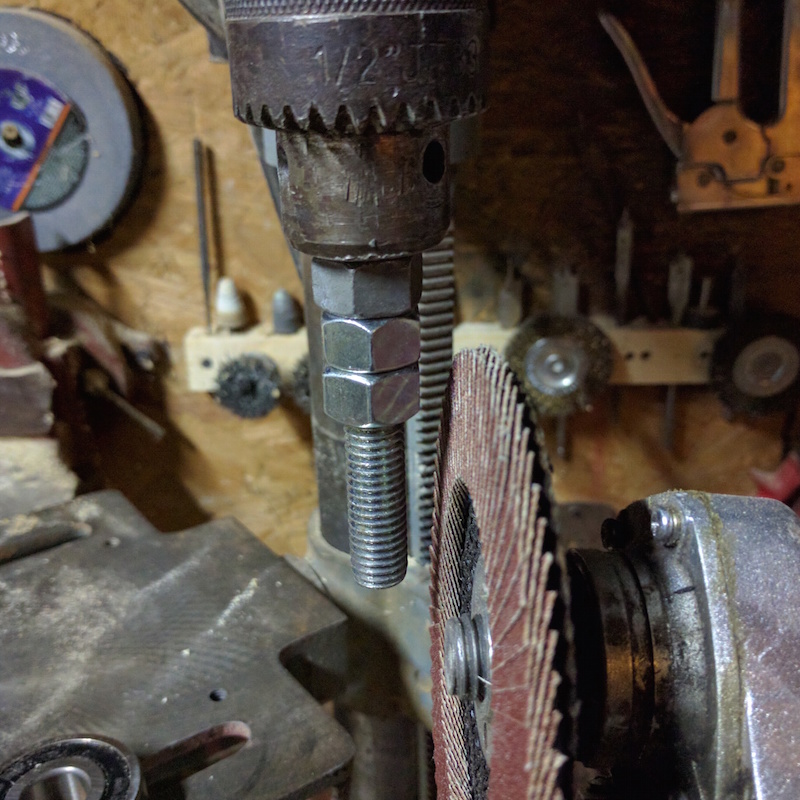
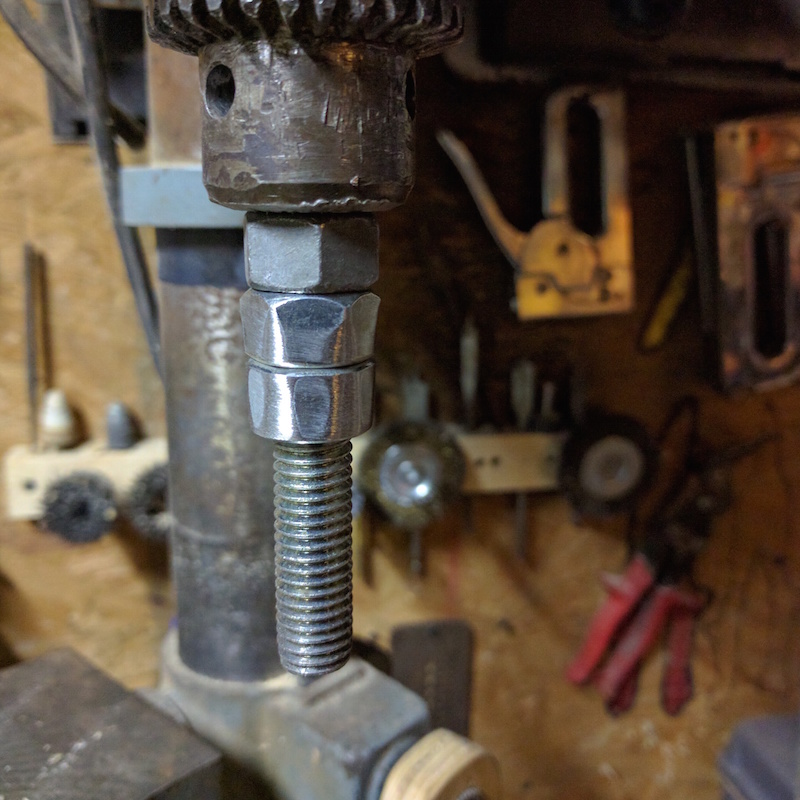
And this is how I made the axle. I call it the poor man’s lathe. 1/2″ bolt mounted on the drill press and the angle grinder with a flap disk to shape the nuts.
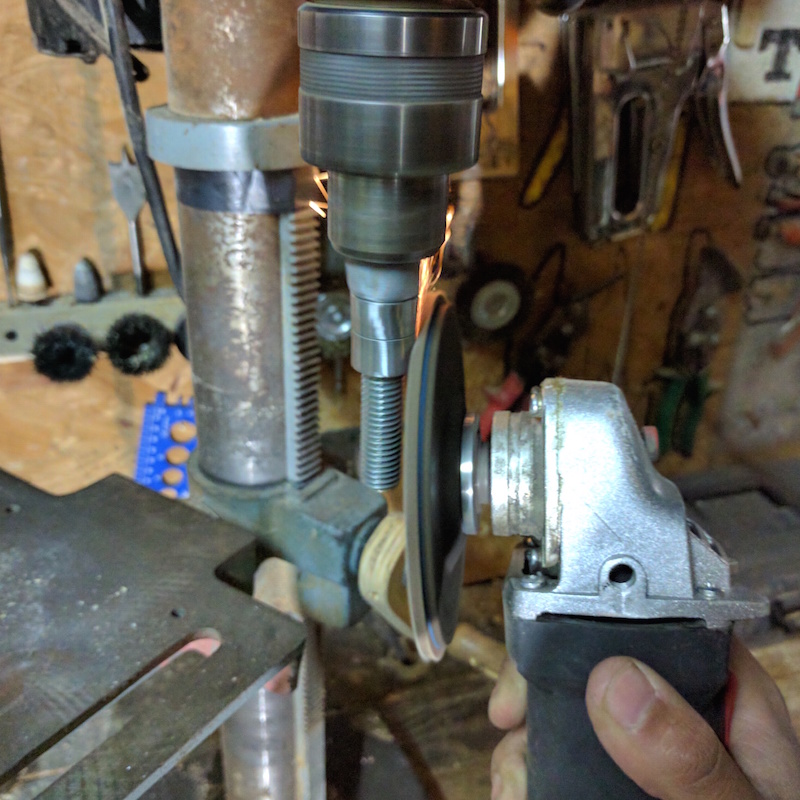
Making sparks:
Halfway there:
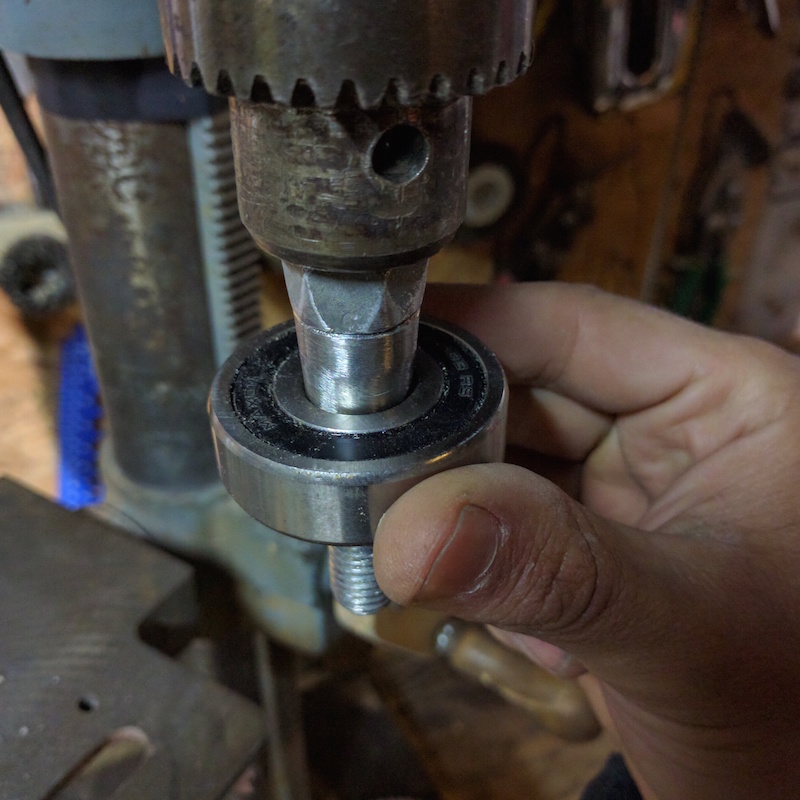
Checking the fit:
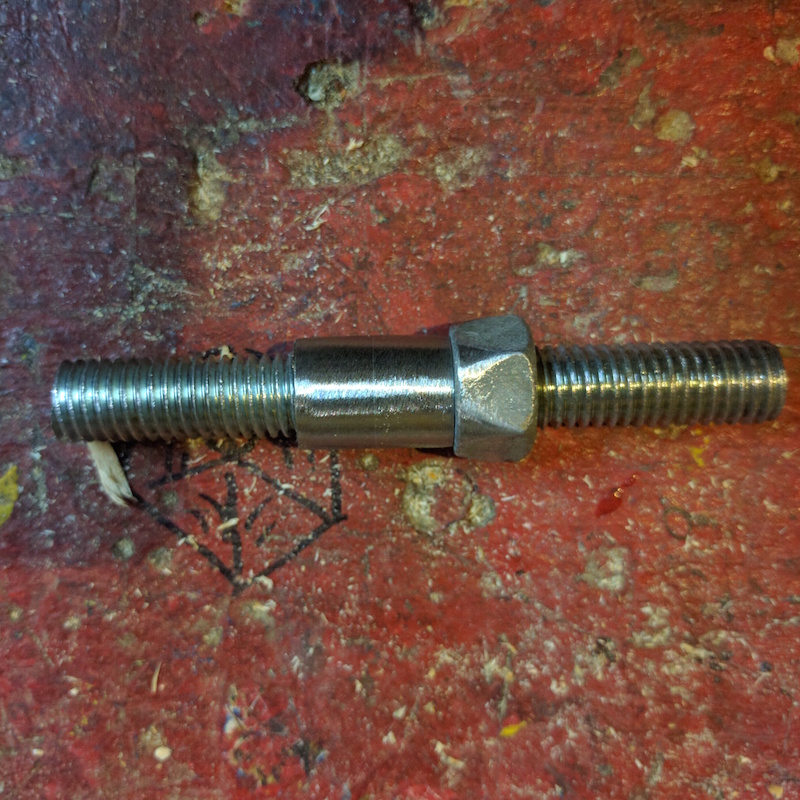
The final result. I think I had to shape the outside nut a bit more later on but you get the idea. I’m not so sure that this 1/2″ bolt is going to last though. I’m expecting it to bend a little. Perhaps I’m going to have to get a real solid axle a few months from now.
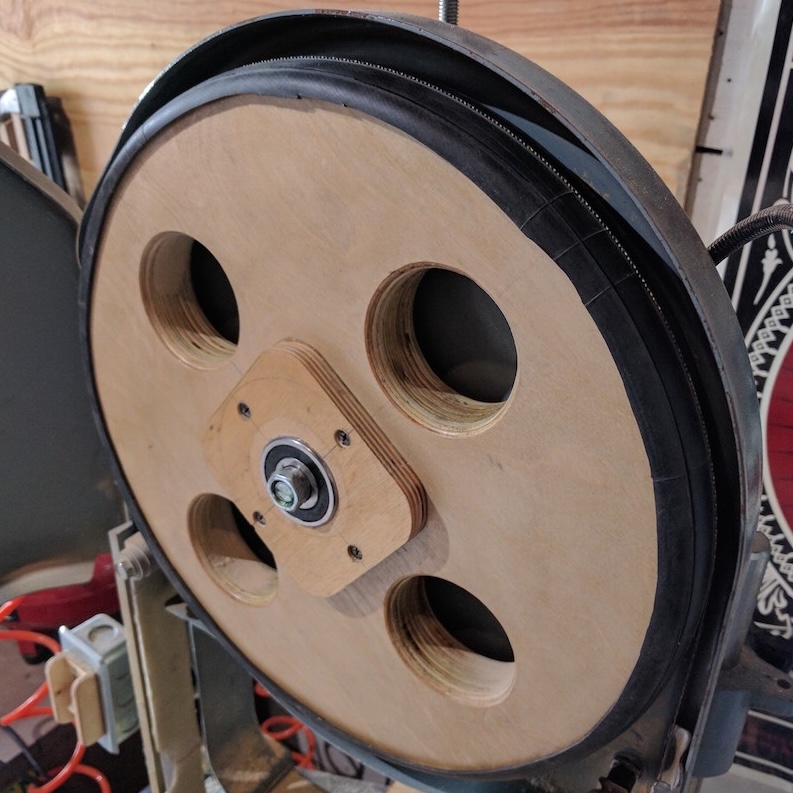
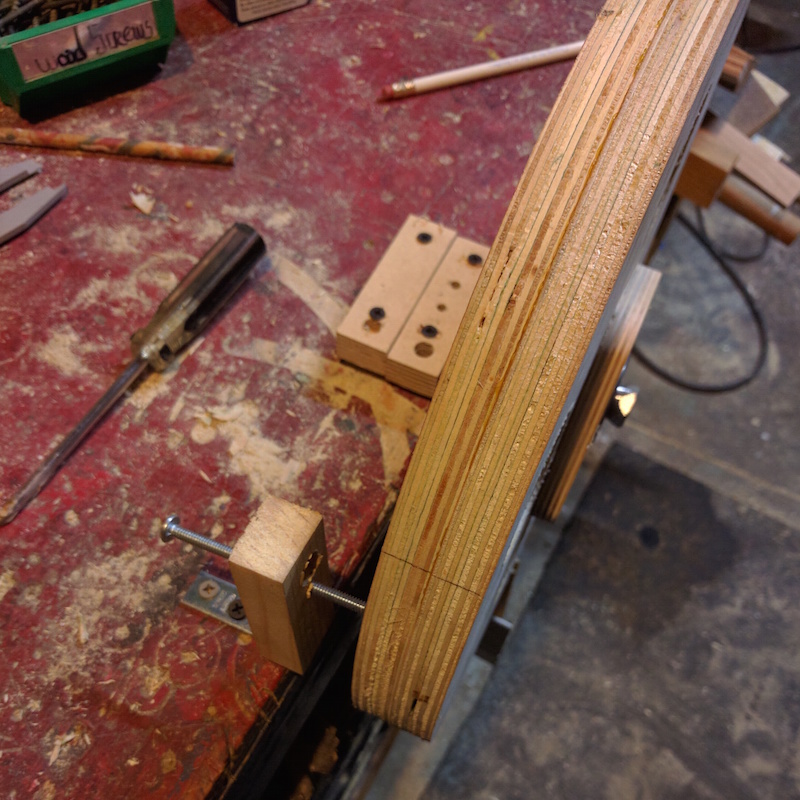
Once I had the axle I was able to mount the wheel to the table. The screw mounted to the wood block is for truing the wheel. There are two bearings. One of either side of the wheel. You glue one first, then you assemble the whole thing and position the second one making sure the wheel doesn’t wobble. If you want a better explanation see how Matthias does it in this video.
And this is how I turned the wheel. Another sort of poor man’s lathe. I made a “tire” with inner tubes around the drill chuck. A spring holds it tight against the wheel. The 2×4 on the opposite side is screwed on the table and that is the tool rest. I rounded and crowned the wheel using a couple of woodworking chisels. Side note: in the gif it looks like the wheel is spinning counter-clockwise. But it was actually spinning clockwise:
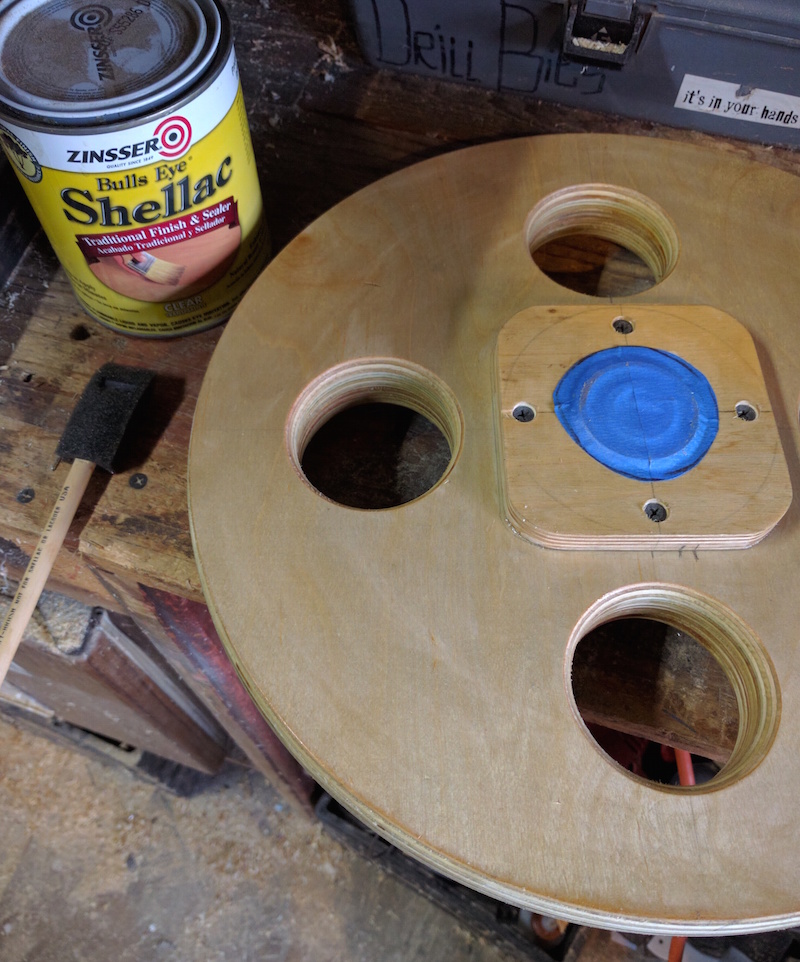
Once the wheel was rounded and crowned (incidentally this video on how crowned pulleys work is pretty good) I balanced it by drilling holes where it was heavier.
And a final coat of shellac to make it last:
A 10″ bicycle wheel inner tube is the tire. Another one of Matthias’ brilliant ideas:
The top blade guides were missing too so I made a new set with some plywood and walnut. This was the hardest wood I had lying around, we’ll see how long it lasts. Someone on reddit suggested dipping the guides in hot wax for lubrication. I’ll be trying that soon.
Top blade guide installed on the saw:
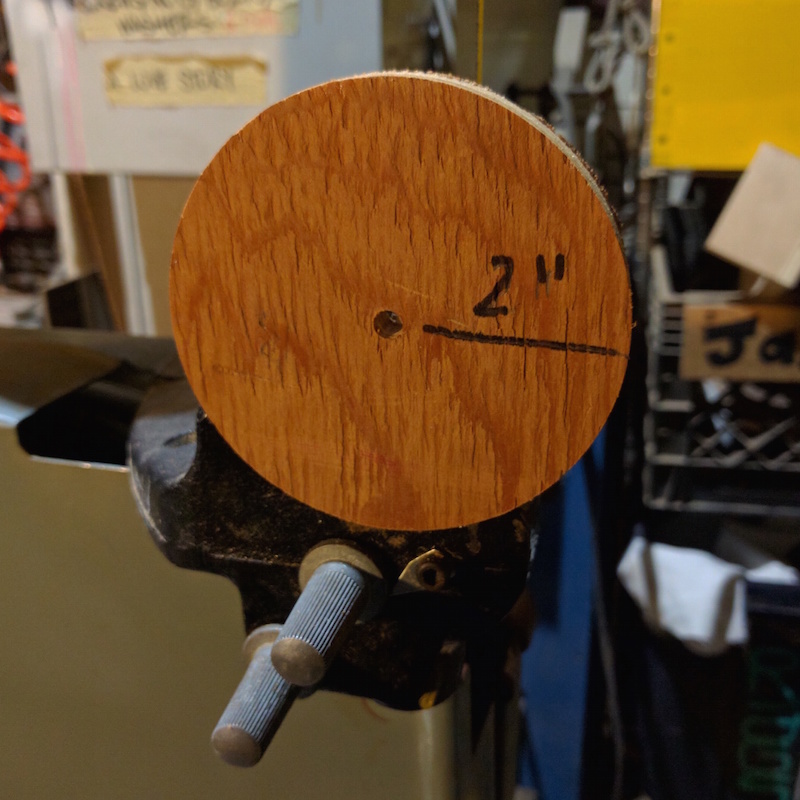
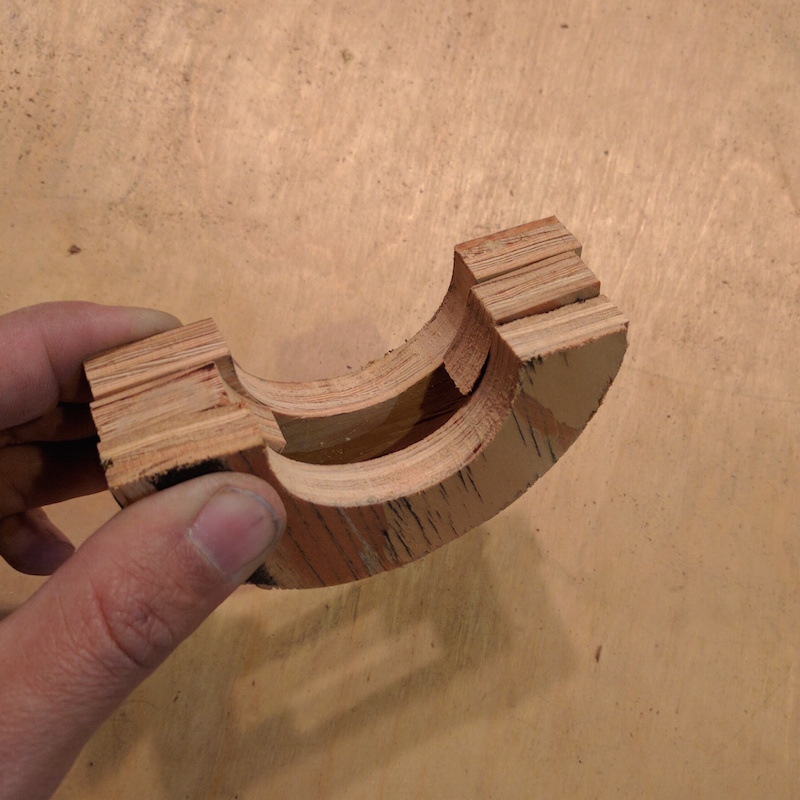
The table trunnions are based on a circle with 2″ radius:
This started as a quick prototype out of plywood scrap and ended up being the final one. You know how it goes:
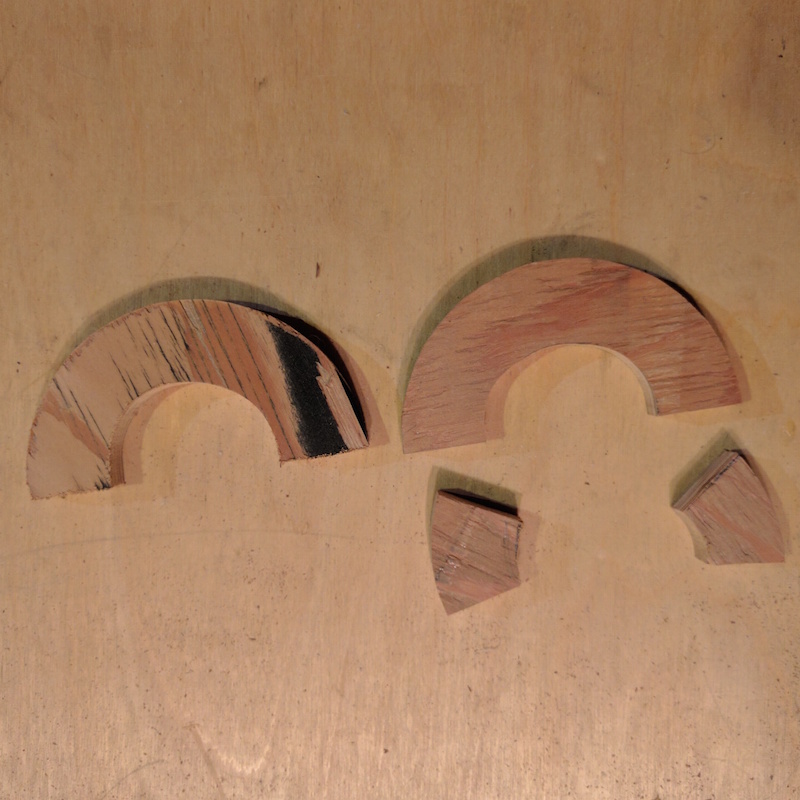
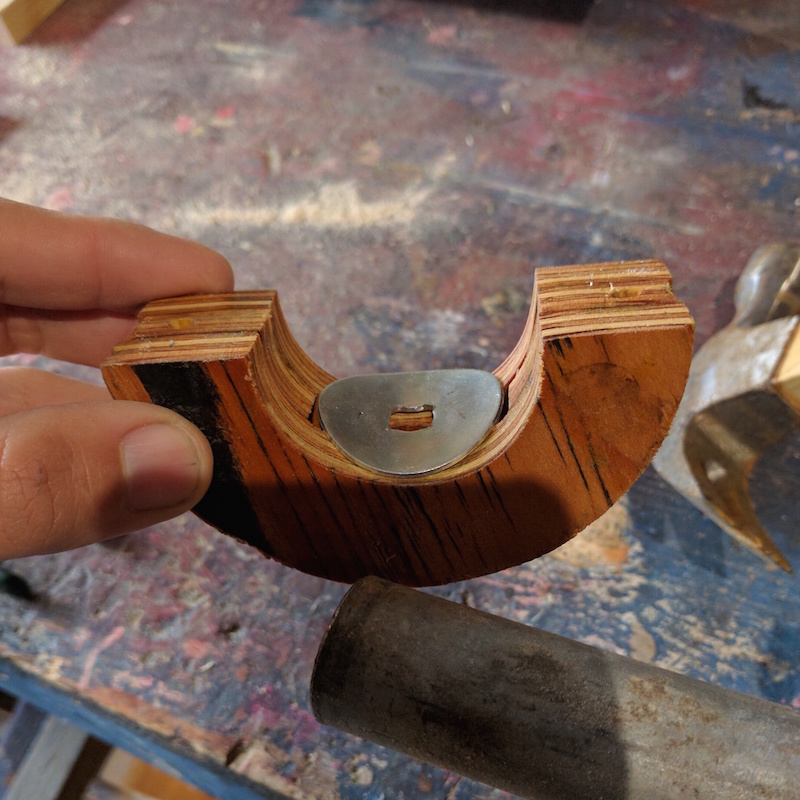
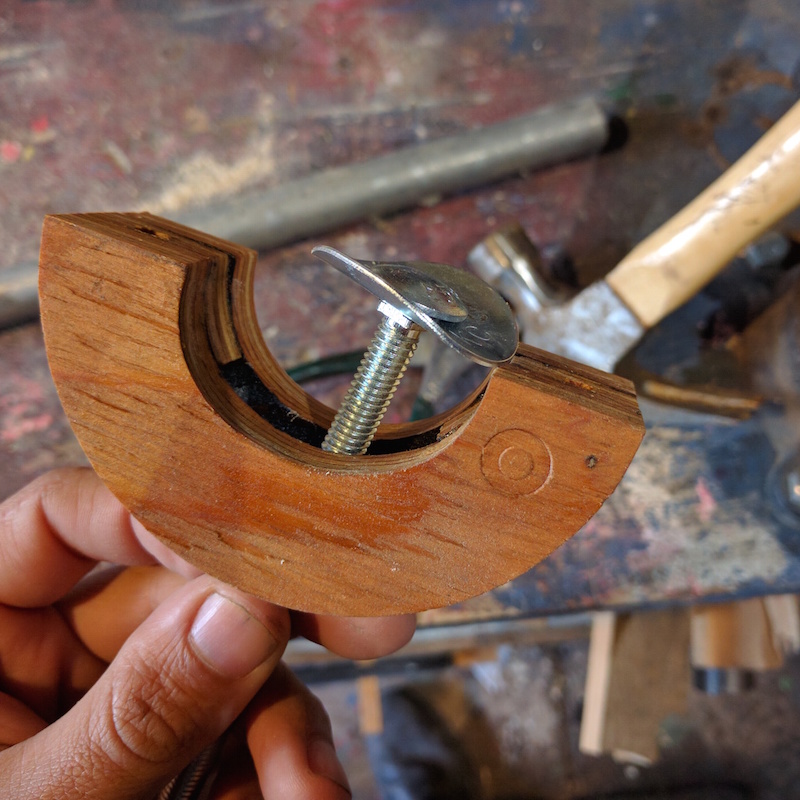
The trunnion assembly:
I shaped the washer so it would rest flush on the round trunnion:
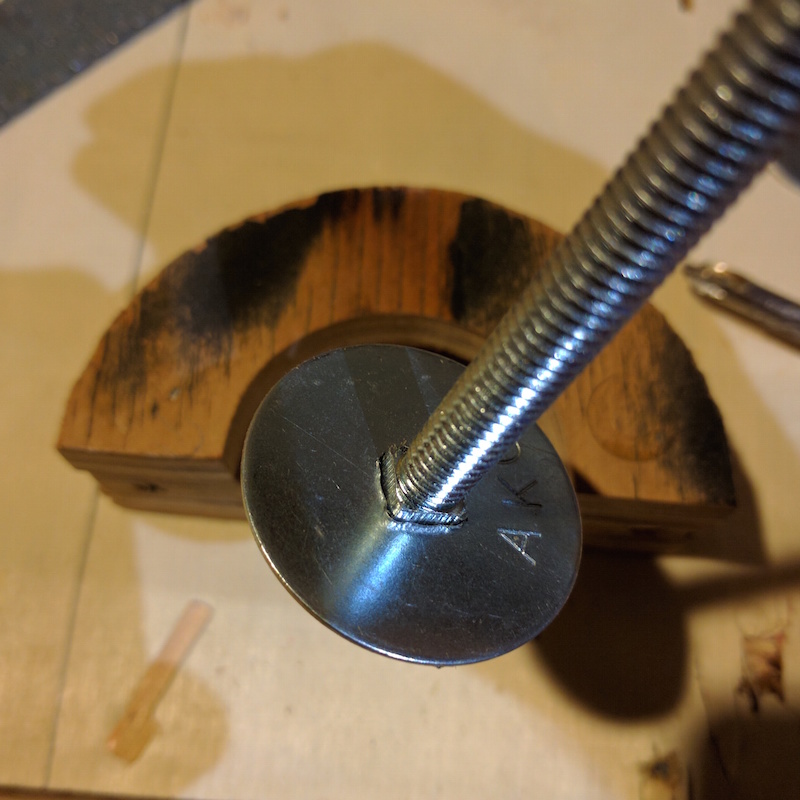
Filed a square hole for the carriage bolt:
And this is how they look on a temporary table I made out of crappy pallet plywood:
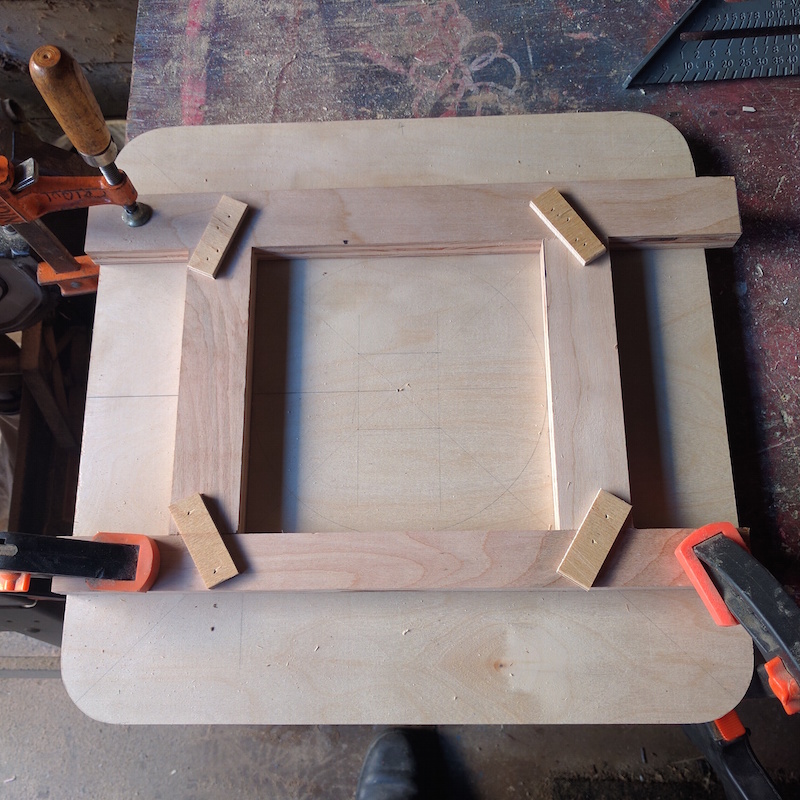
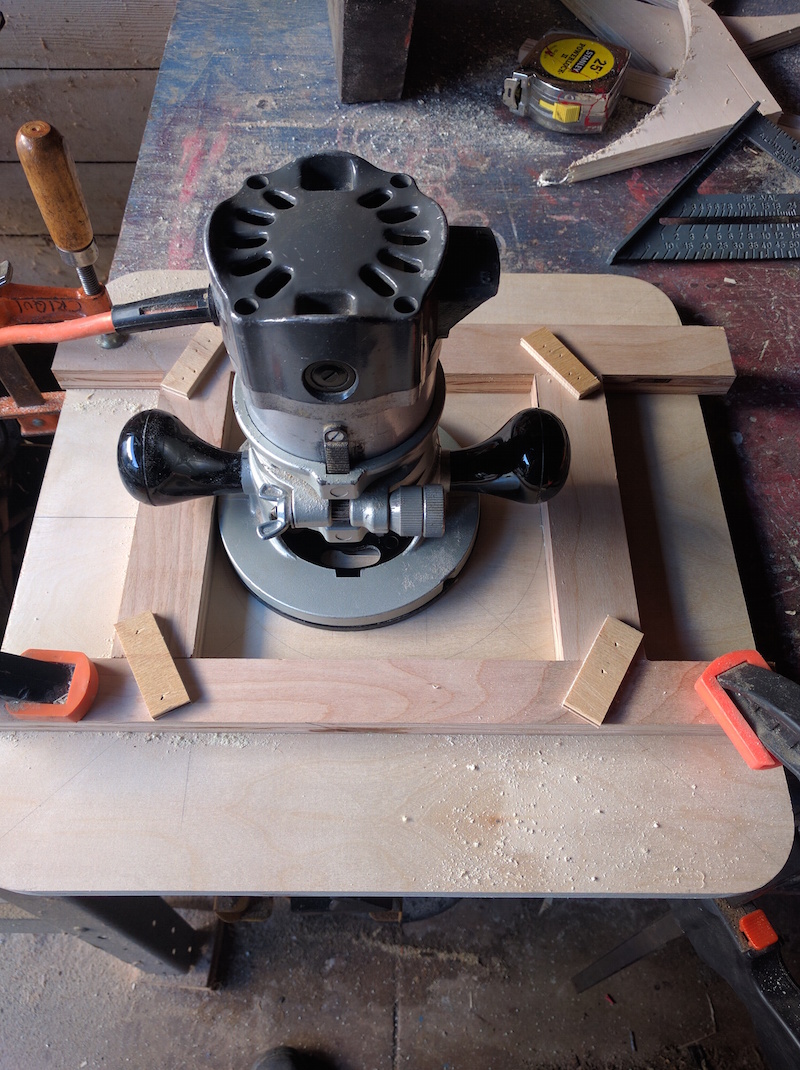
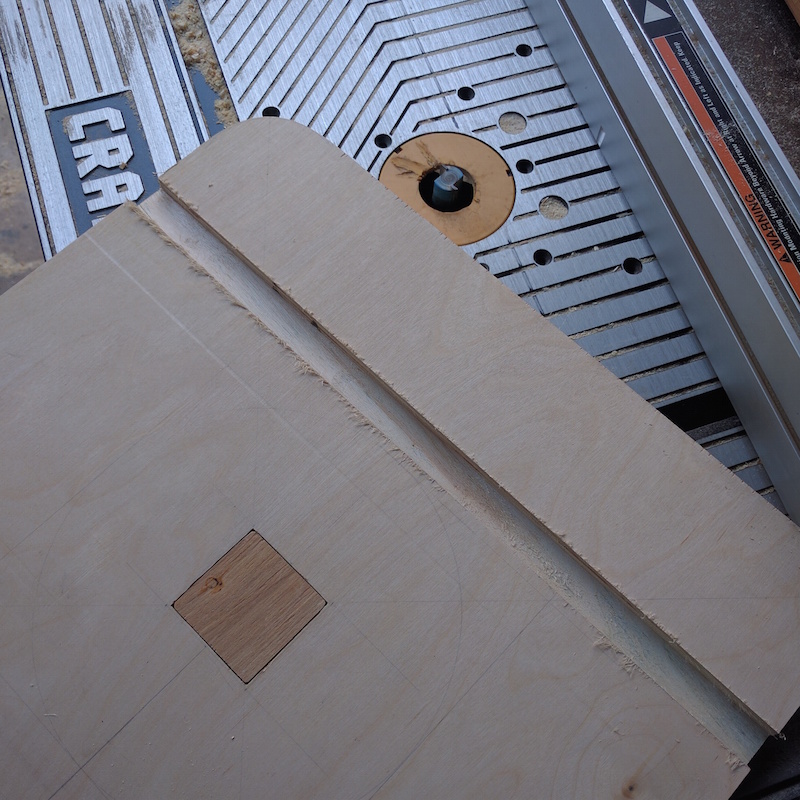
I made the final table out of 3/4″ birch plywood. Here it is with the jig I made to cut the insert pocket with the router:
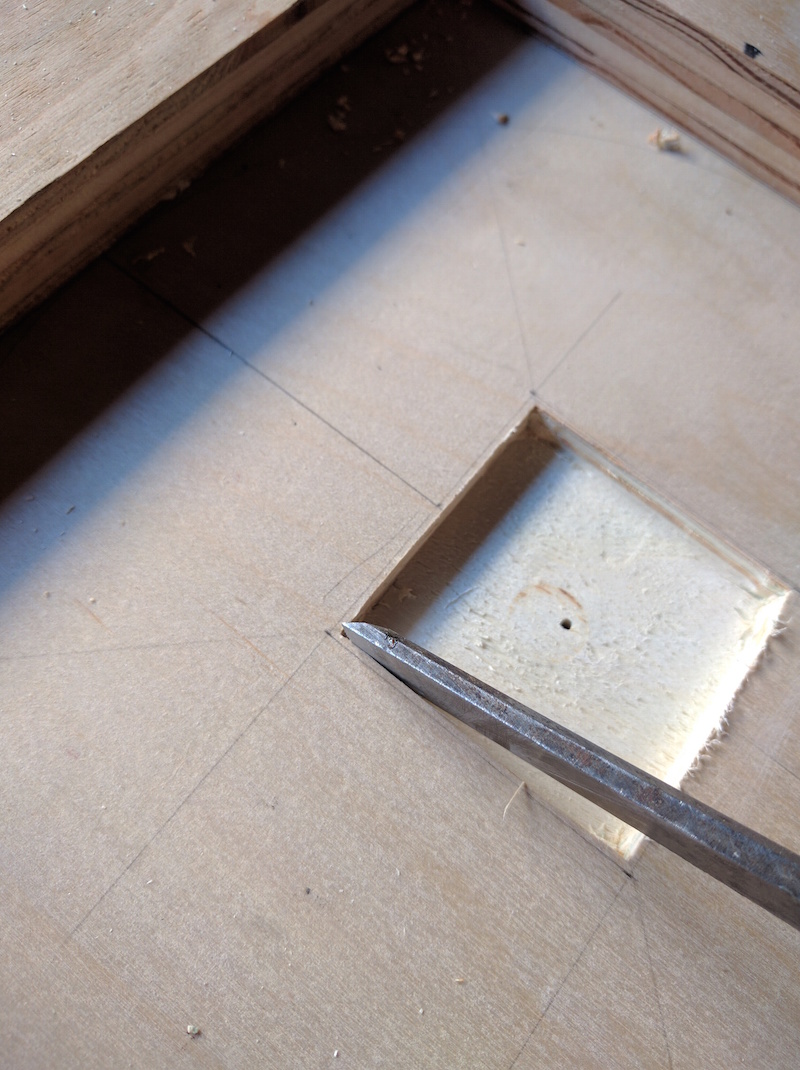
The pocket is 1/4″ deep for using 1/4″ plywood inserts. I had to make the round corners into square corners with a chisel:
Then I made the miter slot using the table router:
Mounted after a few coats of shellack.:
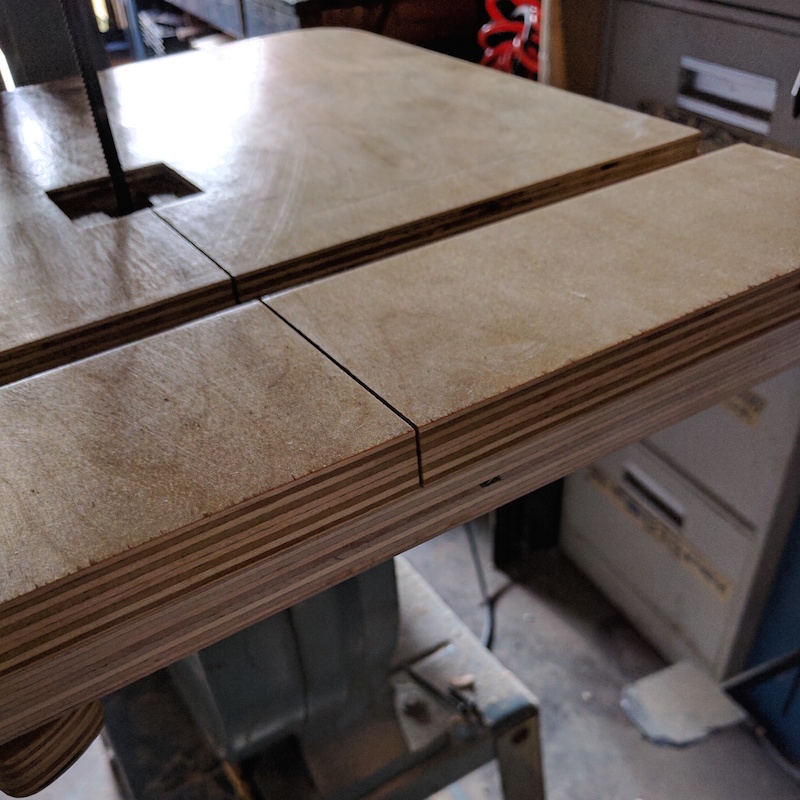
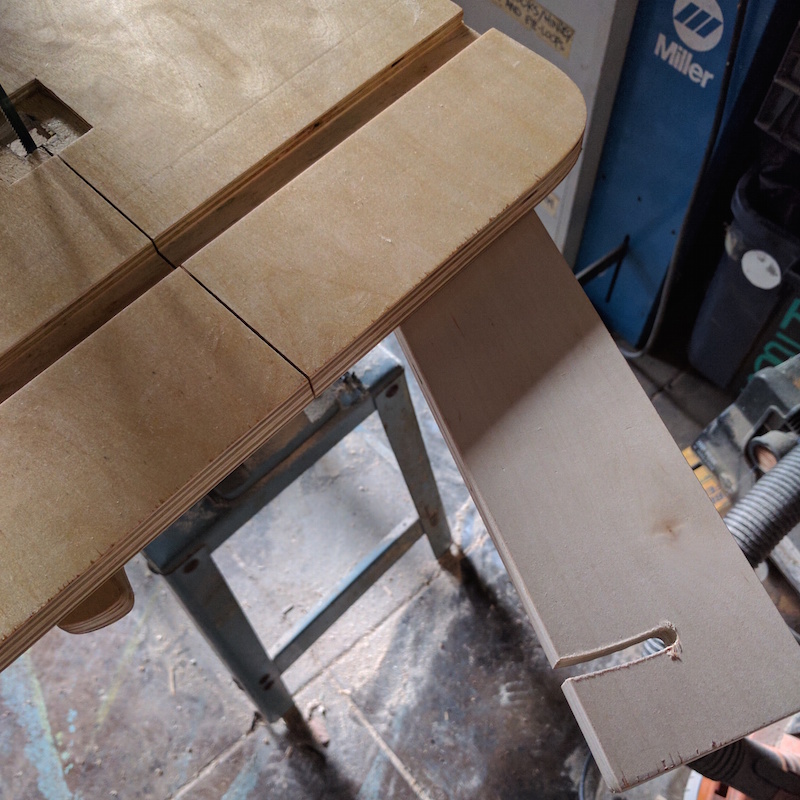
After cutting the slit that allows you to replace the blade I added this extra piece of wood that keeps the table flat. It swivels out:
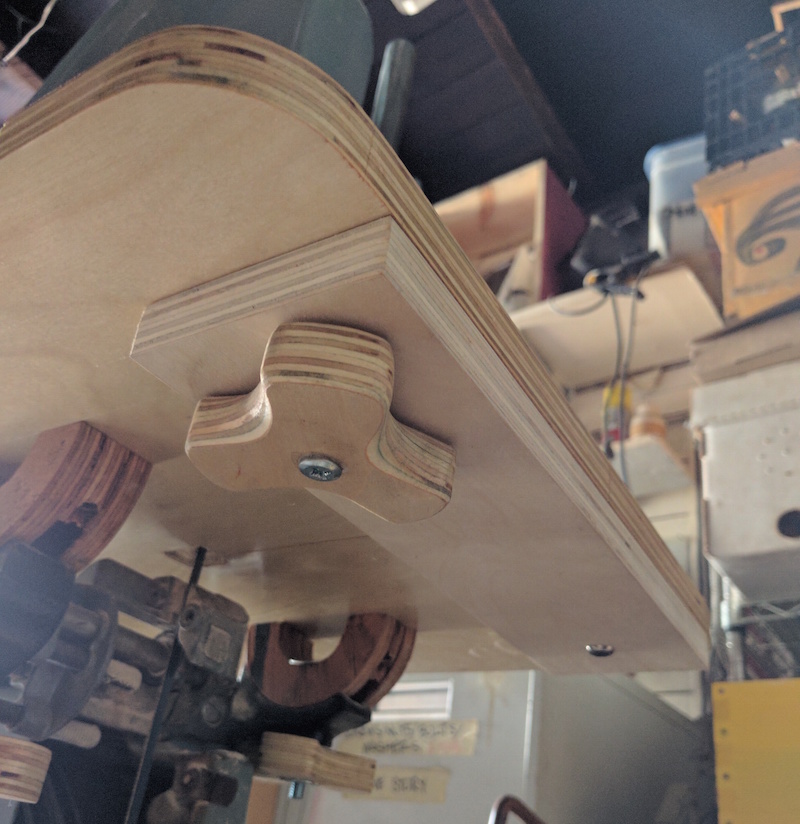
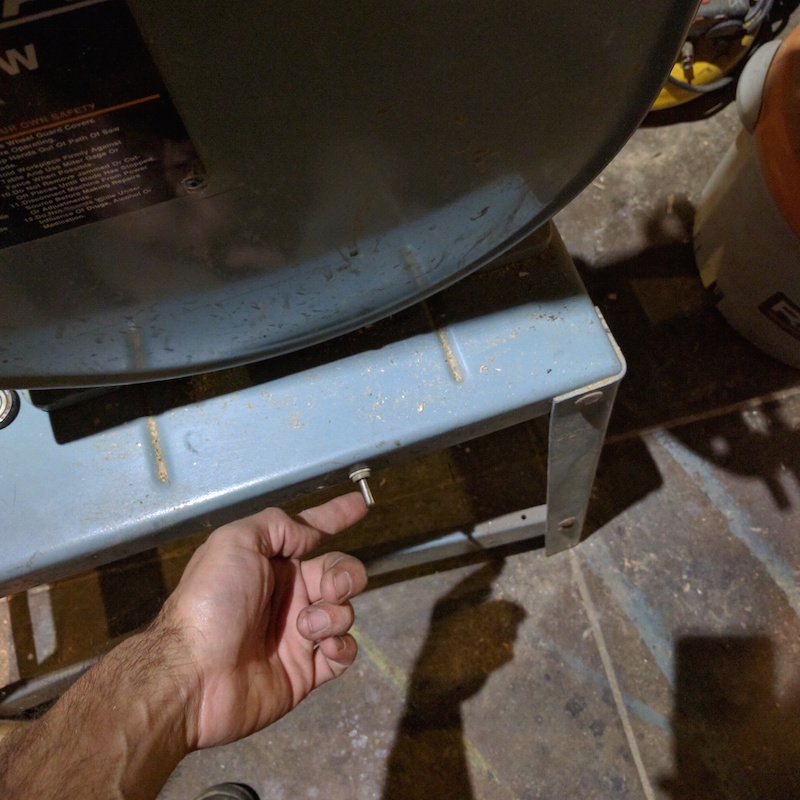
And it’s held underneath by this knob. You can make some neat knobs once you have a semi functional bandsaw:
I thought the switch was in a very awkward place so I decided to rewire it:
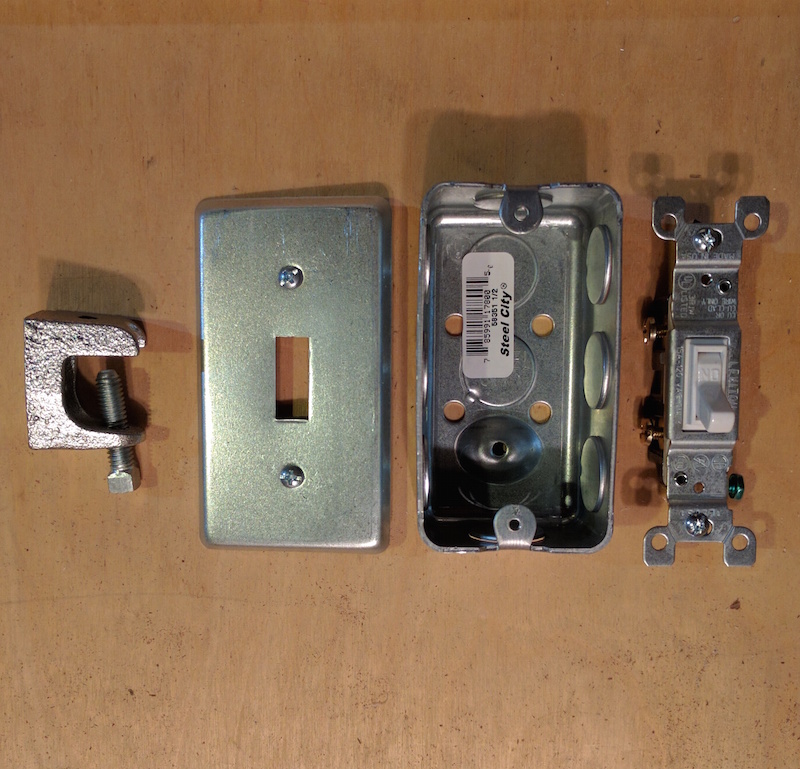
I got these parts ate the hardware store. That part to the left is a strut clamp, you can find them in the electrical section:
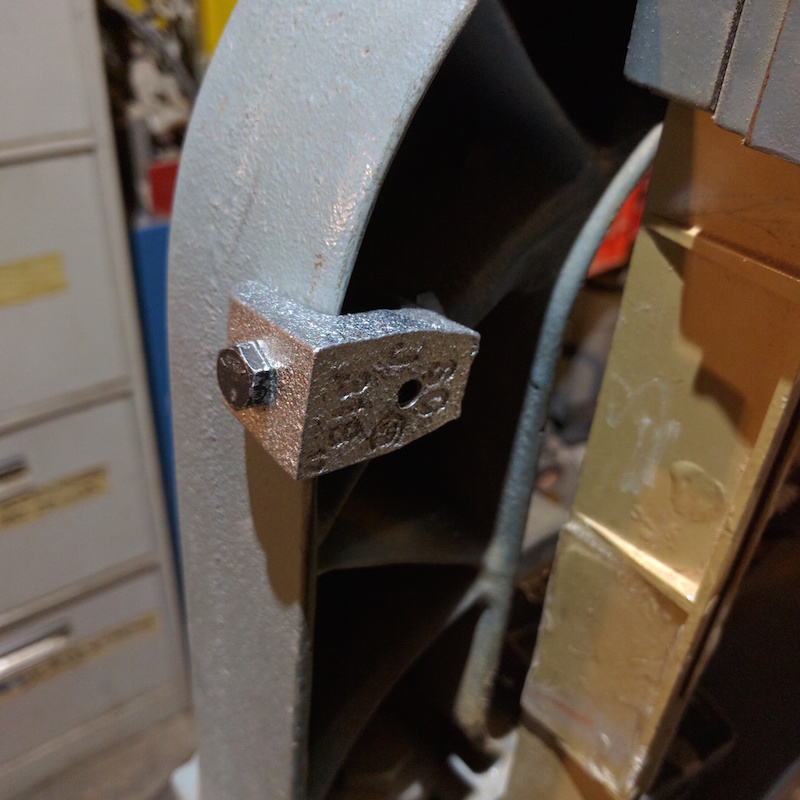
Very convenient that strut clamp:
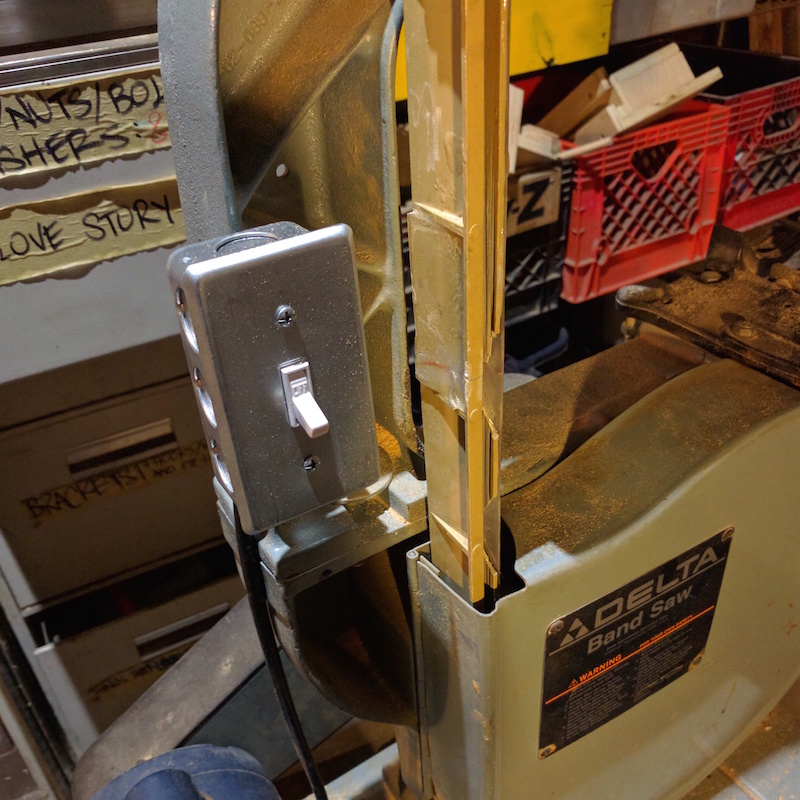
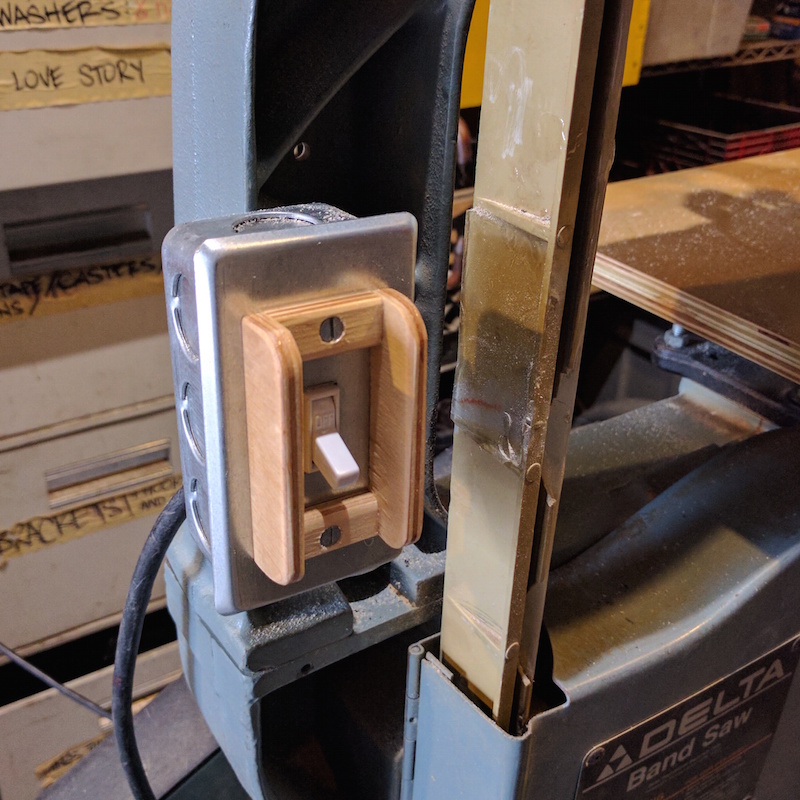
New switch position:
I felt I needed a switch fence to avoid starting the bandsaw unintentionally:

More shellack:
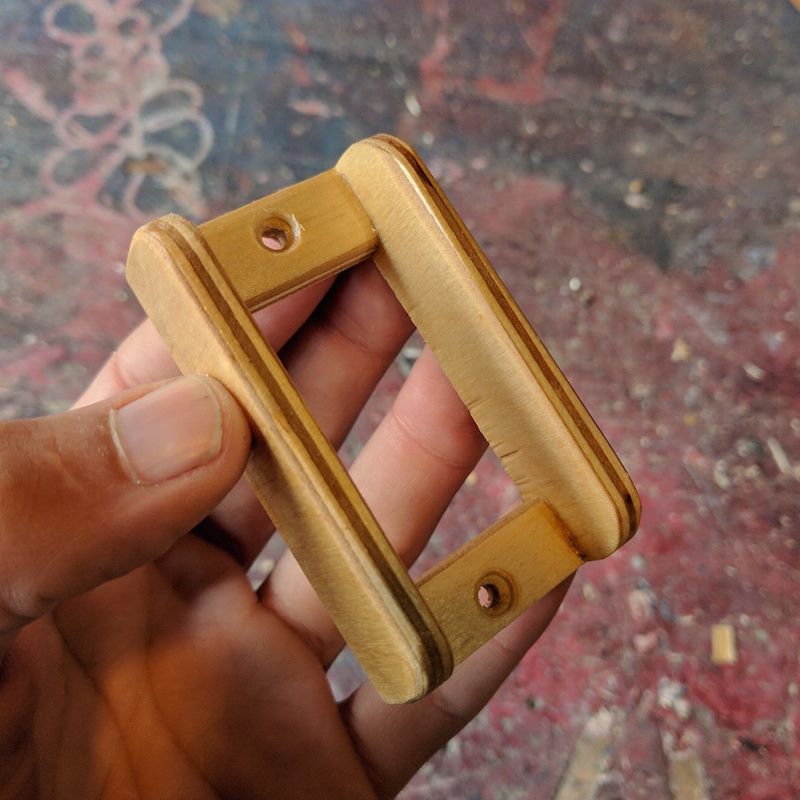
You know. Going for that metal + wood look:
The last touch was adding a light:
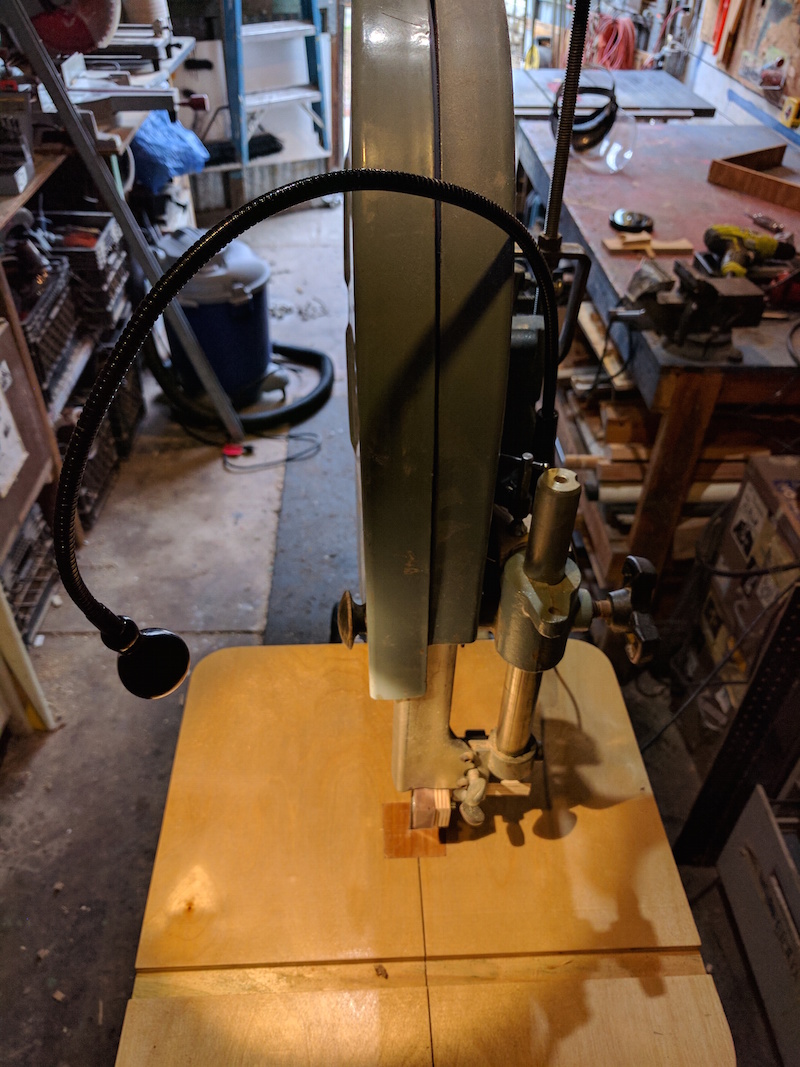
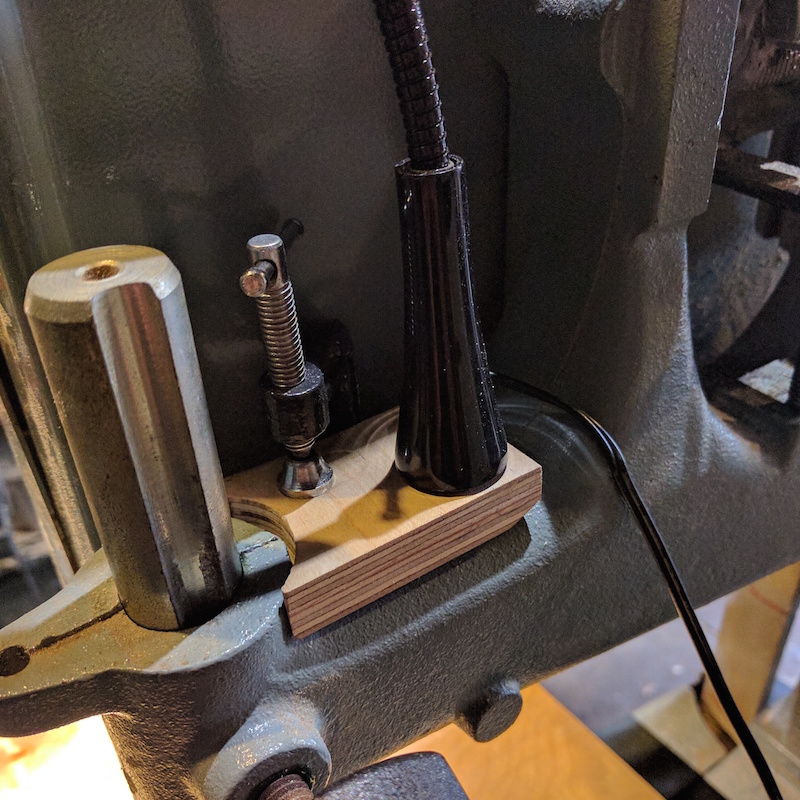
I had one of these IKEA JANSJÖ LED work lamps and after taking off the base I mounted it to a piece of plywood and clamped it to the bandsaw arm. I might make something nicer in the future but this works ok for now:
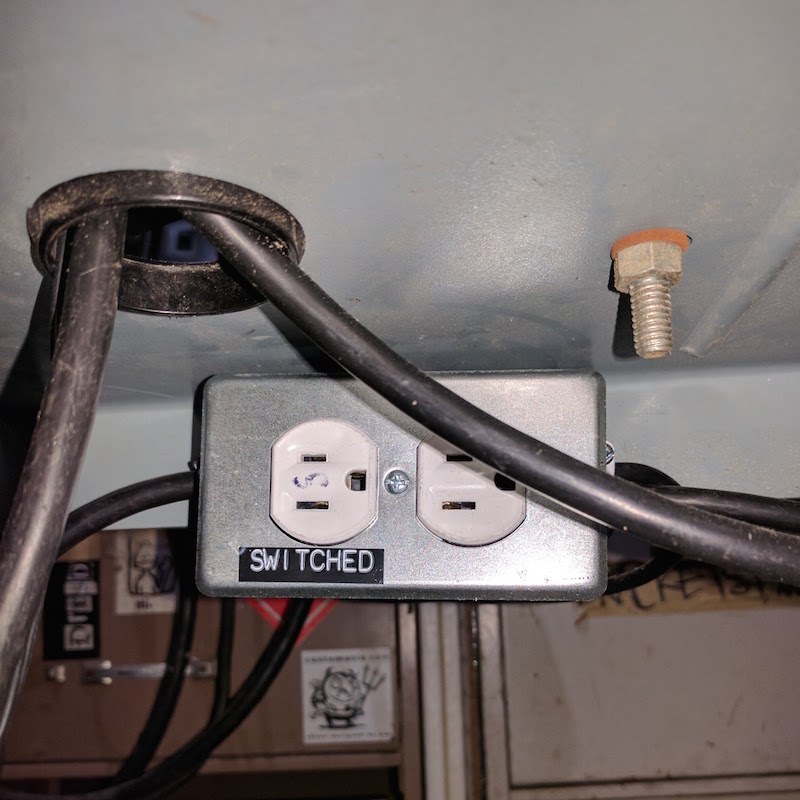
After using the light for a bit I got tired of switching it on and off so I added this outlet under the base. Now the main switch turns the motor on AND also the left side of the outlet where I plugged in the IKEA light. I figured the outlet would be convenient if I wanted to add dust extraction in the future:
Cat Tax:

I hope my budget bandsaw build was interesting to you. I just love bandsaws and this one has become one of the most used tools in our garage.